The "Proton MK 1" Model Rocket
thingiverse
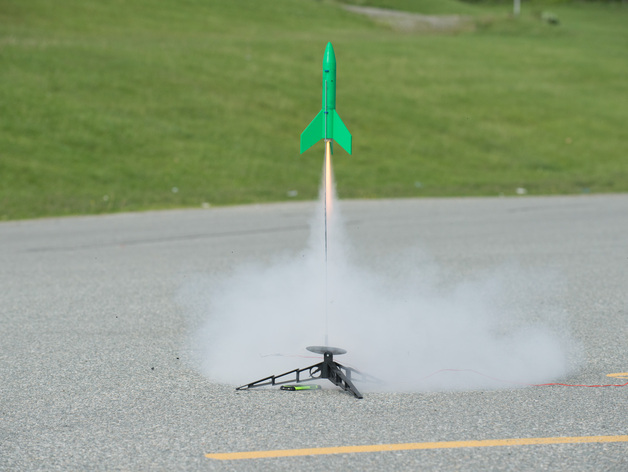
A rocket is a marvel for everyone to experience! If you wish to contribute, visit my "Cults3d" profile at https://cults3d.com/en/users/Trystan for details.\n*More pictures coming soon!\nTo create this rocket, also obtain the following materials: \n1x 18" Nylon Parachute from allrocketengines.ca under Parachutes/Nylon-Red-18\n1x 24mm Motor Holder from allrocketengines.ca under Motor-Mounts/BT-55-24\n1x Elastic Shock Cord from allrocketengines.ca under Shock-Cords/Ribbon\n1x Wadding Paper Pack from allrocketengines.ca under Accessories/EstesWading\nSome D12-5 or D12-3 Rocket Engines from allrocketengines.ca at D/D12-5 and D/D12-3\nOptional Materials: \nLaunch Pad WITH Maxi Rods at https://www.allrocketengines.ca/Launch-Equipment/Pads/Porta-Pad?cPath=19_150 and https://www.allrocketengines.ca/Launch-Equipment/Rods/316\nRemote Ignition System at https://www.allrocketengines.ca/Launch-Equipment/Controllers/Electron-Beam?cPath=19_149 Instructions:\nBUILD INSTRUCTIONS: \nStep 1: Print all required parts (Nose cone, Body, Fin section)\n(The guiding holes are optional, but highly recommended. Also the writing may require supports.)\nStep 2: Glue body to fin section with epoxy\nStep 3: Glue engine mount into fin section, make sure metal retainer is not glued down.\n(A rocket engine can be inserted in the mount during drying process to prevent this)\nStep 4: Cut a 1.5' section of elastic shock cord and glue it to inside of nose cone and body.\n(Make sure that it is glued so the nose cone and body can be joined)\nStep 5 (Optional): If the elastic shock cord snapped on your first launch, repeat step 4 for extra strength.\nStep 6: Tie all strands of parachute in a "Girth Hitch" around mid-point of elastic shock cord. \n(File includes 7, but only two are necessary)\nStep 7: Glue guiding holes into the gap between two fins,\none 1/2 down from top of body and one above bottom of fin section.\nStep 8: That's it for assembly!\nPrelaunch setup:\nStep 1: Insert three sheets of wadding paper into the body. \nStep 2: Fold nylon parachute tightly and insert into body. \nStep 3: Take all loose strands of parachute or elastic and also insert into the body.\nStep 4: Close the body by joining the nose cone to it. (It is normal for nose cone to be loose.)\nStep 5: Insert engine into mount. \nStep 6: Insert small igniter in divot on bottom of engine and then also insert white plug into divot.\nStep 7: Place guiding holes of rocket into guiding rod of launch pad. \nStep 8: Connect clips of remote launch system and back up a safe distance.\nStep 9: Launch!
With this file you will be able to print The "Proton MK 1" Model Rocket with your 3D printer. Click on the button and save the file on your computer to work, edit or customize your design. You can also find more 3D designs for printers on The "Proton MK 1" Model Rocket.