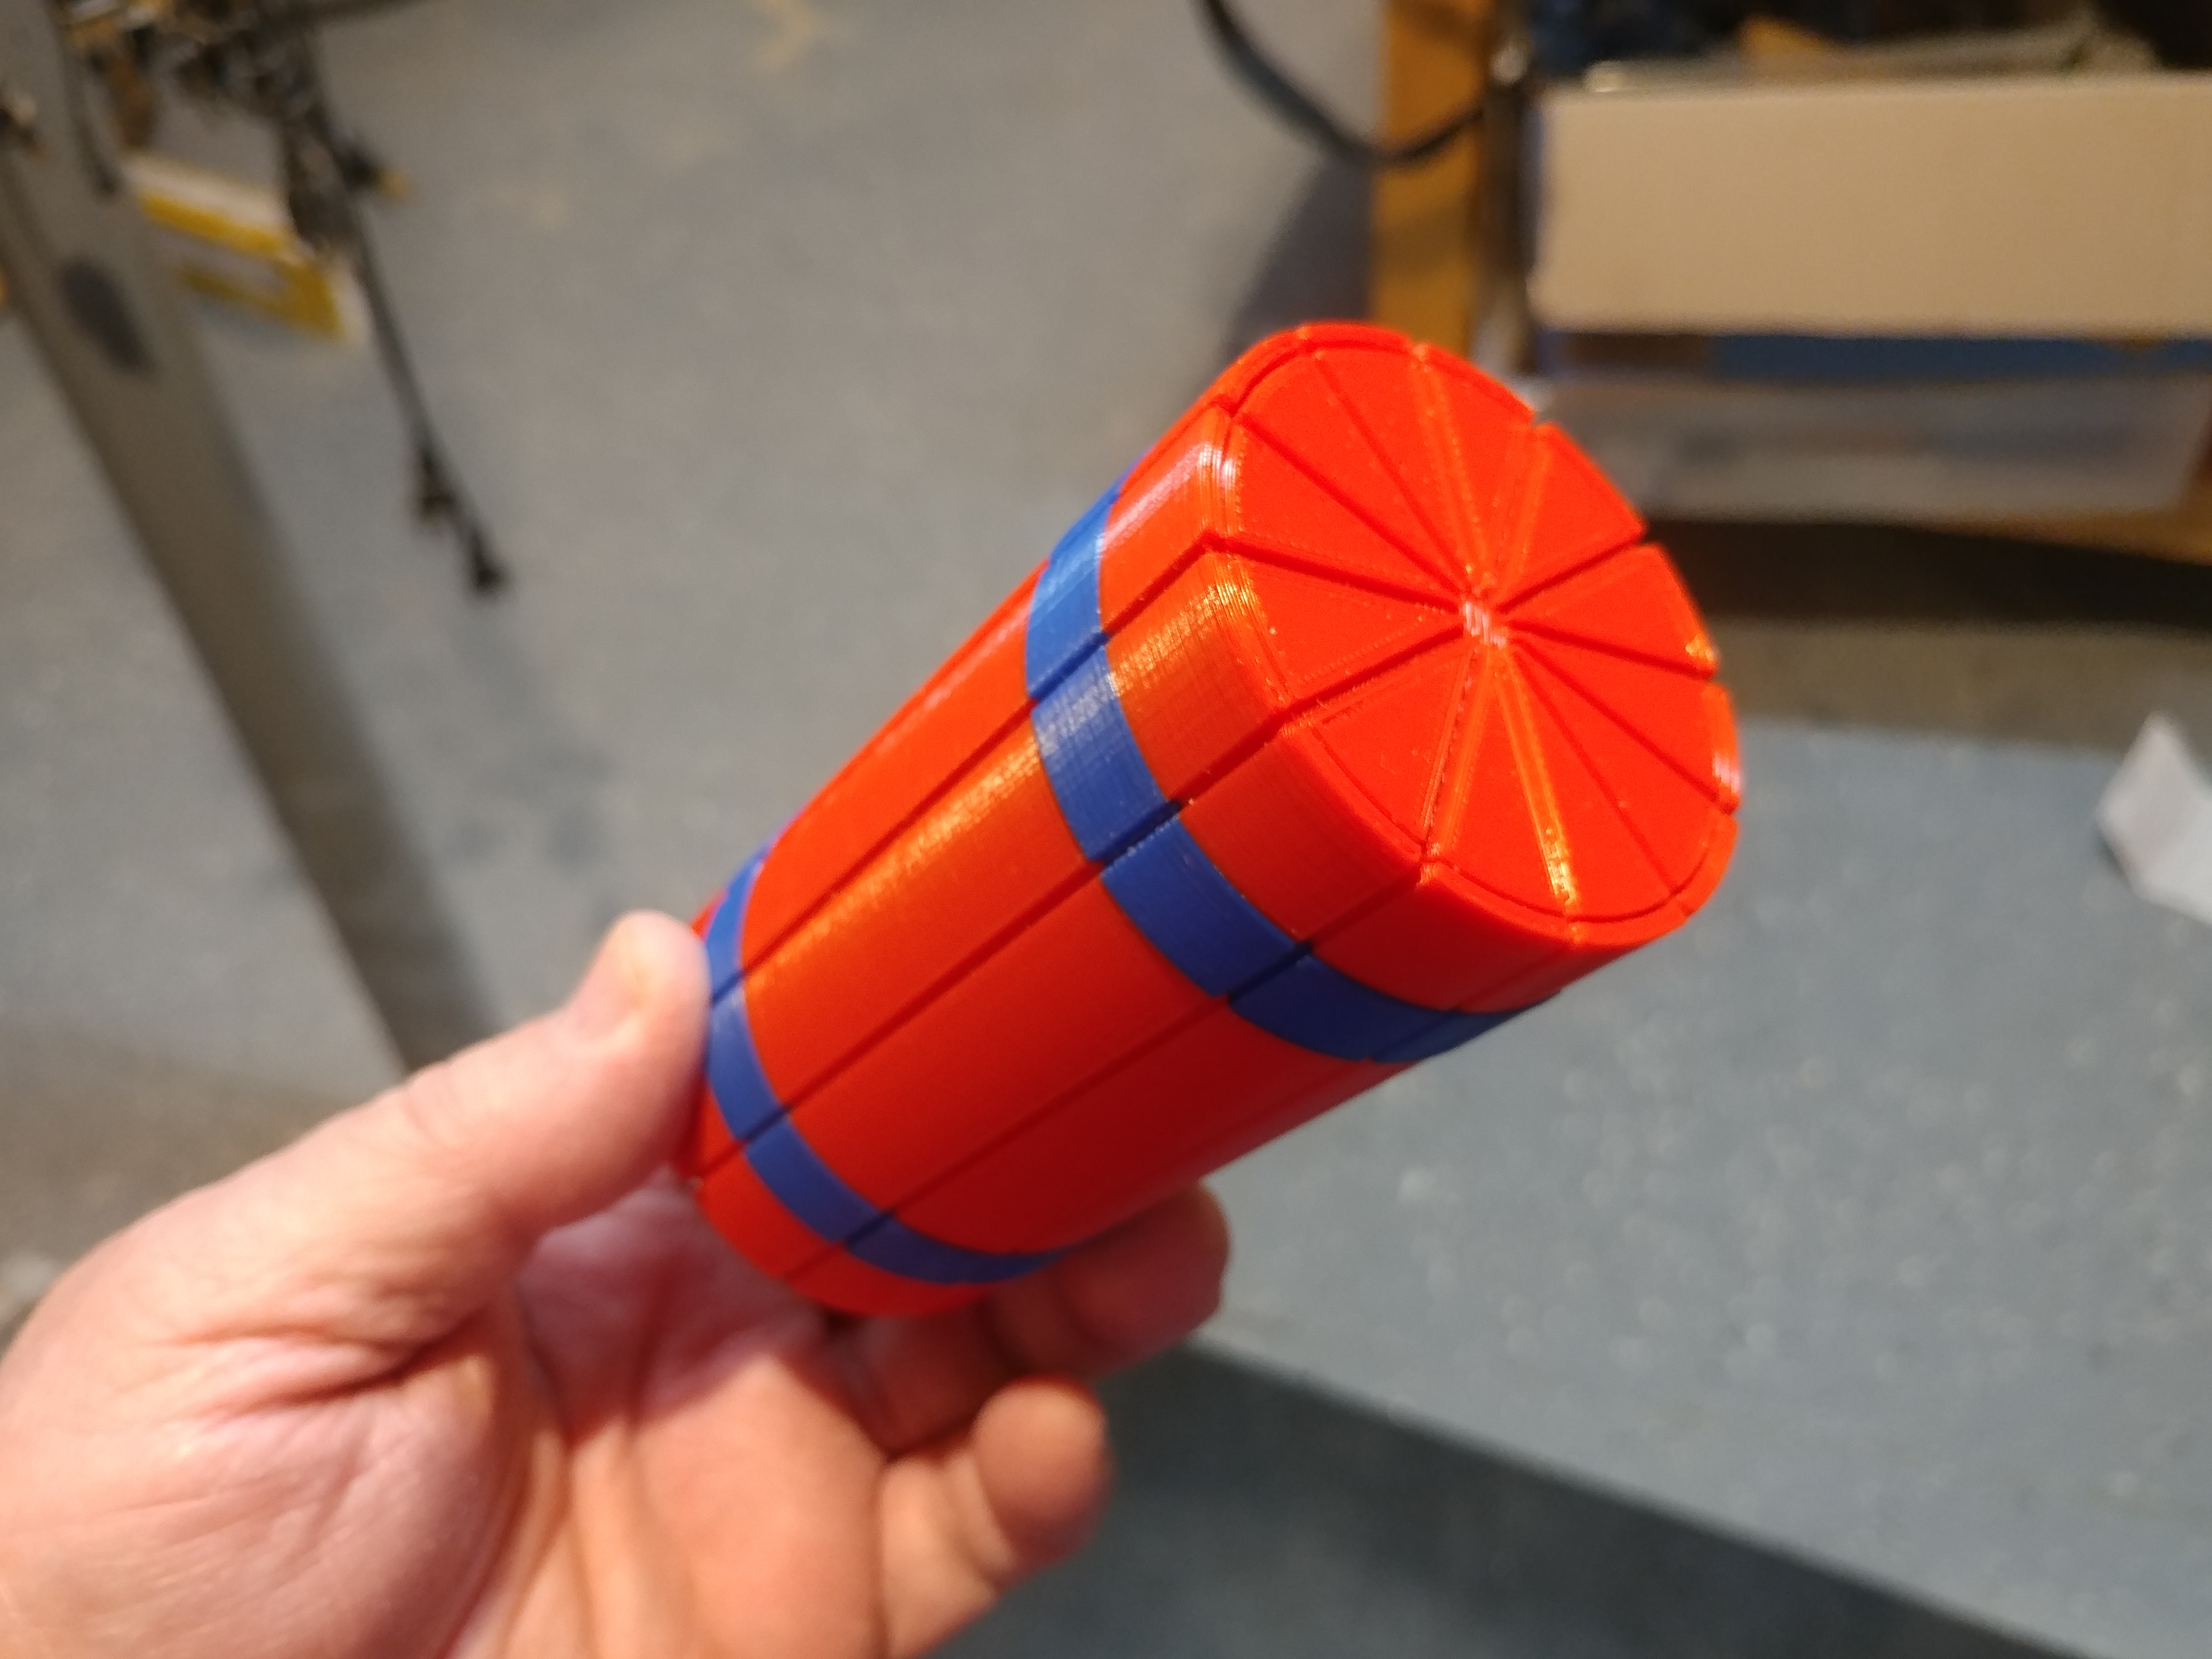
The Puzzle Gift Box IIII - Now with Magnetic Lock!
prusaprinters
<h3>The Puzzle Box IIII</h3><p>This is updated fourth version in my "Puzzle Box" series..Now with an added twist - a magnetic closer</p><p>NIce easy Puzzle Box - great way to give a small gift. Once closed, the box is very eay to open - if you know how!</p><p>I have seen people puzzle on this for an hour+ - but if you know how, you can intantly open the box - and retrieve the prize!</p><p>This New Round Version Now features a magnet closer - so the box can not be opened by simply shaking it. As with the previous version, this one has slots on both ends of the box to make it even more deceptive, and an indent at both ends to make it very hard to know which end opens up!</p><p>Comments?</p><h3>Print instructions</h3><p>I printed mine with Red & Blue PLA+ - this box is an easy print, requiring no supports. One of the magnets needs to be added while the box is printing. This magnet can be glued in when it is time to change filament (you can install the magnet later - but this is a lot easier).</p><p>I have include pre-sliced files, with the color change on the main box. The box comes as three parts: The main outer box, The inner drawer, and the back plate for the inner drawer. All box parts need to be printed with the same color, the only color change is with the outer box (the two 10mm bands)</p><p>When I sliced my prints, I added pauses for the color change - this color change, while not mandatory - helps sell the impossible nature even more!</p><p>When printing the main outer box, Install your magnet on the first color change (or add a pause). The magnets I used are 3/8" in diameter (9.525 mm) by 1/16" (1.5875 mm) wide. I included a 10mm hole to make it easy to install. I used two part epoxy for my magnets - during the pause, mix up some epoxy, put it in the hole and drop in the magnet - both magnets need to be installed in the same orientation (both north or south pole pointing up) that will allow the drawer to be pulled in correctly.</p><p>The second magnet is installed in the drawer back plate - this can be done after printing has completed. Let the epoxy cure.</p><p>After printing - use super glue to connect the drawer back plate to the inner drawer box (see pictures). When gluing the drawer, make sure that the edges of the drawer are tightly pressed (no gaps) otherwise, the drawer may not fit!</p><p>After you are positive the glue has set (Don't glue the box and drawer together), slide the two halves together slowly and check for binding. Do Not close it all the way - If it binds too much - you will not be able to re-open the box - I used a nail file on the inner drawer to adjust fit.</p>
With this file you will be able to print The Puzzle Gift Box IIII - Now with Magnetic Lock! with your 3D printer. Click on the button and save the file on your computer to work, edit or customize your design. You can also find more 3D designs for printers on The Puzzle Gift Box IIII - Now with Magnetic Lock!.
