The Train Lights Project
thingiverse
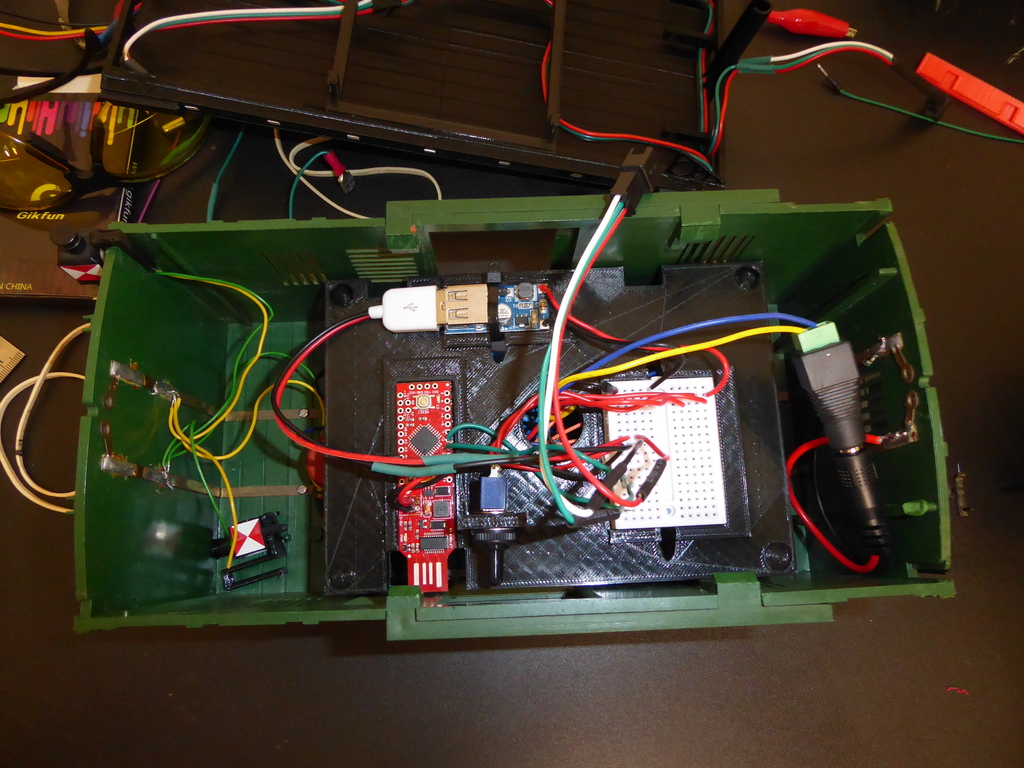
The Train Lights Project goal is to artistically mount controllable lights on GSCALE trains in such a way that they look like the trains have been decorated for XMAS. This project has evolved a bit over the years. Originally I had strips of wood with simple RGB LED strips glued on and hung on my trains. It looked terrible. Except in the dark. A few years ago my wife got me a 3D printer and I realized that I could use the printer to make up for my terrible woodworking (and other handiwork) skills. My first few attempts didn't go so well, mainly because I was still trying to hang the lights onto the cars. My wife finally told me that I needed to think of a way in which I could completely hide all of the wires. To do this, I realized I would have to print the entire roof assembly of a car and not just light rails. To do that...... I needed a better printer. Luckily I had upgraded to an Ender3 and learned how to use openSCAD. Between those two things I was able to get to something that looks pretty good for hanging the wires. Below are links to the builds for a few individual cars (passenger, caboose, flatcar, postcar). I also started experimenting with an Arduino controlling shift register controllable LED strips. I used a little $20 arduino called a RED STICK. It works great. Easy to program and a low power solution. The final controller is made to fit into the PostCar. The PostCar comes from LGB (Lehman Grow Bahn) with power hookups already wired. The car picks up power through its wheels. I then put the power through a few modules I got (listed below) from amazon that: 1) Retify the Power (so when the train runs backwards things don't get fried). 2) Convert the 5-12V to 5V USB out. 3) Convert the 5V USB to Battery Charging (for 18250 batteries) 4) Battery power back to 5V usb. This powers the Arduino and provides the 5V main power for the LED strips. The entire circuit set fits into a holder model (shown on this page). This is a 2 tier model. The individual components are held in place with wire ties. Oh, why have the batteries in there? Because I want the lights to keep flashing with the train stops at a station. I include here schematics and parts lists and SCAD files and arduino programs. The whole shebang. The Arduino sticks out at the PostCar sliding door, so you can hook up a USB cable up to the Redstick and program it . Other Related Projects (like the individual Cars) PostCar https://www.thingiverse.com/thing:3784422 Passenger Car https://www.thingiverse.com/thing:3784899 Caboose: https://www.thingiverse.com/thing:3787103 Flat Car: TBD Xmas Gondola: TBD Controlling Software: TBD
With this file you will be able to print The Train Lights Project with your 3D printer. Click on the button and save the file on your computer to work, edit or customize your design. You can also find more 3D designs for printers on The Train Lights Project.