Theremin
thingiverse
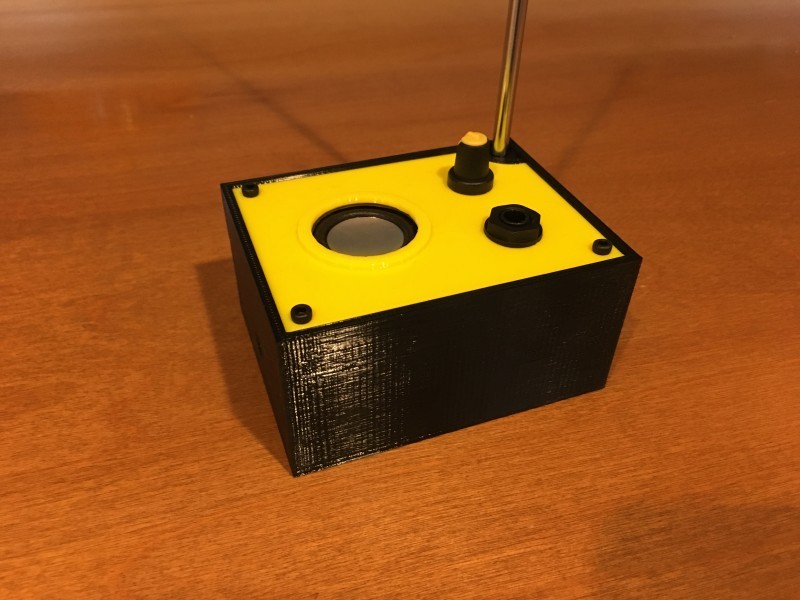
This is a 3D printed case for a simple, pitch only theremin design known as the "Thierrymin", named after its designer Thierry Frenkel. The schematic and instructions can be found over at Theremin World at http://www.thereminworld.com/Forums/T/29231/my-new-year-gift-to-tw-a-new-theremin-circuit?Page=0. I have included Thierry's schematic on this page, but strongly encourage you to head over to the thread linked above for more assembly and tuning instructions. This is a really simple circuit to assemble, and a lot of fun to play with. I have also added a small 2W speaker and an LM386 amplifier. I have also included a schematic showing how this amplifier is wired. In addition to the parts Thierry lists on the schematic, you will also need the following parts for use with this 3D printed case: * 50mm x 80mm breadboard. I used the one from BusBoard (model PAD1), available from Mouser or Digikey * 10K 16mm rotary potentiometer * 36mm diameter 8 Ohm speaker (see picture) * 1/4" Mono Switched Phone Connector * Round rocker switch (20mm diam hole) * LM386 amplifier * 4mm banana socket jack (or similar) for grounding connector * 9V battery connector * 50cm, 6mm diam telescopic antenna, with 3mm thread. I've included a picture. Mine was actually 47cm from uxcell, and worked just fine. * 12mm M3 bolts and nuts * Side-facing variable capacitor (see below) The schematic calls for a 4-22 pF variable capacitor. I recommend using a capacitor that faces to the side, so it can be adjusted after the box is closed. The case design includes a hole on the left side, and the capacitor will need to be aligned with this hole. I used the Sprague Goodman GYD40000 3.5 - 40 pF capacitor, available at Mouser, which did the trick. If using the same capacitor, place it in the upper left corner of the breadboard, facing left, with the center lined up with the 5th row from the top of the board (see photo). This unit is designed to be powered off of a 9V battery. That said, it works best when grounded. If you are connecting to an external amplifier using the 1/4" jack, it is likely that the shield is already grounded. However, if you are using the speaker on the unit, you may find that a grounded connection gets better performance. In the photo, you will see a green banana jack on the back for this purpose. I connected that to a modified wall plug with only the ground connected. The case needs to be printed with internal supports, due to the antenna mount. M3 nuts hold the lid in place. To insert the nuts, use a long M3 bold through the hole in the case, thread the nut into the bolt, and pull up (or tighten). They should be held in place with friction until the lid is installed. Last, the speaker can be held in place with hot glue (see photo). Enjoy!
With this file you will be able to print Theremin with your 3D printer. Click on the button and save the file on your computer to work, edit or customize your design. You can also find more 3D designs for printers on Theremin.