Thin Footswitch
thingiverse
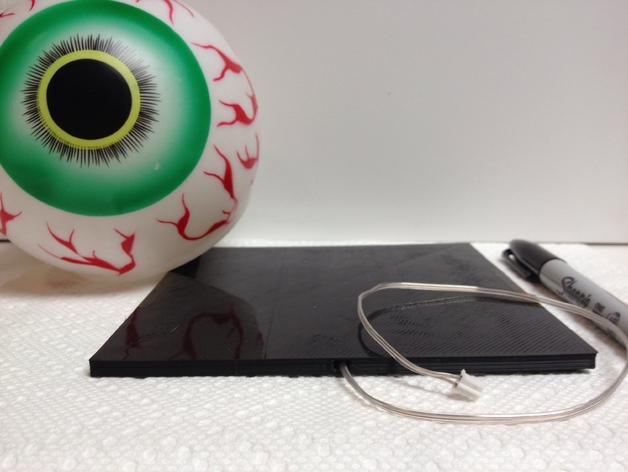
Easily assemble this Thin Footswitch prop trigger for your Halloween decorations using aluminum foil and double-sided tape. The 3D printed parts require approximately 20-30 minutes of print time each, with assembly taking an additional 5-10 minutes. Follow the pictures for a visual guide, with instructions only needed in specific cases. First, cut two layers of aluminum foil to fit the CENTER DIVIDER shape as a template. Attach the foil to the inside of both TOP CASE and BOTTOM CASE using double-sided tape. Next, insert the wire through the hole in the TOP CASE and secure with tape. Repeat for the BOTTOM CASE. Finally, attach the CENTER DIVIDER to the BOTTOM CASE, ensuring wires are not crushed. Thin Footswitch is suitable for low-voltage projects only; do not use it with AC current. Get creative with placement options, such as hiding it with a rug or attaching to a wall and adding a drawing.
With this file you will be able to print Thin Footswitch with your 3D printer. Click on the button and save the file on your computer to work, edit or customize your design. You can also find more 3D designs for printers on Thin Footswitch.