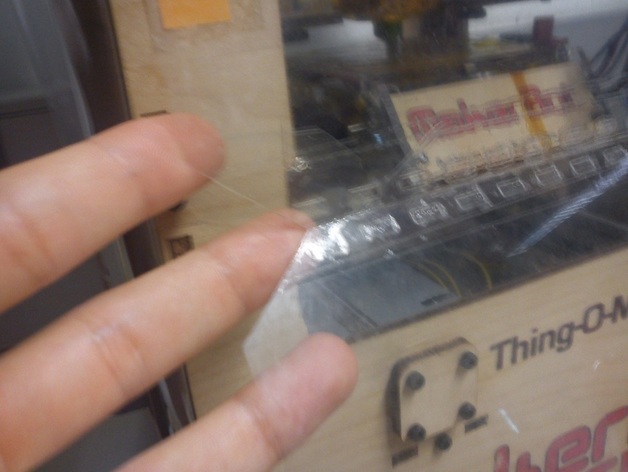
Thing-o-Matic Side Panel Plastic Covers
thingiverse
A cutting template for making covers for the 4 sides of your Thing-o-Matic 3D printer. These can be easily made using A4 sheets of printer transparencies (overhead projector sheets) and a standard 2 hole office hole punch. Covering the sides of your printer is not just an aesthetic feature either, it can help improve print quality by keeping in heat and keeping out draughts. By helping keep heat within the body of the printer, the time taken to reach printing temperature is slightly reduced and less strain is placed on the heating elements which may help preserve their lifespan. By helping keep out draughts a more even and consistent temperature can be maintained we can reduce issues associated with uneven cooling such as weak inter layer bonding, cracking, lifting of the base etc. This has been crucial in getting consistent results from our printer as the building we are based in is old and occasionally quite breezy. Instructions Assemble printer in a breezy room and find it doesn't work well Obtain 5 sheets of printer transparencies (A4 is ideal), hole punch, single sided and double sided adhesive tape. Cut and punch holes in transparencies according to attached file Run Tape along both sides of the chamfered (corners cut off) seam to connect the Front Top and Front Bottom Panels Place doublesided tape around the bolt holes cut into the Front Panel Tabs to help it stick to the front of the machine Run a strip of doublesided tape along the top and bottom of the cutouts on the Left and Right sides of your machine. Run a strip of doublesided tape along the left and right of the cutout on the Rear side of your machine. Run a strip of doublesided tape along the top of the Front side of your machine. Remove the following bolts 6x topmost on front panel, 4x to the sides of rear cutout, 2x that bolt into the acrylic panel on the left side & 2x that bolt into the acrylic panel on the left side. Carefully attach panels to all 4 sides using the double-sided tape taking care that the bolt holes line up correctly Carefully attach Front Panel Tabs so that the sharp ends point towards each other and their holes line up with the middle bolt holes Reinsert all bolts Enjoy more consistent print results Optional 1: Remove all but the inner upper corner of the 2 useless rounded square pieces on the top panel so that you can use them along with the punched holes on the bottom front flap to hold it out of your way when you're working inside the machine. Optional 2: Replace one of the sides panel covers with an A4 page holder/document cover to keep some relevant documents (print settings/job list/Operators Manual in place on your printer! Note: If you are having issues opening the 2010 Autocad format .DWG file try the more oldschool .DXF file
With this file you will be able to print Thing-o-Matic Side Panel Plastic Covers with your 3D printer. Click on the button and save the file on your computer to work, edit or customize your design. You can also find more 3D designs for printers on Thing-o-Matic Side Panel Plastic Covers.
