Thing-O-Matic X-Y Motor Tensioner
thingiverse
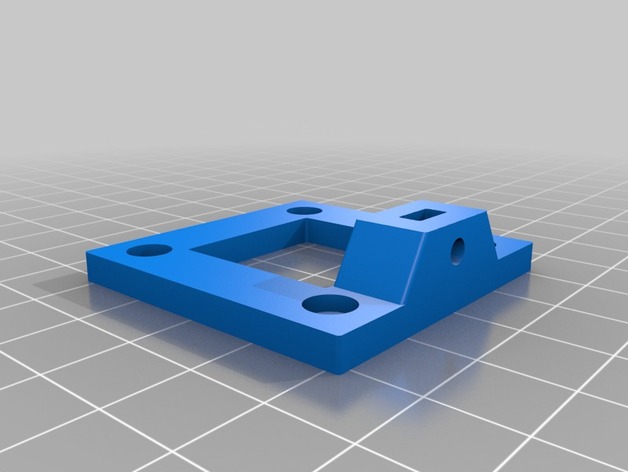
I remodeled it in Solidworks and filleted the edges properly and made the tolerances a little tighter. I didn't like the conical screw hole as I was using the standard M3 bolts that came with my ToM, so I simply countersunk them. I gave the tensioning 'tower' part a little more beef. I still had to slightly drill out the main 4 screw holes, but the M3 screw whole for the tensioner part fit perfectly. I also added a small plate to replace the cork as I wanted this motor to slide when I tightened the tensioning bolt. The overall dimensions I believe are a tad too big, as I still had to sand/file down some sides to really make it fit perfectly. Maybe someone else will have better success with it. Maybe my scaling was off when I printed it. Let me know! After installing, my print quality went WAAY up. Circles are now actual circles, not weird polygons. Instructions You will have to remove the motor completely. Remove the cork spacer as this will cause the motor to stick. Installation layers are as follows: Tensioner Part 1 Wood Y-carriage Tensioner Part 2 (simple flat plastic spacer/slider) Nema 17 motor I had a little blue locktite on the M3 bolts holding the motor already. I tightened down the bolts through the plastic parts just snug enough that it still allowed my to slide the entire assembly by tightening the tensioning screw. You can then tighten down the main 4 bolts after it is place if you really want to.
With this file you will be able to print Thing-O-Matic X-Y Motor Tensioner with your 3D printer. Click on the button and save the file on your computer to work, edit or customize your design. You can also find more 3D designs for printers on Thing-O-Matic X-Y Motor Tensioner.