Thomas Minis Magnetic Tracks
thingiverse
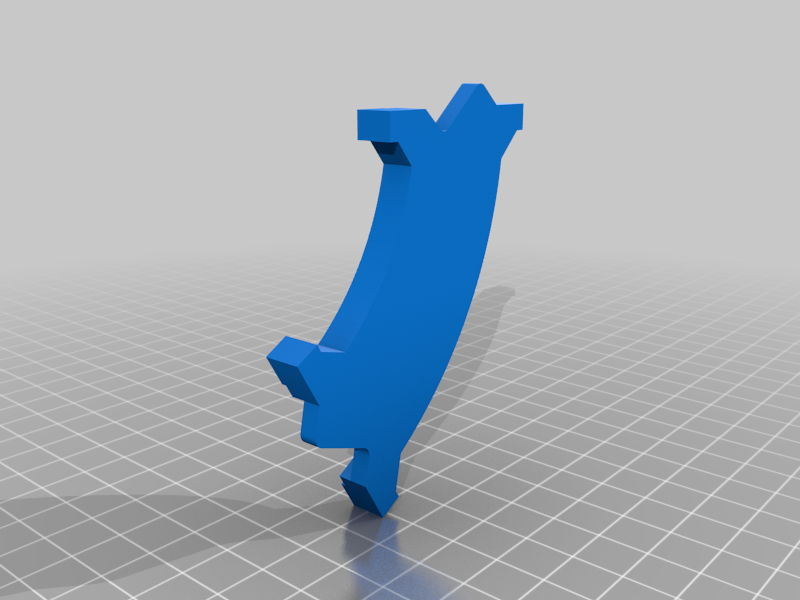
Important Stuff: Needed for this track: 2mm thick x 5mm diameter magnets Pause height(s) for magnet insertion: All Pieces 6.5mm, Bridge 6.5mm AND 45.5mm Tracks are built on a 80mm diameter (side to side, NOT corner to corner) hexagon The bridge is 3 pieces long (240mm) and split into halves. Pieces are 8-14g of material (varies with print settings), with a bridge half being 34g (68g for the whole bridge). Sorry for every piece being designed on the wrong plane... You'll need to rotate 90deg to print on the bottom. I'm sure I missed something. Let me know :) Background Stuff: My son is into Thomas Minis. Growing up, I had the wooden Thomas trains and tracks that I loved to make big tracks with. The Thomas Minis only have static sets, so I decided to make my own mini tracks. A few key things about my design: My tracks are based on hexagons / 60 degrees. The old wooden tracks had 45 degree turns. The problem with this is tracks will not always line up, so they have varying length of straight pieces to make things work and the system is more complicated than it needs to be. By using 60 degree turns and making every piece within the same size hexagon, every assembly of track pieces can be thought of as a honeycomb. Pieces always line up. The one downside is that you can never have perpendicular tracks. There are three possible directions, all 60 degrees off from the others. My tracks use magnets to connect. I had two versions of tracks growing up. The Thomas brand had male to female pieces, with various short male to male and female to female pieces/adapters. This worked, but you ran out of those adapters quickly if you had many splits in your track. The off brand had all female to female pieces and a ton of small male to male connectors. This was an improvement because you never had to worry if one piece was going to mate with the other. However, this also adds another piece to connect and presents a choking hazard for little siblings. My first iteration used this approach with the extra connector pieces. However, I eventually settled on a design that made every connection on every piece half male and half female, so pieces would always mate, and used magnets embedded inside the tracks to hold them together, so there was no extra piece or choking hazard. The obvious downside to this choice is the magnets have to be inserted mid print (toward the end of the print). I've included a simple honeycomb grid so if you'd like you can plan out a track and see what pieces you'll need before starting to print.
With this file you will be able to print Thomas Minis Magnetic Tracks with your 3D printer. Click on the button and save the file on your computer to work, edit or customize your design. You can also find more 3D designs for printers on Thomas Minis Magnetic Tracks.