Threading Tool Grinding Gauge
prusaprinters
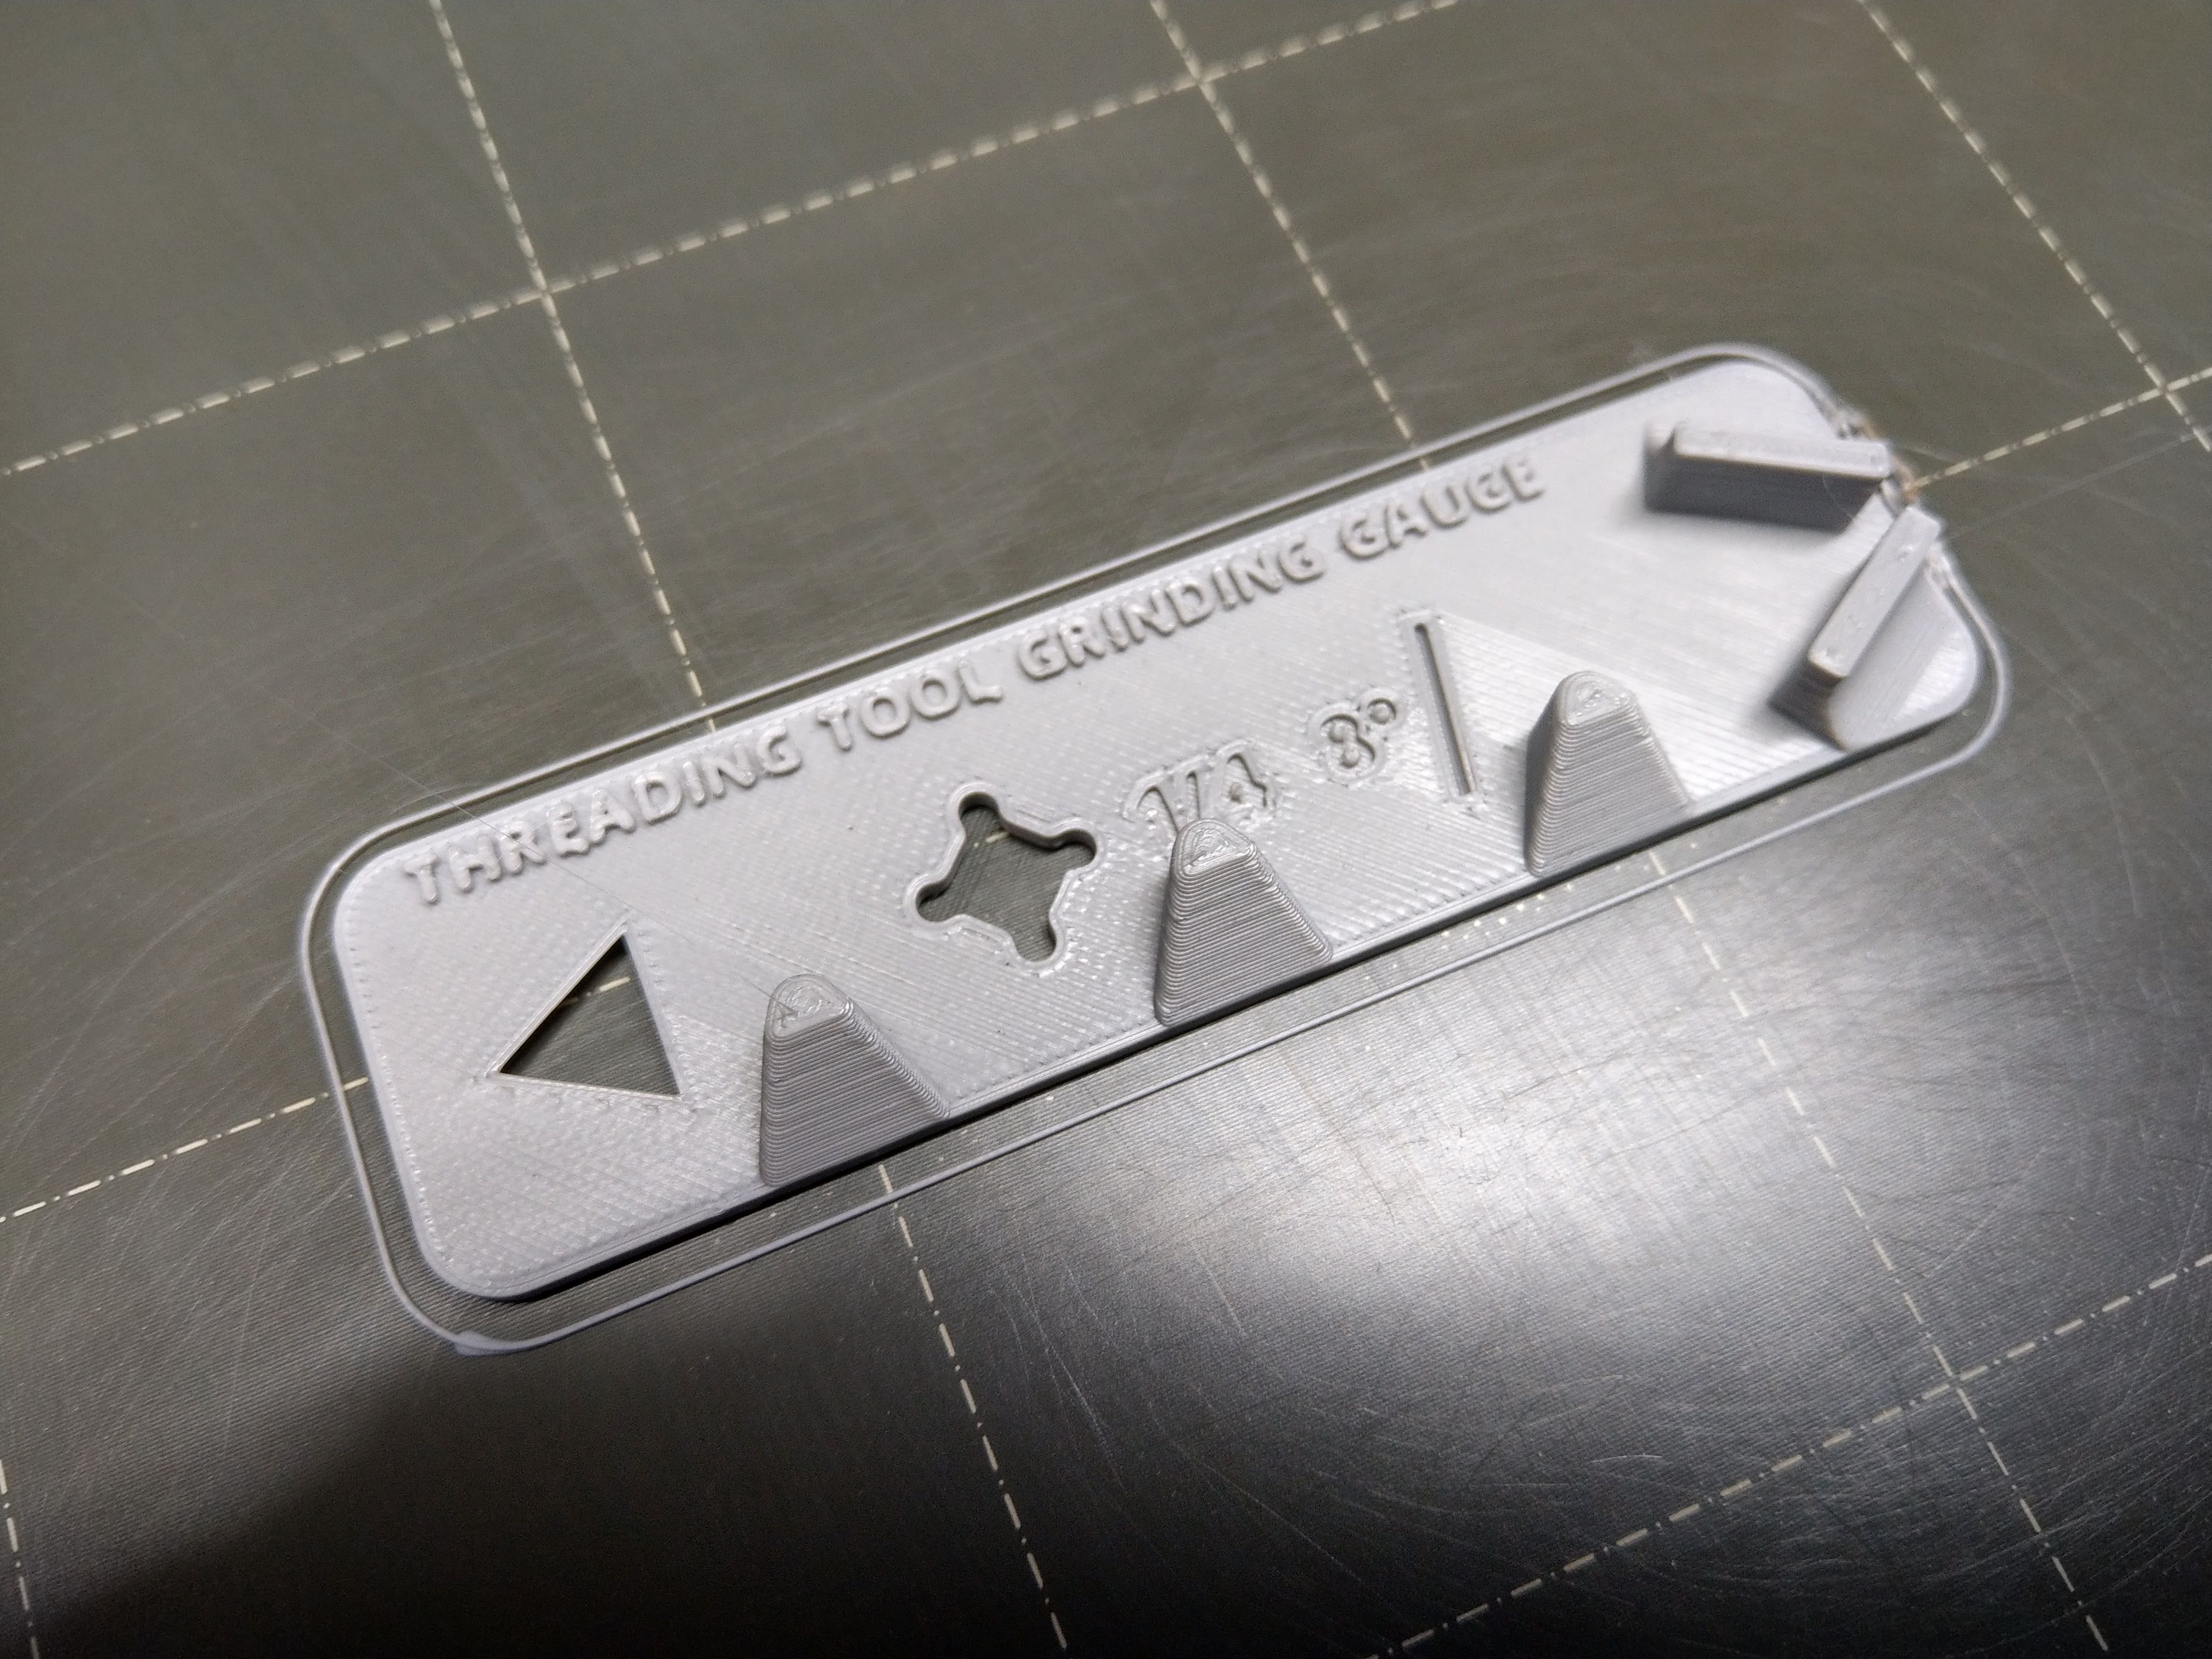
<p>This tool is used to gauge the grinding the a thread cutting tool for a lathe. This idea is not original with me - all credit goes to this Shop and Math video :</p> <p> <figure class="media"> <oembed url="https://www.youtube.com/watch?v=DQadHSyx_Zs&t=608s"></oembed> </figure> </p> <p>The STL file from that video is here : <a href="https://tinyurl.com/y84atxne">https://tinyurl.com/y84atxne</a></p> <p>The above video is well worth watching for tips on how to use the gauge, as well as tips on actually grinding the thread cutting tool.</p> <p>The original gauge from the above link is quite good, but I wanted to create my own version(s) for several reasons. First, I always like to re-create STL files in CAD whenever I can, because it's a good way to improve my CAD skills. Second, I thought of a couple of what I believe are minor improvements in the original design. And finally, the original design is for 3/8" lathe bits only, and I wanted to also make one for 1/4" bits for my mini-lathe.</p> <p>The minor improvements I made are as follows:</p> <ul> <li>I redesigned the alignment and angle posts to give them all a large fillet (stronger)</li> <li>the angle gauge posts for the 60° tip have straight sides, which I think makes for easier checking in the early stages of grinding</li> <li>I added an "angle line" to check the 8° face angles of the point</li> <li>I added a chamfer to the bottom of the scribing guide for scriber clearance</li> </ul> <p>The Shop and Math video talks about how to use the gauge, but here are some brief instructions anyway See photos):</p> <ul> <li>mark the tool bit with a sharpie, Dykem, etc., and then use the scribing guide (the triangular opening) and a scriber to mark the angle to be ground on the end of the tool bit.</li> <li>grind the end of the tool bit to fit the triangular opening on the right end of the gauge</li> <li>grind the relief angle on the two faces to match the angle mark (with the tool bit sideways)</li> </ul> <p>An additional note about the relief angle: The two faces are to be ground to a relief angle of 8°; as a result of this, the profile angle of the tip will actually be closer to 13.5° (which is the angle of the angle guide on the flat of the gauge).</p> <p>The OnShape 3D CAD files for this are here :</p> <p><a href="https://cad.onshape.com/documents/2c7fd8c744729c5ce3078e14/w/68fcd572ef0487ef654c7152/e/b1b948e61dfbc075943df0e6">https://cad.onshape.com/documents/2c7fd8c744729c5ce3078e14/w/68fcd572ef0487ef654c7152/e/b1b948e61dfbc075943df0e6</a></p> <h3>Print instructions</h3><p>Use the 3mf files provided to print in PLA.</p> <p>Note that the gauges are provided in two sizes as noted previously - one for 3/8" and one for 1/4" tool bits.</p> <p>The gauges can probably be scaled to work with other tool bit sizes, but I have not tried this. Note that you must use a gauge sized to fit your tool bit if you want the cutting point to be centered.</p>
With this file you will be able to print Threading Tool Grinding Gauge with your 3D printer. Click on the button and save the file on your computer to work, edit or customize your design. You can also find more 3D designs for printers on Threading Tool Grinding Gauge.