Throttle & mixture for flight sim
thingiverse
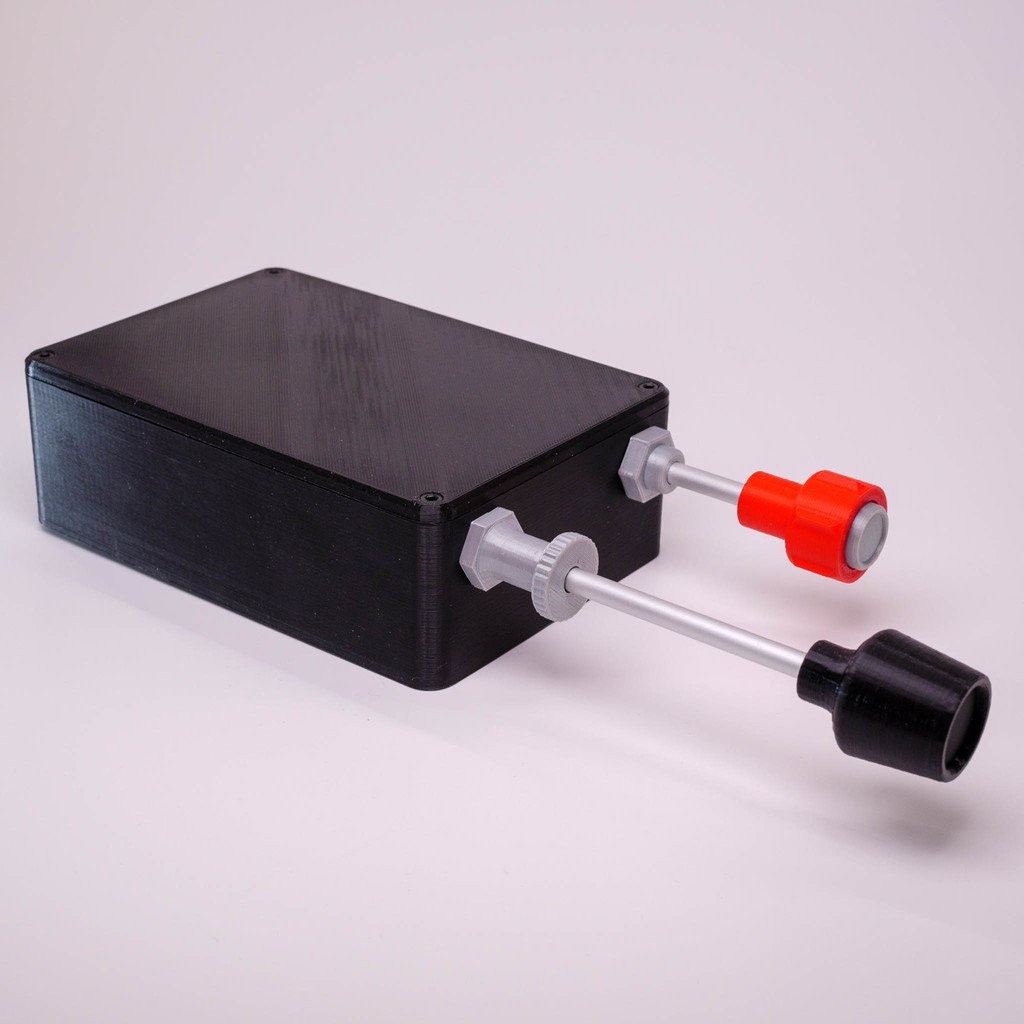
<p>This a mostly realistic Cessna throttle and mixture for flight simulators. It connects to a PC similar to a joystick with a USB cable. The PCB used also allows for more buttons or pots, which could be added on the lid in the future.</p> <h3>Things you need:</h3> * 2x Linear Pots PTB0143-2010BPB103 https://www.digikey.com/product-detail/en/bourns-inc/PTB0143-2010BPB103/PTB0143-2010BPB103-ND/3534166 * BU0836A 12-Bit Joystick Controller http://www.leobodnar.com/shop/index.php?main_page=product_info&cPath=94&products_id=204 There is also a version without the connectors soldered if you want to save some money and solder them yourself http://www.leobodnar.com/shop/index.php?main_page=product_info&cPath=94&products_id=219 * 2x 6 mm metal rods from your local hardware store, I chose aluminum (length in total about 350 mm) Screws: * 16x M3x6 * 2x M3x12 * 2x M3 nuts * 4x M2.5x4 optional: * 4x M3 threaded heat inserts <h3>Print all parts:</h3> * 1x Case_Inserts or Case, depends on if you want to use threaded inserts * 1x Lid * 1x PotRodConnectorleft * 1x PotRodConnectorright * 4x PotScrewPlate * 2x Cessna_Mixture_Nut silver * 1x Cessna_Mixture_Guide silver * 1x Cessna_Throttle_Guide silver * 1x Mixture_Button silver * 1x Cessna_Throttle_Knob black * 1x Mixture_Knob red <h3>Assembly</h3> <p>Cut the 6 mm metal rod in two 166 mm pieces.<br/> Glue the knobs on the rods like in the picture.</p> <p>Solder one long ground wire and two short wires (5V and input) to the solder tabs of the potentiometer. Look at the picture for which wire goes where, black is ground, red is 5V and green is input.<br/> Assemble the PotRodConnectors by placing a M3 nut in the hex shaped hole and secure it with a M3x12 screw. Do not screw them tight yet!<br/> Stick one PotRodConnectorleft and one PotRodConnectorright on the potentiometers, so that the screw points inside. The back part with the screw should point to the two tabs of the potentiometer.<br/> Screw two PotScrewPlates each on the potentiometers with the flat part outside.<br/> Seat the potentiometers in the enclosure and secure them with 8 M3x6 screws. The side with the two contacts should point to the back.<br/> Now screw in the mixture and throttle guide with the two printed nuts.<br/> Finally, stick the throttle and mixture rod through all the way and fasten the screw on the potconnectors.</p>
With this file you will be able to print Throttle & mixture for flight sim with your 3D printer. Click on the button and save the file on your computer to work, edit or customize your design. You can also find more 3D designs for printers on Throttle & mixture for flight sim.