Thrustmaster Pendular Rudder (TPR) brake and damper mods
thingiverse
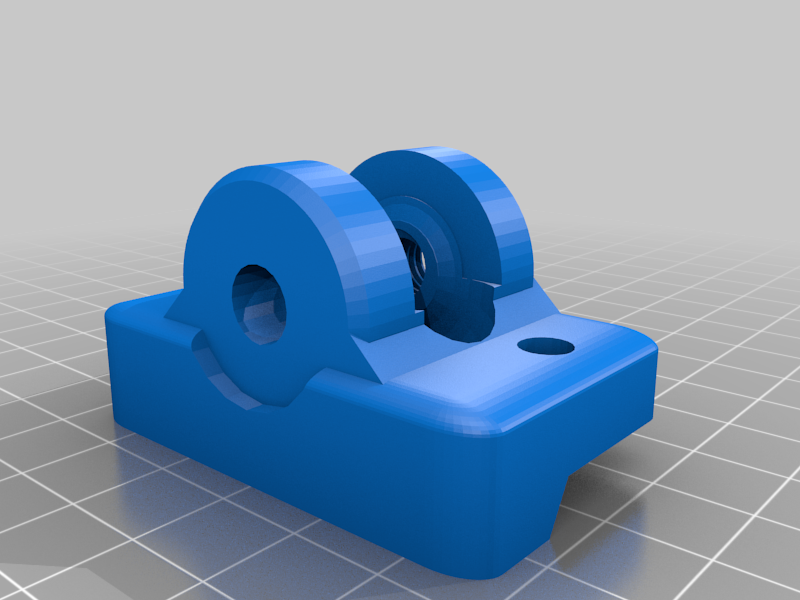
**Various Mods to my Thrustmaster TPR** **Nylon rod end replacement** The pedals are interlinked by connecting rods with nylon rod ends. These can be exposed to high forces, especially when braking and when pushing both pedals simultaneously (there is no good reason to do this). Because the steel counterparts have wider interfaces, new bushings have to be printed in order to exchange nylon for steel. Parts required: - 2x steel M5 rod end bearings right threaded - 2x steel M5 rod end bearings left threaded - 4x printed short spacer bushings - 4x printed long spacer bushings **Brake mod** Parts required: - 2x 170mm M5 threaded rod - 2x 135mm 8mm outer dia, 1.5mm wall steel pipe - 4x (self securing) M5 nuts - 2x steel M5 rod end bearings right threaded - 2x [red mould die compression springs 10x5x45mm](https://www.ebay.com/sch/i.html?_&_nkw=red+die+compression+spring+10+45) - 4x M3x12mm screws - 2x printed axle mount, 100% infill. Print the pedal bracket lying on its side in solid PLA or PETG Open up the electronic brake gauge and exchange the spring with the red spring. After reassembly, replace the nylon rod end bearing with a steel one. Insert the threaded rod into the pipe. On one end, terminate it with the original brake bracket, secured with a counter tightened nut. Print the axle mount and slide it over the pipe. Insert the other end of the thread into the brake rod end bearing and secure it with a nut on the end. You might want to use spacer rings for adjustment. Screw down the original brake bracket and the printed bracket with the M3 screws. In stead of a 45mm spring, 50mm will work as well, but brake travel will be reduced. To mimic real brakes, use a slightly progressive (concave) response curve in your simulator software if possible. **Damper mod** Parts required: - Motorcycle hydraulic steering damper - M8x60mm bolt - M8x30mm bolt - 2x M5x16mm bolts with rounded or hex head (allen is too high) - 2x M5 self securing nuts - printed lower bracket and upper clamp parts Print the parts solid or with at least 3.5mm wall thickness. The lower bracket will need supports. For extra sturdiness, print it laying sideways. Tolerances are extremely tight by design, if the bolts won‘t screw in, try harder or reduce the print dimensions in your slicer by 0.1mm. Drill two 5mm holes exactly centered on the back of your TPR. Use the lower bracket as a template for determining the hole locations. Then screw the lower bracket from below to the TPR. The damper end attaches to the lower bracket with the short M8 bolt (hand tight, 3Nm). The lower bracket is threaded. The upper clamp attaches either below or on top of the horizontal pendulum bar. The upper clamp assembles with the back first, and is held together by the long M8 bolt, which also attaches to the clamp on the steering damper. There is a thread in the back piece of the printed clamp. Do not overtighten, the clamp needs to be tight enough to stay put. If it is too tight, the M8 bolt can easily break the clamp. For initial adjustment, release the clamp on the steering damper. Make sure the pendulum is horizontal and then slide to body of the damper to exactly center on the damper rod. Then tighten the clamp. If the range of motion of the damper is too tight, you can attach the printed clamp closer to the center of the pendulum.
With this file you will be able to print Thrustmaster Pendular Rudder (TPR) brake and damper mods with your 3D printer. Click on the button and save the file on your computer to work, edit or customize your design. You can also find more 3D designs for printers on Thrustmaster Pendular Rudder (TPR) brake and damper mods.