Thrustmaster Warthog Stick Extension
thingiverse
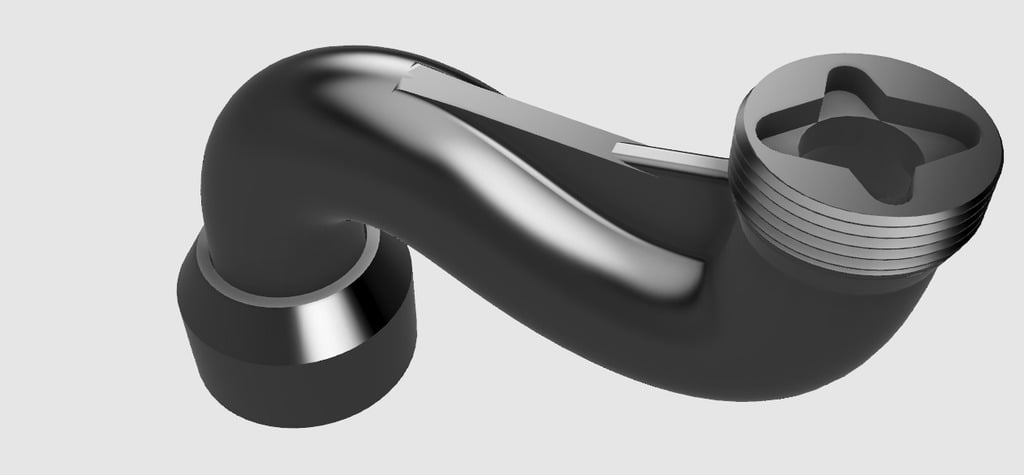
Update (8/9/19): I have uploaded the latest designs that feature dramatic changes. The 20-degree index was abandoned due to its difficulty in keeping up with multiple designs, but 25 is by far the most accurate for military aircraft and bio-mechanically precise. After conducting extensive field tests, the initial versions failed at the lock collar, so I redesigned the lock to include a "ramp" or "wedge" design to eliminate stress on the flange. This change has been incorporated into all designs along with internal gusseting at the base. With this failure point resolved, BFM introduced failures at the second bend below where the stick connects. To address this issue, I increased wall thickness and added an upper external gusset. These modifications, combined with printing in PETG with 90% infill and 4-layer wall thickness, should resolve most failure issues. However, I am hesitant to further strengthen it as it may shift failures to the Thrustmaster joystick base, which becomes increasingly expensive. If you have questions or thoughts on the design, please share your feedback to continue improving them. Thanks and enjoy! Several designs for Thrustmaster Warthog Stick Extensions aim to solve the problem of limited flight sim-specific seats. Most flight simulator seats serve dual purposes as driving simulator seats, making it impossible to mount a control stick between the legs in a bio-mechanically accurate position. This extension brings the control stick back 100mm and up 90mm. Two right-hand indexed versions (one with gusseting and one without) are available, positioned at 25 degrees towards the right shoulder, while a left-hand index is designed for those who prefer to fly an Airbus or C-17 (LH 25). To achieve the correct control feel and setup, you will need to create your own extension cable and install an updated spring in the base of the TM Stick. I recommend using the blue spring from Warthog-Extensions-By-Sahaj.com. To connect the extension, you will require a male and female solder-on 5-pin mini din plug from Digikey. Additionally, a good stranded 5-conductor (8"-9") wire with a PVC jacket is necessary to solder between connectors. This wire can be sourced from Superbrightleds.com.
With this file you will be able to print Thrustmaster Warthog Stick Extension with your 3D printer. Click on the button and save the file on your computer to work, edit or customize your design. You can also find more 3D designs for printers on Thrustmaster Warthog Stick Extension.