TI 99/4a FlashROM 99 Case
thingiverse
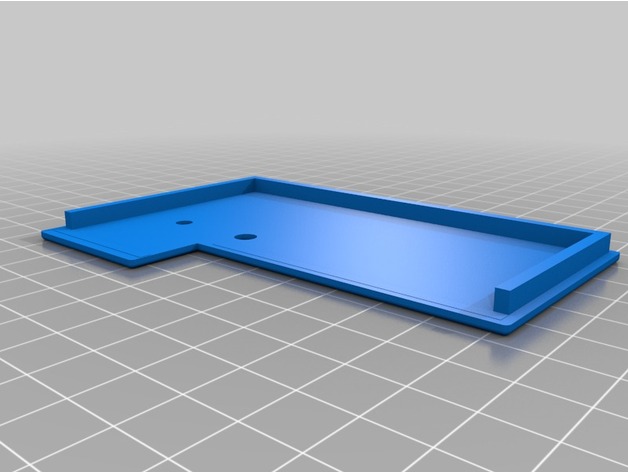
I received and assembled a FlashROM99 recently. It came as a bare board and I wanted a case to protect it. Case is in two parts, the main case, and the cover Before placing the board into the case make sure that the connector fits through the opening. Mine fit fine, but I would suggest check first incase you need to do any clean up. It's a tight fit to get the board into the case, Originally I had all chips socketed, but had to remove the sockets for the front 3 chips in order to be able to build a case that would fit. Also, when inserting the board into the case the solder connections on the large chip may snag. You will need to do be carefully putting the card into the case. The rectangular area at the back of the case make removal of the cartridge easier. The cover stays in place via a friction fit, so I found it easiest to insert the front corners first, then press the rest of the cover into place. Print Settings Printer: MP Select Mini 3D Printer Rafts: No Supports: No Resolution: .15 Infill: 25 Notes: May want to use supports for the main part of the shell. I had some minor issues with the top front section, but was able to print without supports.
With this file you will be able to print TI 99/4a FlashROM 99 Case with your 3D printer. Click on the button and save the file on your computer to work, edit or customize your design. You can also find more 3D designs for printers on TI 99/4a FlashROM 99 Case.