Tilt Xaxis
thingiverse
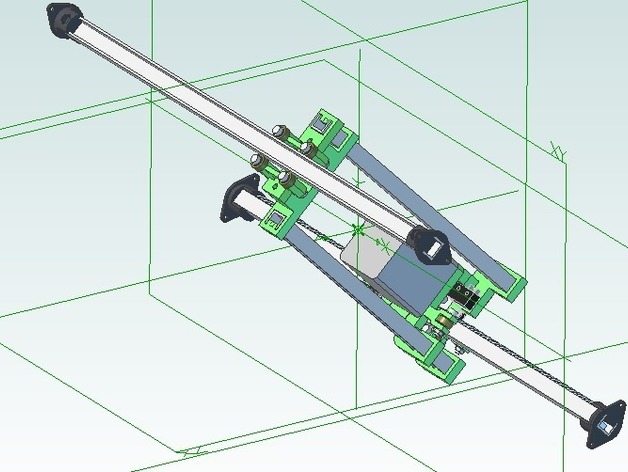
The Xaxis components of a Tilt Printer, compatible with ABP, require printing 1 each of CableClamp, Pinion, XRackNo1, XMtrMntPrt1v3, XMtrMntPrt2v3, and XMtrMntPrt3v3. Additionally, print 4 Channel Plugs and 4 Rackv3 pieces. Cut a 200mm aluminum channel for the top Yaxis rail and an 183mm channel for the bottom Yaxis rail. Assemble two 410mm Xaxis rails with M3 nuts, bolts, and counter-sunk screws. Remember to ream all holes except the pinion hole, which requires M3 tapping. Secure rack pieces with 3mm filament and trim excess. The single short rack piece goes on the left of the bottom rail. Fit micro switches using smaller nuts and bolts, and file away gantry limit points after the entire printer is assembled. A Nema17 motor (SY42STH47-1684A High Torque hybrid stepper motors) is used for this Tilt Printer.
With this file you will be able to print Tilt Xaxis with your 3D printer. Click on the button and save the file on your computer to work, edit or customize your design. You can also find more 3D designs for printers on Tilt Xaxis.