Timelapse upgrade for ender 3 - Two parts, One screw
thingiverse
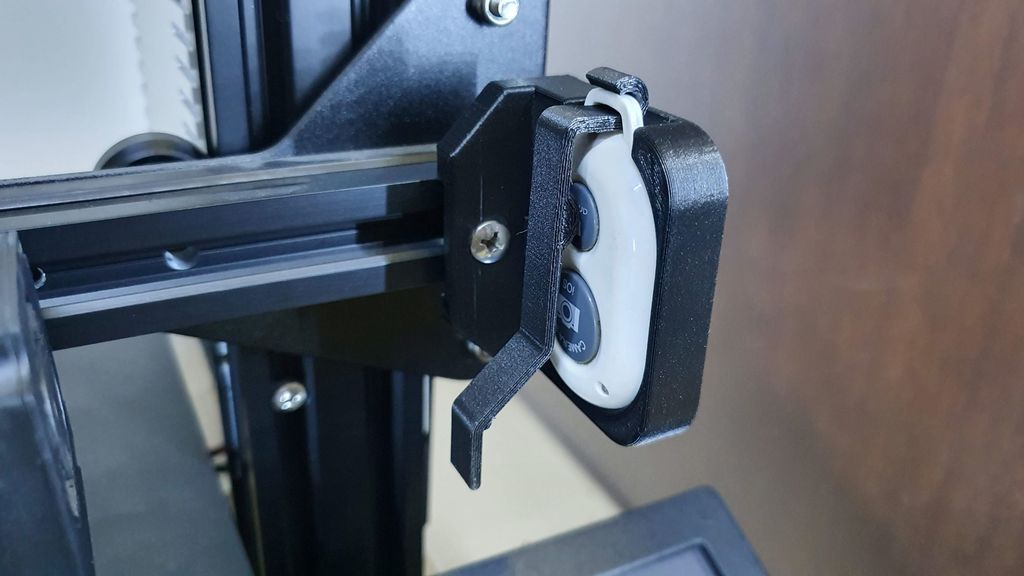
This is a simple upgrade for Ender-3 printer, which lets you taking a picture after every layer. By using a dedicated software or app, you can create a great timelapse videos of your prints. There are some other solutions for doing that, but this solution uses only two simple 3d parts and replacing one screw in your printer (replacing the M4-8mm screw in the pictures with M4 - 10mm). Please share your result if you print one... I've added a 8mm diameter magnet in the dedicated hole and glued it with SuperGlue. This Magnet attracts the battery of the remote and keeps it in place. I guess it will hold just fine without it as well. The remote is a simple and cheap Bluetooth shutter, you can order one as part of a kit in the following link: https://www.banggood.com/custlink/3mmhVi72LG Please feel free to go to my YouTube channel for some other cool videos (most of them are in Hebrew): https://www.youtube.com/channel/UCkyz1GiplFl7wNwlHOKAtRg Enjoy!
With this file you will be able to print Timelapse upgrade for ender 3 - Two parts, One screw with your 3D printer. Click on the button and save the file on your computer to work, edit or customize your design. You can also find more 3D designs for printers on Timelapse upgrade for ender 3 - Two parts, One screw .