Timing Belt X GT2, Printrbot Simple V2
thingiverse
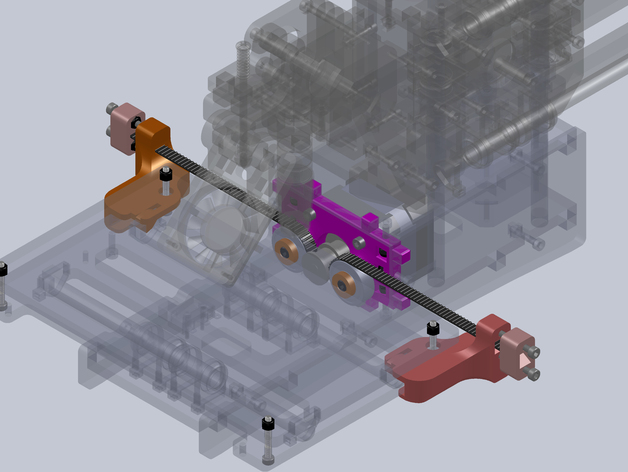
This GT2 timing belt conversion enhances the Printrbot Simple's X-axis performance by replacing the MXL with a GT2 belt and pulley, and using 608 bearings instead of R2. The upgrades raise the print bed 6.5mm, offering benefits such as GT2 tooth form and common 608 bearings. However, be aware that bearing caps have thin walls due to limited space and decreased available Z height. Multiple revisions have been made to improve design flaws. To replace the X-axis motor plate, disassemble all sides of the machine, including removing Z rods from the base plate. Threading the belt can be facilitated using a 4-inch tape strip. Users are encouraged to provide feedback on this work in progress.
With this file you will be able to print Timing Belt X GT2, Printrbot Simple V2 with your 3D printer. Click on the button and save the file on your computer to work, edit or customize your design. You can also find more 3D designs for printers on Timing Belt X GT2, Printrbot Simple V2.