Timing Belt X MXL, Printrbot Simple V2
thingiverse
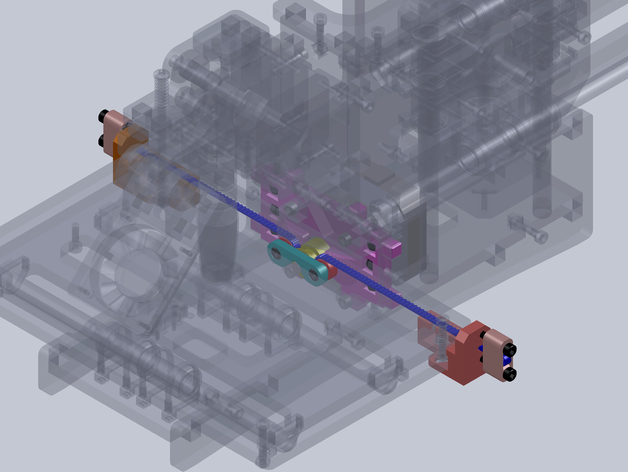
To upgrade your V2 printer (with or without string tension), first add a timing belt to the Y axis following similar assembly methods as seen on thingiverse.com/thing:180146. For post-October 23rd Rev B models, use the alternate X Belt End Mirror and chamfer belt ends for better motor plate clearance. Proceed with caution when replacing the X axis motor plate, requiring disassembly of all sides including Z rod removal from the base plate. The process may seem daunting but it's worth it for a smoother printing experience. Happy upgrading!
With this file you will be able to print Timing Belt X MXL, Printrbot Simple V2 with your 3D printer. Click on the button and save the file on your computer to work, edit or customize your design. You can also find more 3D designs for printers on Timing Belt X MXL, Printrbot Simple V2.