tinkerCentrifuge MK2, upgraded DIY tabletop centrifuge for eppendorf tubes
thingiverse
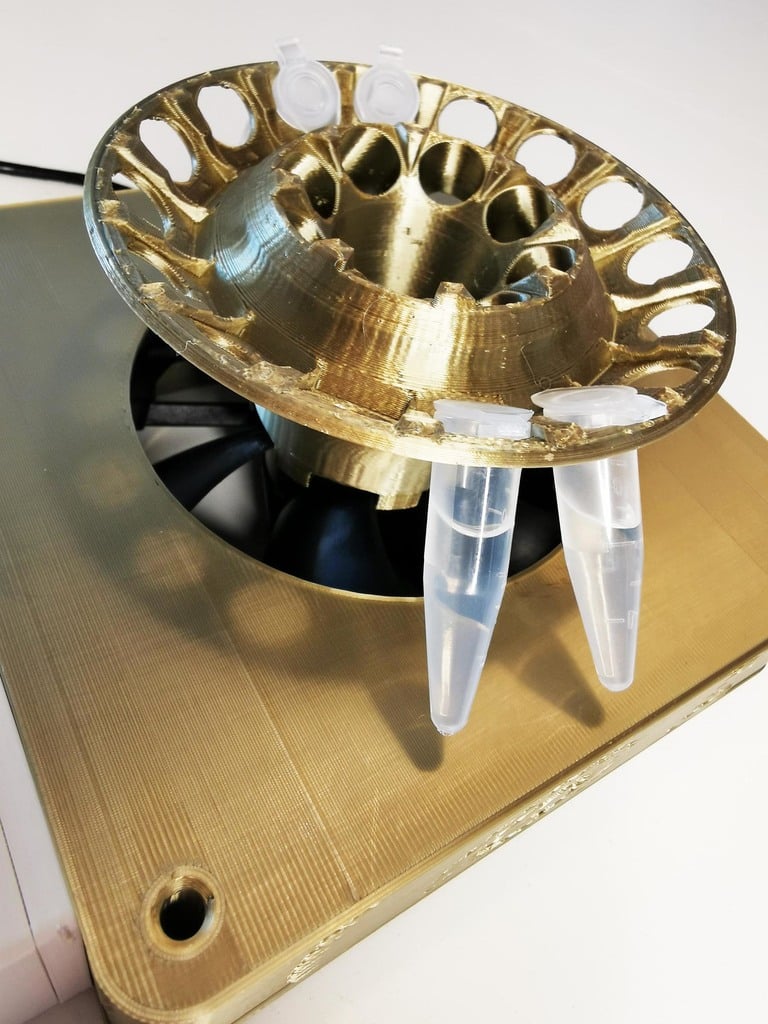
We already have a centrifuge, but it could use a heavier body… or as an alternative it could be attached directly to the surface under it using screws. With the updated tinkerCentrifuge you can pick the option which suits you the best, personally I opt for filling the ballast cavity with iron grit, selected for the simple reason that I have a huge bag of it in my basement. If I didn’t, then I’d have grabbed some dry sand. This centrifuge also sports a detachable front module for adjusting the rotor speed, this will let you place the centrifuge on one side of an acrylic laboratory shield, and control it from the other side of the shield (make sure you pick a wire length between the body and front module which will let you do this). A few words about safety: This machine has exposed moving parts and can be dangerous to use, especially if not constructed properly. It is not a toy, not for kids and if you build one I recommend that you use it behind a protective shield (such as a laboratory acrylic shield). Always protect your eyes (and other people’s eyes). While I can’t promise anything regarding strength and durability of the centrifuge rotor or other parts as those things depend on many factors, the 8-tube centrifuge rotor is more rugged than the 24-tube centrifuge rotor… and I suspect that 8-tubes is more than enough for most laboratories. The 24-tube rotor is mostly included since I am considering making a more robust version of it, and I might as well let you people get a chance at doing so too. See my other projects here: http://tinkerheart.eu 3d printing advice I printed my own machine parts using inexpensive PLA on a Prusa MK3S. Threaded parts should be printed at a layer height of 0.2mm or less. 3 perimenters and 10% or more infill works well for me for most parts, but I print my centrifuge rotors with 50% infill. How to build your very own tinkerCentrifuge MK2 Please watch this movie: https://youtu.be/XT8J0qrF_p4 Printed parts 1 x centrifugeFront 1 x centrifugeFrontLid 1 x centrifugeKnob 1 x centrifugeRotor 1 x centrifugeBase 1 x centrifugeBasePlug Other parts, please note that the links are affiliate links: Please visit http://tinkerheart.eu/tinkercentrifuge-mk2/ for the complete bill of materials.
With this file you will be able to print tinkerCentrifuge MK2, upgraded DIY tabletop centrifuge for eppendorf tubes with your 3D printer. Click on the button and save the file on your computer to work, edit or customize your design. You can also find more 3D designs for printers on tinkerCentrifuge MK2, upgraded DIY tabletop centrifuge for eppendorf tubes.