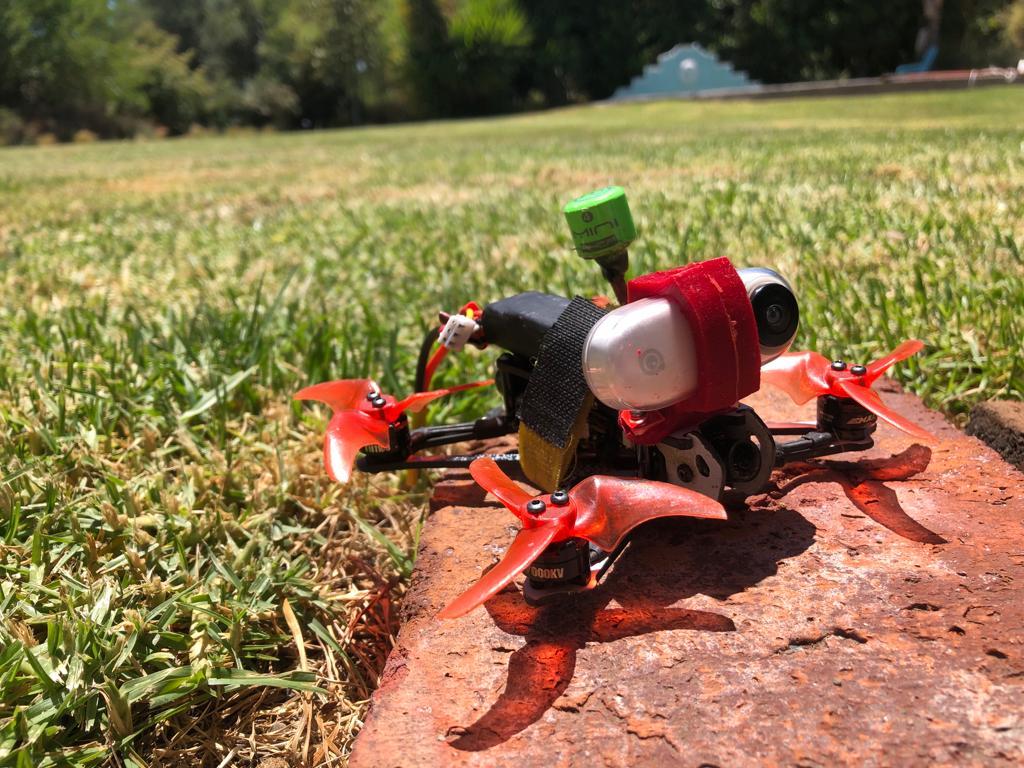
TinyHawk 2 Freestyle silicone insta360 go camera mount
thingiverse
It works great, and it is much more durable than pla or tpu. To make it print the mold, then mix type 1 silicon (the acetic one) with about 10 drops of food coloring. Next step is kind of optinal, depending of what you want the final product to be; if you want a really soft and flexible mount, skip this step, otherwise add like 1 teaspoon of cornstarch to the silicone and mix it good. (I prefer a less flexible mount so it doesnt mess with my pid tune, so I add the cornstarch). Mix it all very good (the more the better, as later it wont stain everything with little food coloring droplets). Using a bbq stick or something like that (not your hands unless you want stain them for a week, and i find it really difficult to work this sticky mixture using gloves) put the mix into the mold and try tu pump it and pressure it into the mold. After you do both halves, I usualy add a little extra silicone in the middle to make sure both parts meke contact and close the mold. Try to pressure more mixture throught the open face and when you feel its full, add some more cornstarch and make the open face flat using a desk or something. Let dry for at least 24 hours and to demold just crack the mold in the seem and peel away the silicone. I sugest washing it in running water to remove extra food coloring. To install it on the drone use some kind of washer. I have used plastic from a bottle and aluminum from a beer can. Thats it! Good flying
With this file you will be able to print TinyHawk 2 Freestyle silicone insta360 go camera mount with your 3D printer. Click on the button and save the file on your computer to work, edit or customize your design. You can also find more 3D designs for printers on TinyHawk 2 Freestyle silicone insta360 go camera mount.