Tire Exercise-final
sketchfab
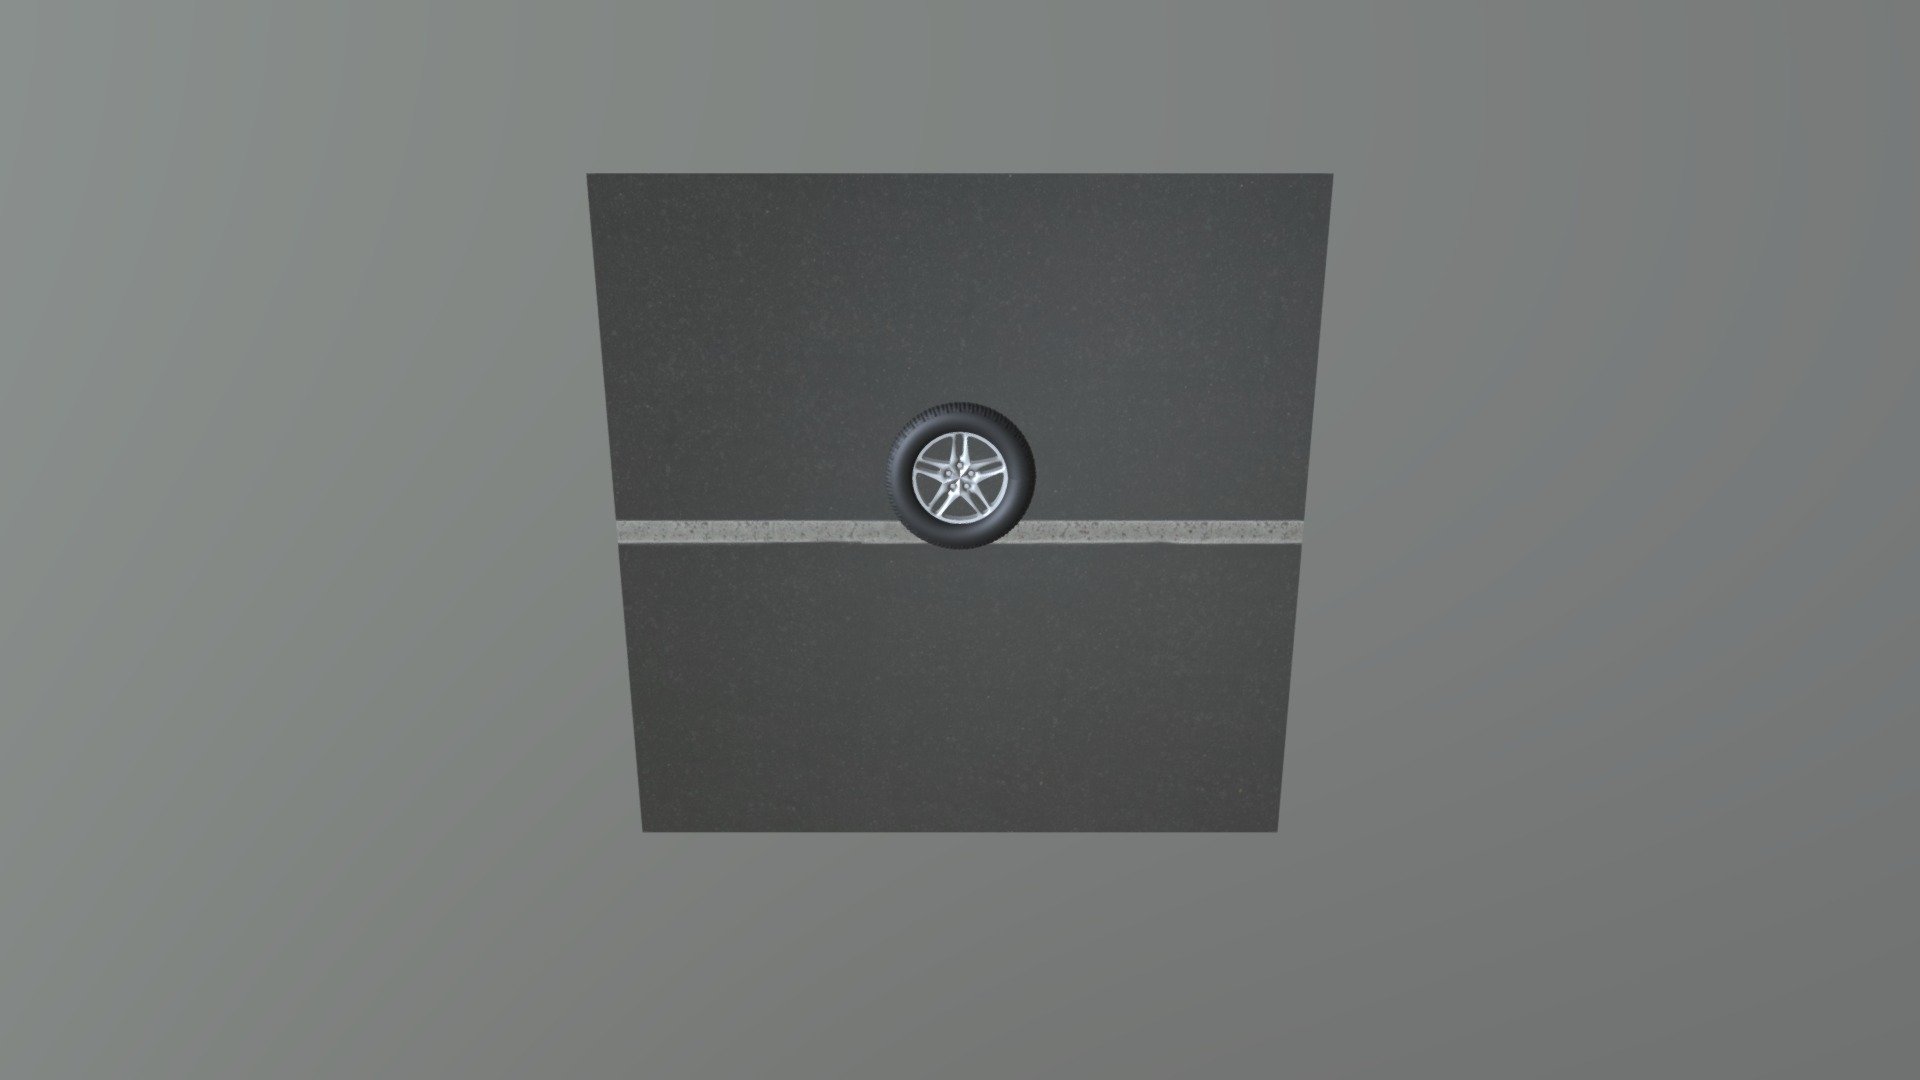
Modeling Exercise: Creating a Realistic Ferrari F430 Rim with Blender v2.80 In this exercise, you'll learn how to model a high-quality Ferrari F430 rim using Blender's powerful modeling tools, specifically the mirror, array, and subdivision surface modifiers in version 2.80. The goal is to create a detailed, accurate representation of the rim, complete with generic tire and tread patterns. Start by creating a simple mesh geometry that will serve as the base for your rim model. This can be done using Blender's built-in mesh tools or importing an existing mesh from another source. Once you have your basic shape, apply the mirror modifier to create a symmetrical representation of the rim. Next, use the array modifier to add multiple copies of the mirrored rim section, creating a complete circle. You'll then need to merge these individual sections into a single object, taking care to ensure that all vertices and edges are properly joined. To refine your model and add detail, apply the subdivision surface modifier. This will give you precise control over the level of complexity and smoothness in your rim's geometry. Be sure to adjust the settings accordingly to achieve the desired look for your Ferrari F430 rim. Finally, create a generic tire using simple mesh geometry, paying attention to the correct proportions and shape. Add a textured pattern to the tire tread, making sure it matches the style of the original Ferrari design. With these final touches, you'll have a highly detailed and accurate model of a Ferrari F430 rim, ready for use in your Blender project.
With this file you will be able to print Tire Exercise-final with your 3D printer. Click on the button and save the file on your computer to work, edit or customize your design. You can also find more 3D designs for printers on Tire Exercise-final.