TM Warthog Joystick Gimbal Ball
thingiverse
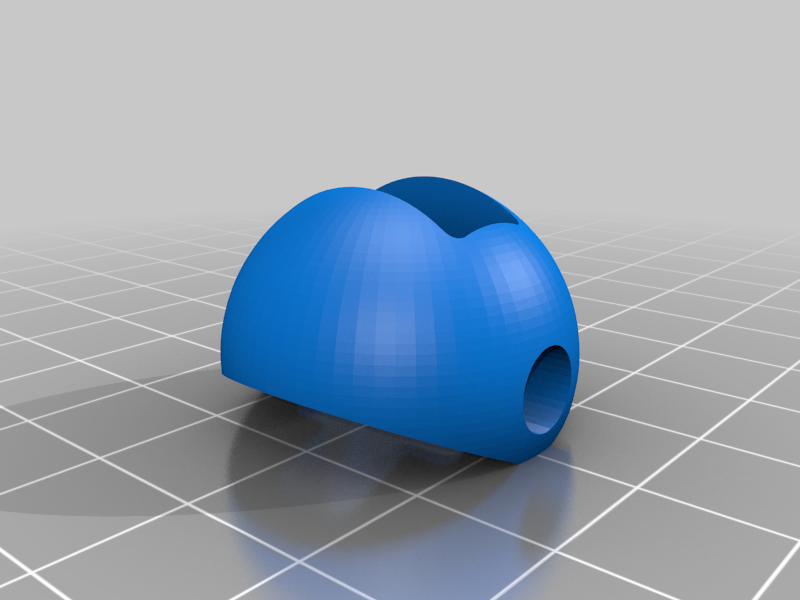
Update: [ 12/27/2022 ] - 2.1 - Closed an open face I missed. [ 12/7/2022 ] - 2.1 - Adjusted beveled edges - Bottom is now taller - Bottom angles adjusted - Inner cut rounded a little more - Ball outer is a bit smoother - Increased taper in slot for joystick [ 12/04/2022 ] - Stick throat fixed with rounded corners - Lower cutout rounded and size changed slightly - Bottom straight angles adjusted - Larger build plate adhesion added to make it easier to remove and to smooth out the part bottom - General housekeeping of bad vertices - Speed increased from 50mm/s to 60mm/s - Included GCODE file for speed and simplicity [Original] Unfortunately, my Thrustmaster HOTAS Warthog Joystick base gimbal ball broke and the next lowest assembly piece they provide in their parts store is the entire magnetic base as a complete unit. Unacceptable. Rather than spend $159.99 on an Out of Stock item I decided to create a gimbal ball since the shape was pretty simple. My "test" part (still installed) used 20% infill, the "production" used 60%. I will update this endurance test for both 20% and the 60% balls, if it comes to that. UPDATE: 20% seems good with moderate use. Swapped to 60% to try for a month. 0.15mm @ 20% ≈ 45min *updated for 60mm/s 0.10mm @ 60% ≈ 1hr 15min *updated for 60mm/s I hope this helps someone else. Notes: 1. When disassembling your stick, desolder the ground wire from the board rather than removing the eyelets from the wire or cutting. 2. The cutout to one side goes to the LEFT. This also aligns with the ball base which has a molded peg that will only install in the correct direction.
With this file you will be able to print TM Warthog Joystick Gimbal Ball with your 3D printer. Click on the button and save the file on your computer to work, edit or customize your design. You can also find more 3D designs for printers on TM Warthog Joystick Gimbal Ball.