Tolerance Test - Prusa Performance Level
prusaprinters
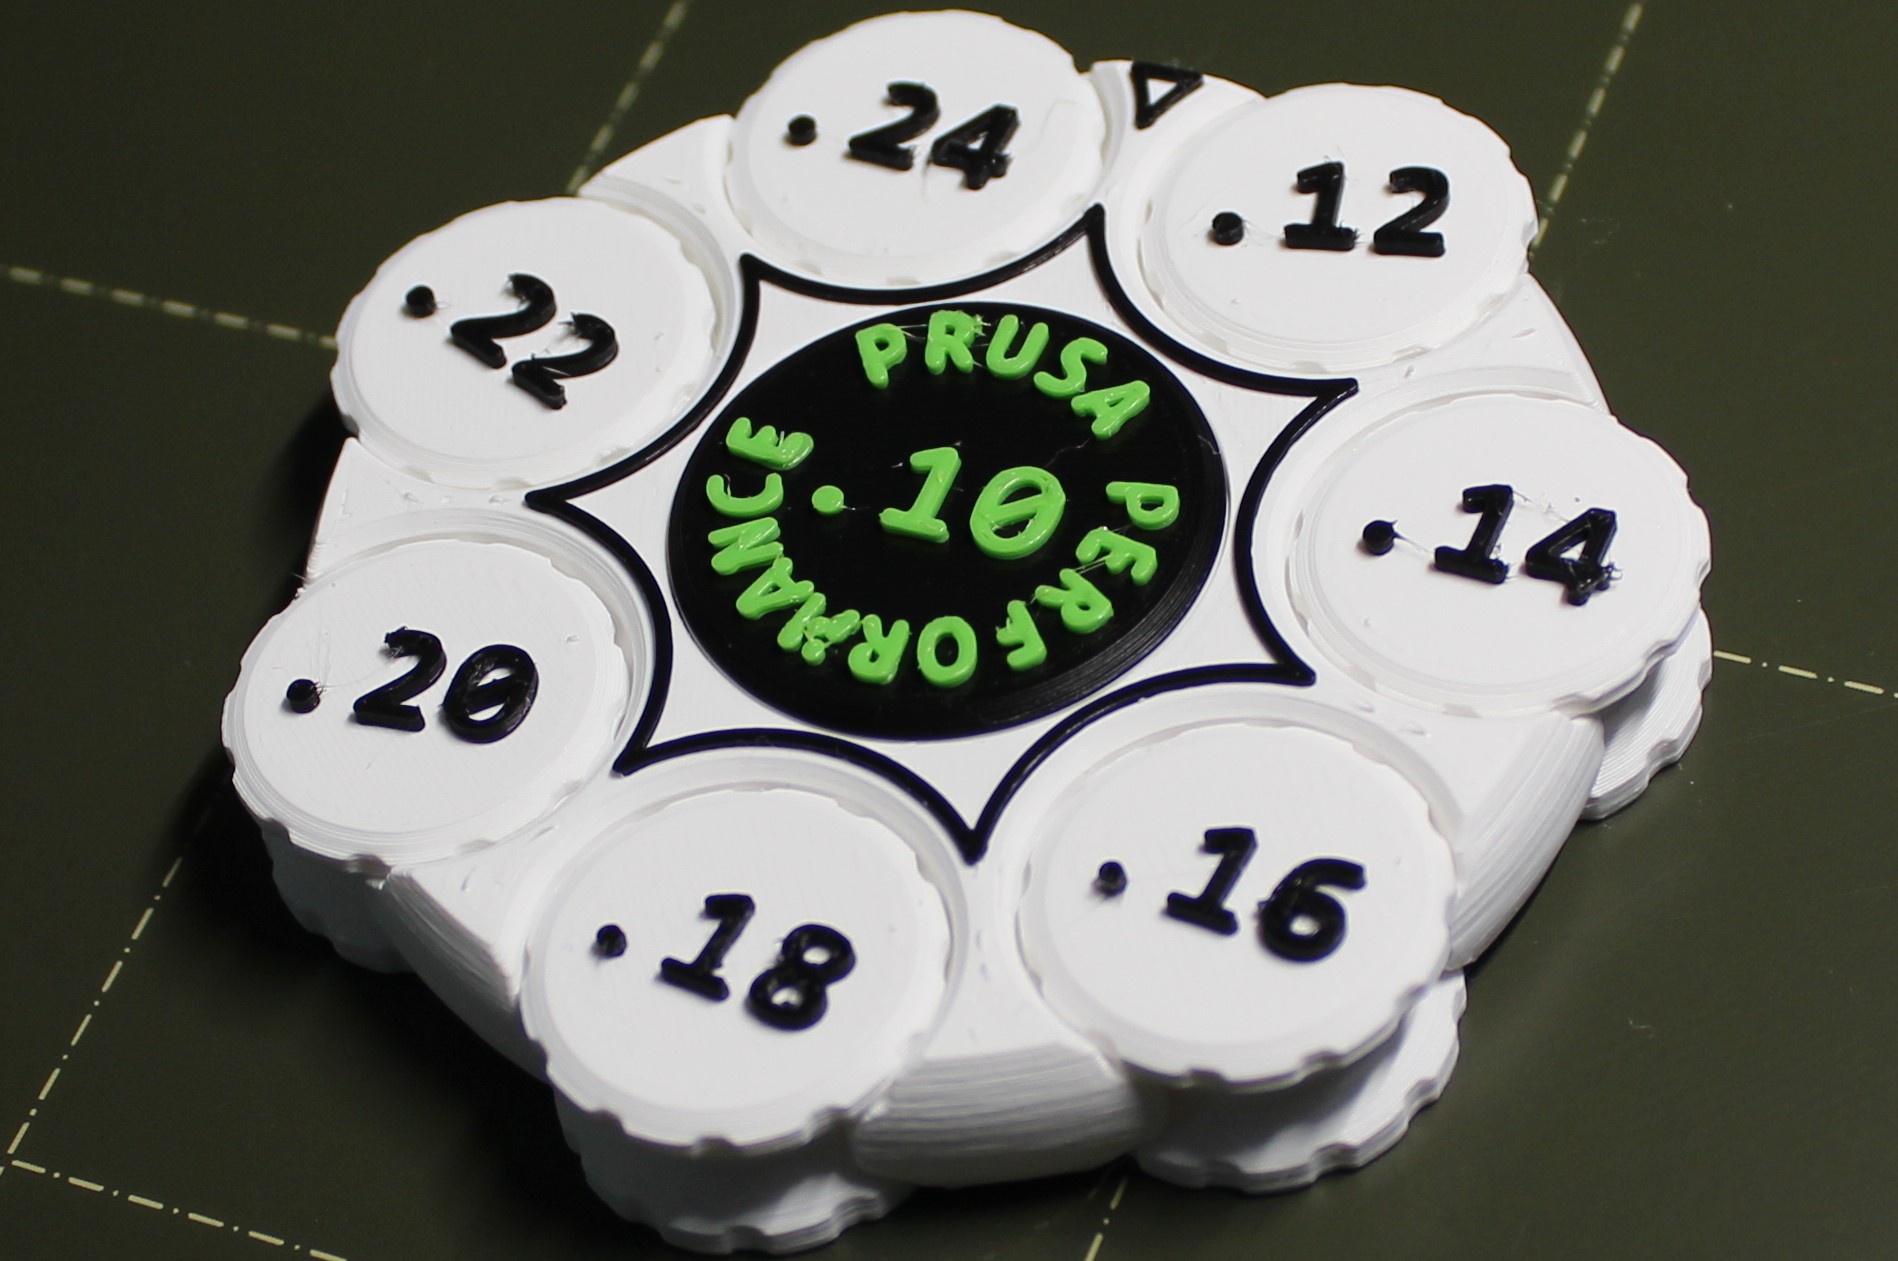
<p>This is a real test of the accuracy of your printer. Most tests have a gap range of .15 mm (.0059") to .50 mm (.0197"). That's a wide range and it's targeted for a wide array of printers. With advancements in printer and slicer technology we can expect better. If you own a Prusa, you can print better.</p> <p>So this is the PRUSA PERFORMANCE TEST. It's not a fidget spinner where every wheel turns freely. The gaps get down to .10 mm which is approx. the thickness of a piece of paper. It's a test to see if your printer is accurate enough to build two structures .0039" apart and not fuse the parts together. It's accepted that moving the final wheel (or 2) will require a little mechanical help (there's a flat head slot on the back), but how much force? Mine was like opening a water bottle for the 2nd time. Very easy but I did need a tool for the last two tests. The way it's sliced is important to the final quality and validity of the test, so I highly recommend using the gcode. But the STL is there for us nerds.<br/> This is a multi-color print, but no MMU is required.</p> <p>If you don't own a Prusa, I wouldn't even try this. Stick to the easy tests. If your Prusa isn't up to snuff, you won't pass the test. Good luck!</p> <h3>Print instructions</h3><p>I used White Pro PLA from 3dFuel. I think using quality filament is important for the first color. There are two (M600) color changes. The first change happens with 11 minutes to go, and the last one is at 2 minutes to go. It's a 4 hour and 19 minute total print time, so plan to be around at the end. In my final printed example white is the first color, then black, then green was the final.</p> <p>Update: I'm not saying Prusament isn't quality filament, because it is. 3dFuel's filament is measuring approx. 1.73 mm when I caliper it, and that's resulting in more passed tests.</p> <p>Another Update: The GCode is sliced using variable layer heights because like I said, advancements have been made in the printer and the slicer. You don't have any chance of getting to .10 mm with the traditional stl in, gcode out routine. Basically, to get the best accuracy, you've got to turn the accuracy dial up to 11 and that's what I've tried to do in this gcode.</p>
With this file you will be able to print Tolerance Test - Prusa Performance Level with your 3D printer. Click on the button and save the file on your computer to work, edit or customize your design. You can also find more 3D designs for printers on Tolerance Test - Prusa Performance Level.