ToM z axis upgrade
thingiverse
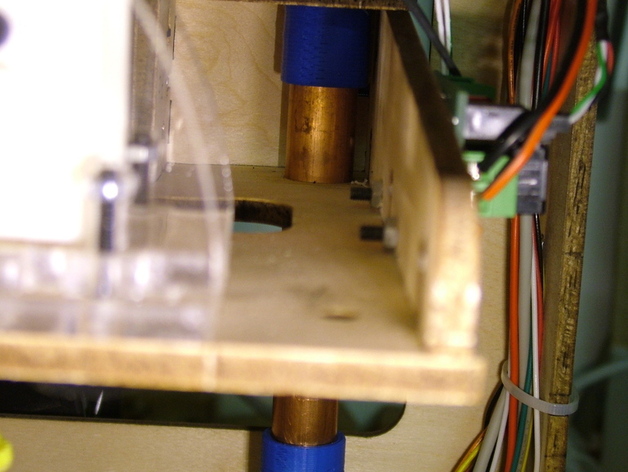
Upgrade your Tommelise Z-axis by following these steps: print adapters, cut two 100mm pieces of 1/2" inner diameter and 5/8" outer diameter copper plumbing pipe; disassemble the Z-axis, remove lower bushings, press short adapters onto upper bushing bottoms, insert lower bushings into longer ones then push onto pipe, place pipe in Z platform base, and reseat bushings/rods. Reassemble Z-axis, noting that standard plumbing pipes are used and cautioning to dry assemble first, especially if using MakerBlocks X/Y upgrade instead of stock carriage.
With this file you will be able to print ToM z axis upgrade with your 3D printer. Click on the button and save the file on your computer to work, edit or customize your design. You can also find more 3D designs for printers on ToM z axis upgrade.