Tomtom articulated bracket
thingiverse
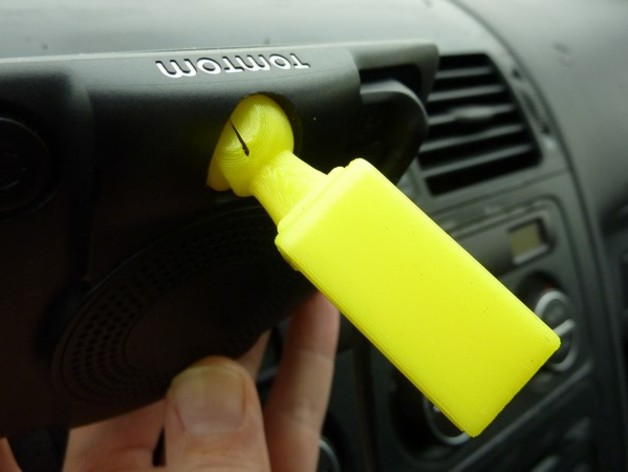
Instructions to Print GPS Tomtom Bracket: The GPS Tomtom bracket features an inserted M3 nut, necessitating a momentary pause during the print process. The design includes a specialized socket for secure assembly. Printing Instructions: This articulated piece can be printed as is without additional support structures. For insertion of the M3 nut, follow these steps: 1. Identify the final layer preceding the closure of the M3 nut hole after slicing your G-code. 2. Insert a temporary pause into your print settings before continuing to Step 3. 3. Begin printing the GPS Tomtom bracket as designed. 4. Once your printer reaches the pause, insert the pre-drilled M3 nut manually while holding up the part. 5. Proceed with the rest of the printing process uninterrupted. Assembly Instructions: After completing the print and allowing the piece to cool, carefully separate it into two distinct parts along the indicated seam lines in accordance with provided images for clarity on proper assembly sequence. The two halves then get securely connected using existing threads, finally positioning and locking the spherical element inside a housing precisely aligned according to image references, thus fully configuring your newly assembled articulated bracket ready for practical application.
With this file you will be able to print Tomtom articulated bracket with your 3D printer. Click on the button and save the file on your computer to work, edit or customize your design. You can also find more 3D designs for printers on Tomtom articulated bracket.