Tool Holder for Monoprice Maker Ultimate 2
thingiverse
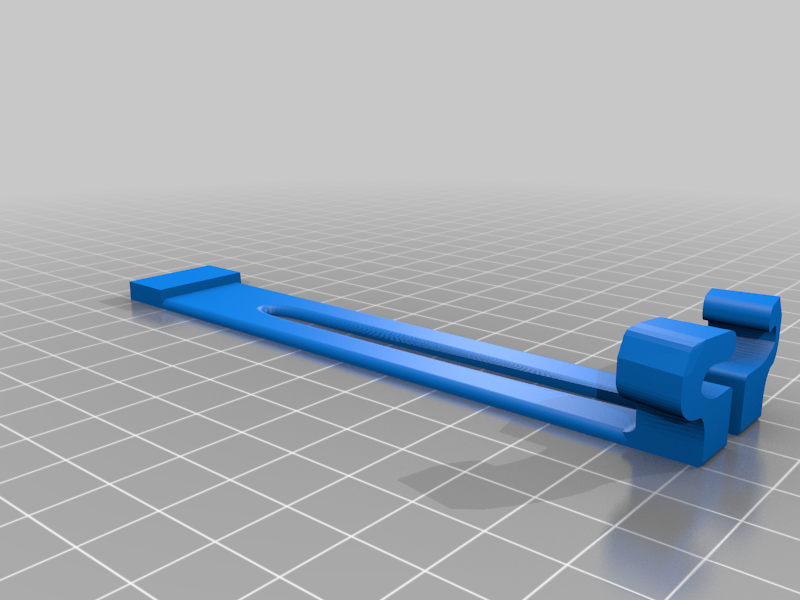
This is a tool rack you can bolt onto the side of a Monoprice Maker Ultimate 2. The bolts holding it in place (M3, 10mm length) replace the six small bolts on the top left or top right of the printer, so you don't even need to drill any new holes in your printer. ### Instructions: 1. Print two copies of `rail.stl`. You may need to change the print bed size in your slicer, my default settings had the printer's max height set at 150mm, and these are 160. Since these pieces are so tall, you may also want to print this with a brim for support. 2. Print tool holders for whatever tools you prefer to use with your printer. The set I've provided is specialized for my own set of tools, but I've also provided the `blank.stl` file as a template if you want to design new tool holders for your own tools. 3. Slide the tool holders into the gap in the rails. They fit fairly tightly, so you may need to use a bit of force for this step. 4. Print three copies of `bracket.stl`, and fit them over the rails. The middle bracket will cover the joint between the two rails. 5. Remove the six 6mm bolts from the top left or top right side of your printer, and bolt the brackets into the printer in their place using 10mm M3 bolts.
With this file you will be able to print Tool Holder for Monoprice Maker Ultimate 2 with your 3D printer. Click on the button and save the file on your computer to work, edit or customize your design. You can also find more 3D designs for printers on Tool Holder for Monoprice Maker Ultimate 2.