Torus for iPhone home 3d printing model set 1
thingiverse
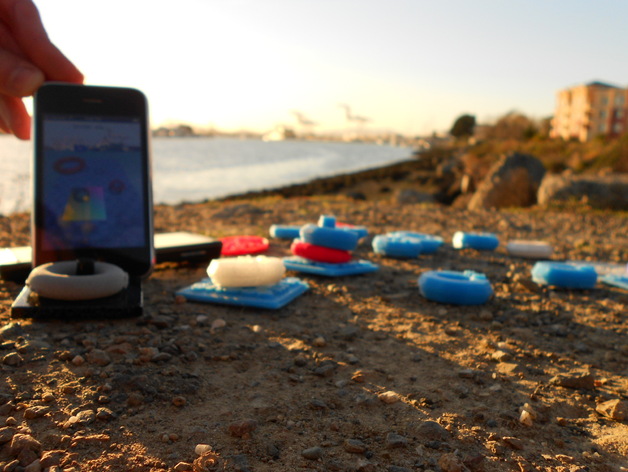
Fused deposition modeling (FDM) presents challenges when printing Torus video game objects designed for selective laser sintering (SLS). The text size is too small for FDM, so it was relocated from the side to the top and enlarged. Roman numerals replaced the score value text on the tori, as it was also too small for FDM. Torus models can be downloaded at iTunes App Store, while Shapeways sells the base hook. The base hook model, torusFDM_Base2.stl, features separated posts to maximize cooling time between layers. Another solution involves editing the gcode file to move the extruder away briefly per layer. Slic3r software with specific parameters generates the gcode for printing on a Printrbot jr, and a small fan helps cool the print during post-layer deposition. The highest recorded Torus for iPhone score was 14,800 points on April 24th, 2009.
With this file you will be able to print Torus for iPhone home 3d printing model set 1 with your 3D printer. Click on the button and save the file on your computer to work, edit or customize your design. You can also find more 3D designs for printers on Torus for iPhone home 3d printing model set 1.