Toy Road Grader - Fully 3D Printed
thingiverse
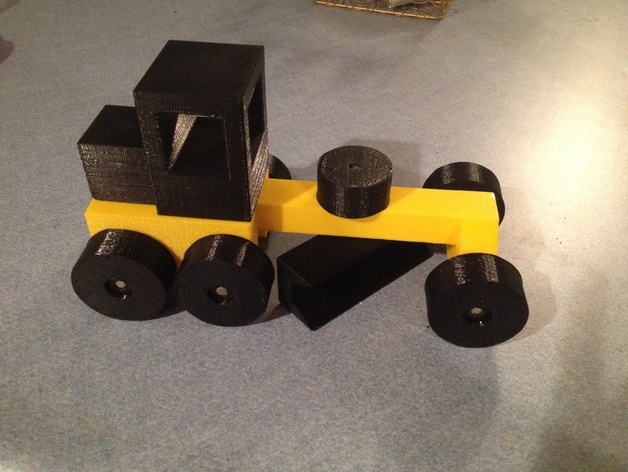
During the holiday break, I challenged my students to create their own custom toys as their final project for the semester. The students worked tirelessly for nearly three weeks and produced impressive results, with some of their work featured on Thingiverse. Inspired by their efforts, I decided to design and create my very own toy - a 3D-printed "Toy Road Grader." Drawing inspiration from my childhood Tonka toys and a wooden road grader, my version boasts a fully movable blade for customizable dirt grading. For those wondering why 3D-printed toys are superior, I cite their cool factor, the ability to personalize each toy, and the convenience of being able to print new parts if needed. To assemble the "Toy Road Grader," start by gluing two cab pegs into the holes on the grader body using Krazy Glue. Next, attach the grader cab to the body with glue on both the holes and the bottom face for added security. Insert an axle half into a wheel, tapping it gently with a hammer if needed. Repeat this process with the other axle half and attach the wheel to the sticking-out axle end. Once all wheels and axles are attached, ream out the hole in the grader blade to accommodate the axle halves for a snug fit. Insert one axle half into the blade and the other into the control knob. For reference, check out this Thingiverse link. I plan on creating a build manual soon, but feel free to ask any questions in the meantime. Enjoy!
With this file you will be able to print Toy Road Grader - Fully 3D Printed with your 3D printer. Click on the button and save the file on your computer to work, edit or customize your design. You can also find more 3D designs for printers on Toy Road Grader - Fully 3D Printed.