Toy Train Set
thingiverse
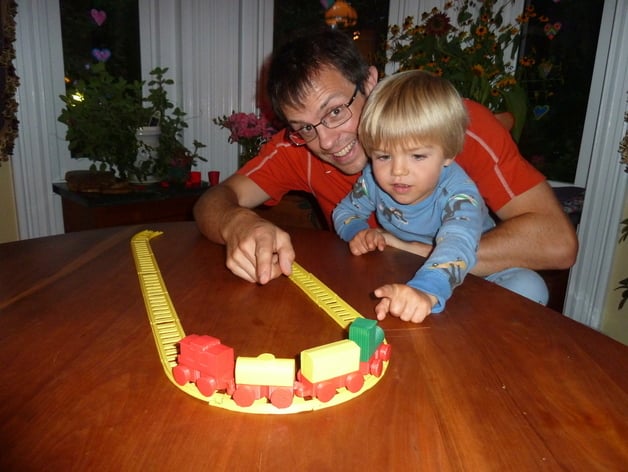
Starting as a straight train track section, the set has transformed into an interesting project during Hurricane Irene weekend. My birthday coincided with this fun activity, and my children loved it. The photos show models right off the printer without any cleanup. Most parts snap together easily, requiring minimal post-printing work. Trains function well without tracks. I was amazed by the body design and the Makerbot's ability to print tall axle towers. Modifying wheels for a monster truck look could be fun. Sketchup files are available upon request. Drawing curves in Sketchup proved challenging due to warping. Instructions detail raftless printing, modifications in Skeinforge settings, and raft configurations for different parts. Updates provide new versions of stl files, advice on centering prints, and improved wheel designs. Despite some issues, the set's appeal lies primarily in building and assembling components rather than actual train operation.
With this file you will be able to print Toy Train Set with your 3D printer. Click on the button and save the file on your computer to work, edit or customize your design. You can also find more 3D designs for printers on Toy Train Set.