TQFP 32 Pin Socket Mount
thingiverse
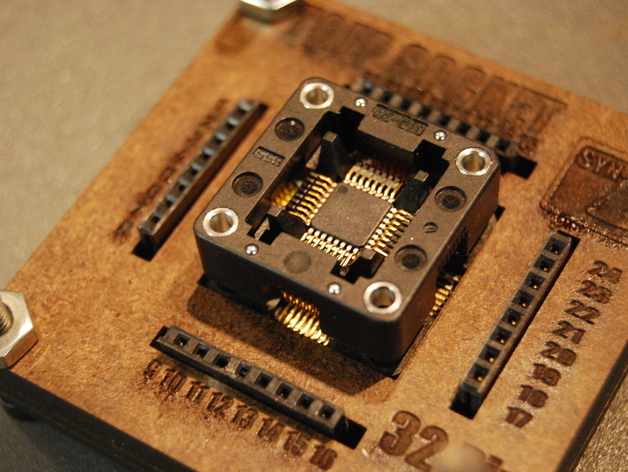
To breadboard a SMD TQFP 32 pin Atmega168, I found an affordable option on Digikey for $25. However, it came with a Hirose connector instead of male headers. To create my own holder, I used a digital caliper to make the Eagle footprint and laser-cut the board and 1/8th inch masonite (hardboard). You can find images on my Flickr stream, and feel free to use the provided files if you need a cheap TQFP holder. To assemble, buy the connector from Digikey, desolder the holder from its original board, create the PCB using laser cutter or toner transfer method, solder female headers and the TQFP mount, and finally, laser-cut the masonite. Use Socket Head 10-24 2" screws for a secure fit and protection against dropping the device.
With this file you will be able to print TQFP 32 Pin Socket Mount with your 3D printer. Click on the button and save the file on your computer to work, edit or customize your design. You can also find more 3D designs for printers on TQFP 32 Pin Socket Mount.