Tracker
thingiverse
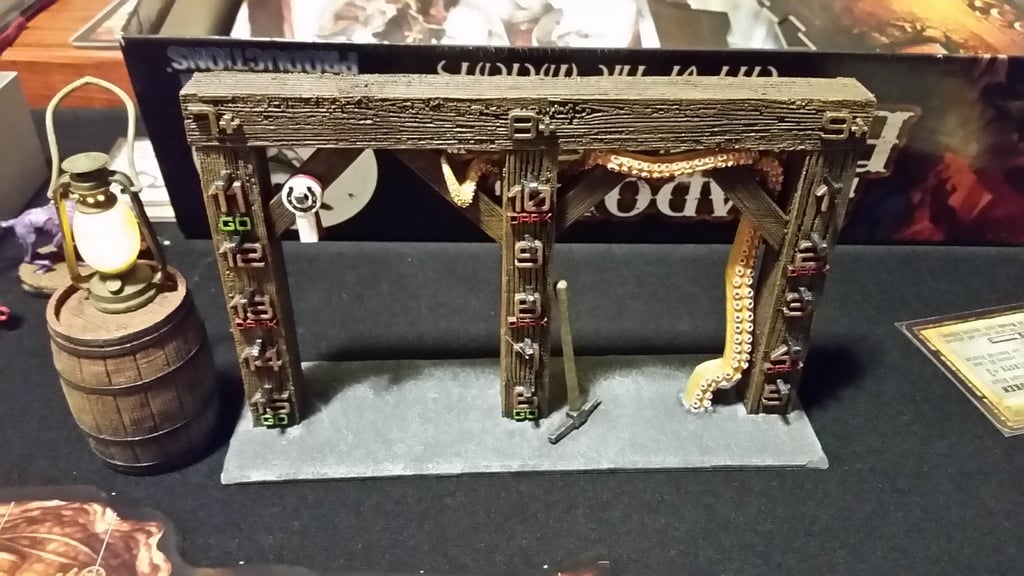
This is my version of a Depth Tracker for the board game Shadows of Brimstone. Considering the tracker is something we use every turn in the game, I felt that it needed to be the centerpiece and encompass the feel of a mine adventure into the unknown. To achieve this, I aimed to create a design that takes up no more space than the original tracker on the table and succeeds in doing so. However, storing it is definitely another matter altogether. 01/20/2019 - Update: Due to popular demand, I've split objects into Ground in Left and Right, Cross Beams separated and not all in one .stl file, Mining pick as a separate object. Make sure to print with supports / brim on Pick. Printing instructions: Ground with Pick: No supports or brims needed. I printed at .15 resolution. 20% infill Cross / Support Beams: Must be printed with supports especially the one with the tentacle built in. I printed at .1 resolution. 10% infill Vertical Beams (all 3): Supports needed as well as brim for stability. Print at .1 resolution. 10% infill Horizontal Beam: Support needed as well as brim. Print at .1 resolution. 10% infill Tentacle: Supports as well as Brim - To get the most detail on the tentacles, print at .5 resolution. 50% infill for strength. Pins to connect vertical and horizontal beams: Print 3 of them at .1 resolution. 90% infill Tracker markers: .1 resolution and 90% infill REMOVE SUPPORTS I used a dental tool to remove supports, going slow had no problems. The supports around the small text was a bit of a bugger, but I got them out without damaging anything. Go slow and you will have no problems. PUTTING IT TOGETHER: Due to the amount of wood texture, it was just a lot easier using hot glue than superglue on this project. Test fit everything before gluing! It's important to test fit more to understand how everything goes together before gluing. Place the support pins in the horizontal beam. They should go in easily but fit firmly. Next, place the cross beams into the Left and middle vertical beams starting from left to right. 1. Beam with spike in the far left Vertical 2. Beam with Tentacle built in - Middle beam Next, place the remaining 2 cross beams into the large tentacle. You will want them to stick out vertically just a bit from the top of the tentacle. Push the bottom of the cross beams into both middle and right vertical beams. Don't worry about trying to get the base of the tentacle into the ground until the very end. It will be the last thing you glue. Now attach the long horizontal beam to the vertical beams and cross beams. The cross beams should fit in the slots easily and stay in place when the pins and horizontal beam are together. The back of the tentacle should snap in place on the middle beam. If the large tentacle and end of the tentacle are not close enough for your liking, you can always use green stuff or another putty to have a seamless connection. Test fit the beams into the ground. If everything looks good, start gluing.. P.S. It's much easier to paint this when it's still in pieces :). Enjoy!
With this file you will be able to print Tracker with your 3D printer. Click on the button and save the file on your computer to work, edit or customize your design. You can also find more 3D designs for printers on Tracker.