Treasure Chest with Lock
thingiverse
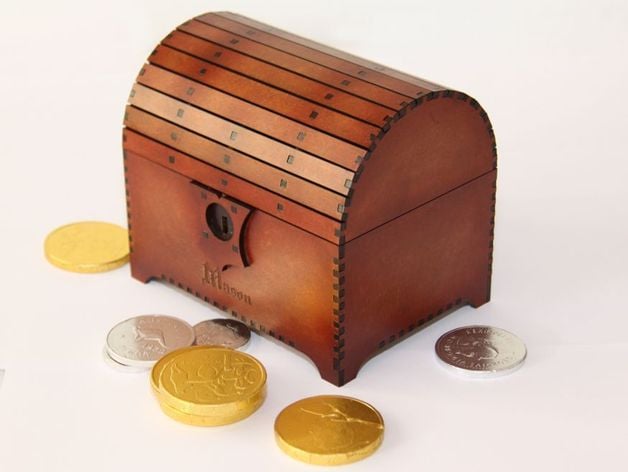
Build something your child will treasure for a lifetime, a treasure chest! Our son absolutely loves all things treasure, so I decided to create a small treasure chest for him. He absolutely loves the result, keeping his most valuable treasure safe inside. Then of course our other son wanted one desperately too, so I improved the cut and made another. And then the wife wanted one for her desk at work, and then one as a present for her sisterââ¬Â¦ So I thought I might share the design. For 3mm MDF. File optimised to share all cut lines and minimise material needed. Genuine curved wood slat lid. Working lock. 2 unique keys provided. Guaranteed to attract treasure of all kinds. Instructions In general the box is very easy to assemble. I only offer suggestions here to try to help others get the most out of the experience. It has been designed for 3mm MDF. Joints have been designed to be push-fit, so be a little careful about assembling prematurely (especially the box bottom), as it may be hard to get apart again. I place a small amount of glue in, before using a rubber mallet to gently tap everything firmly home. For the hinge pins Iââ¬â¢ve used bullet head nails. They measure 20 x 1.25mm, which I just cut down to the needed length. They go from the outside (chest bottom, which has a smaller hole) to the inside (chest lid) of the hinges. The upper hinge arms can be a little tricky to assemble into the lid. I place the slats in the lid, then place the first peg of the hinge arm into the top hole and stretch the hinge arm down as I push the other two pegs into their respective slots. For the lock catch, which is inside of the lid at the front, you should assemble it in place as you put the slats in. If you want to stain the chest, do that before assembly. If you havenââ¬â¢t stained MDF before, look at each side carefully. You often find one side has larger/more visible particles which look better stained. So you want that side up. I stained in one colour, then airbrushed a redder stain around all joints and edges to give the chest a more antique, rusted feel. Iââ¬â¢ve also stained the face plate of the lock black. After assembly I then use clear water-based estapol which has been thinned down to finish the box. To assemble the lock, first glue the facia piece onto the front. Make sure you do not use too much glue, such that it pushes into the hole where the face plate sits, as the plate must spin around freely. A toothpick can be used to run around the inner corner to make sure it is free of glue. Next glue the alignment pins into the facia and box case. Allow to dry for a few minutes while you glue other parts of the chest together. Then remember to place the little round face plate in, and stack the rest of the plates on. See separate instructions for order. Test that the key works freely, and then glue the last cover plate (with the little hole) on. Do not glue the in-between layers, as they need to have a little slack in them to ensure smooth movement of the tumblers. Lastly, you can use some graphite lock lubricant to make the lock movement very smooth. I cut the keys in acrylic, as MDF is a little soft for such fine work. MDF works, but it doesnââ¬â¢t take that well to torsion when so finely cut. Great for a spare key though. The design has spare keys in it. On mine I engrave the name of the person on the front, but for the blank template I just put ââ¬ÅTreasureââ¬Â there as a placeholder. The font I used is Rapscallion.
With this file you will be able to print Treasure Chest with Lock with your 3D printer. Click on the button and save the file on your computer to work, edit or customize your design. You can also find more 3D designs for printers on Treasure Chest with Lock.