Trekking Tripod
prusaprinters
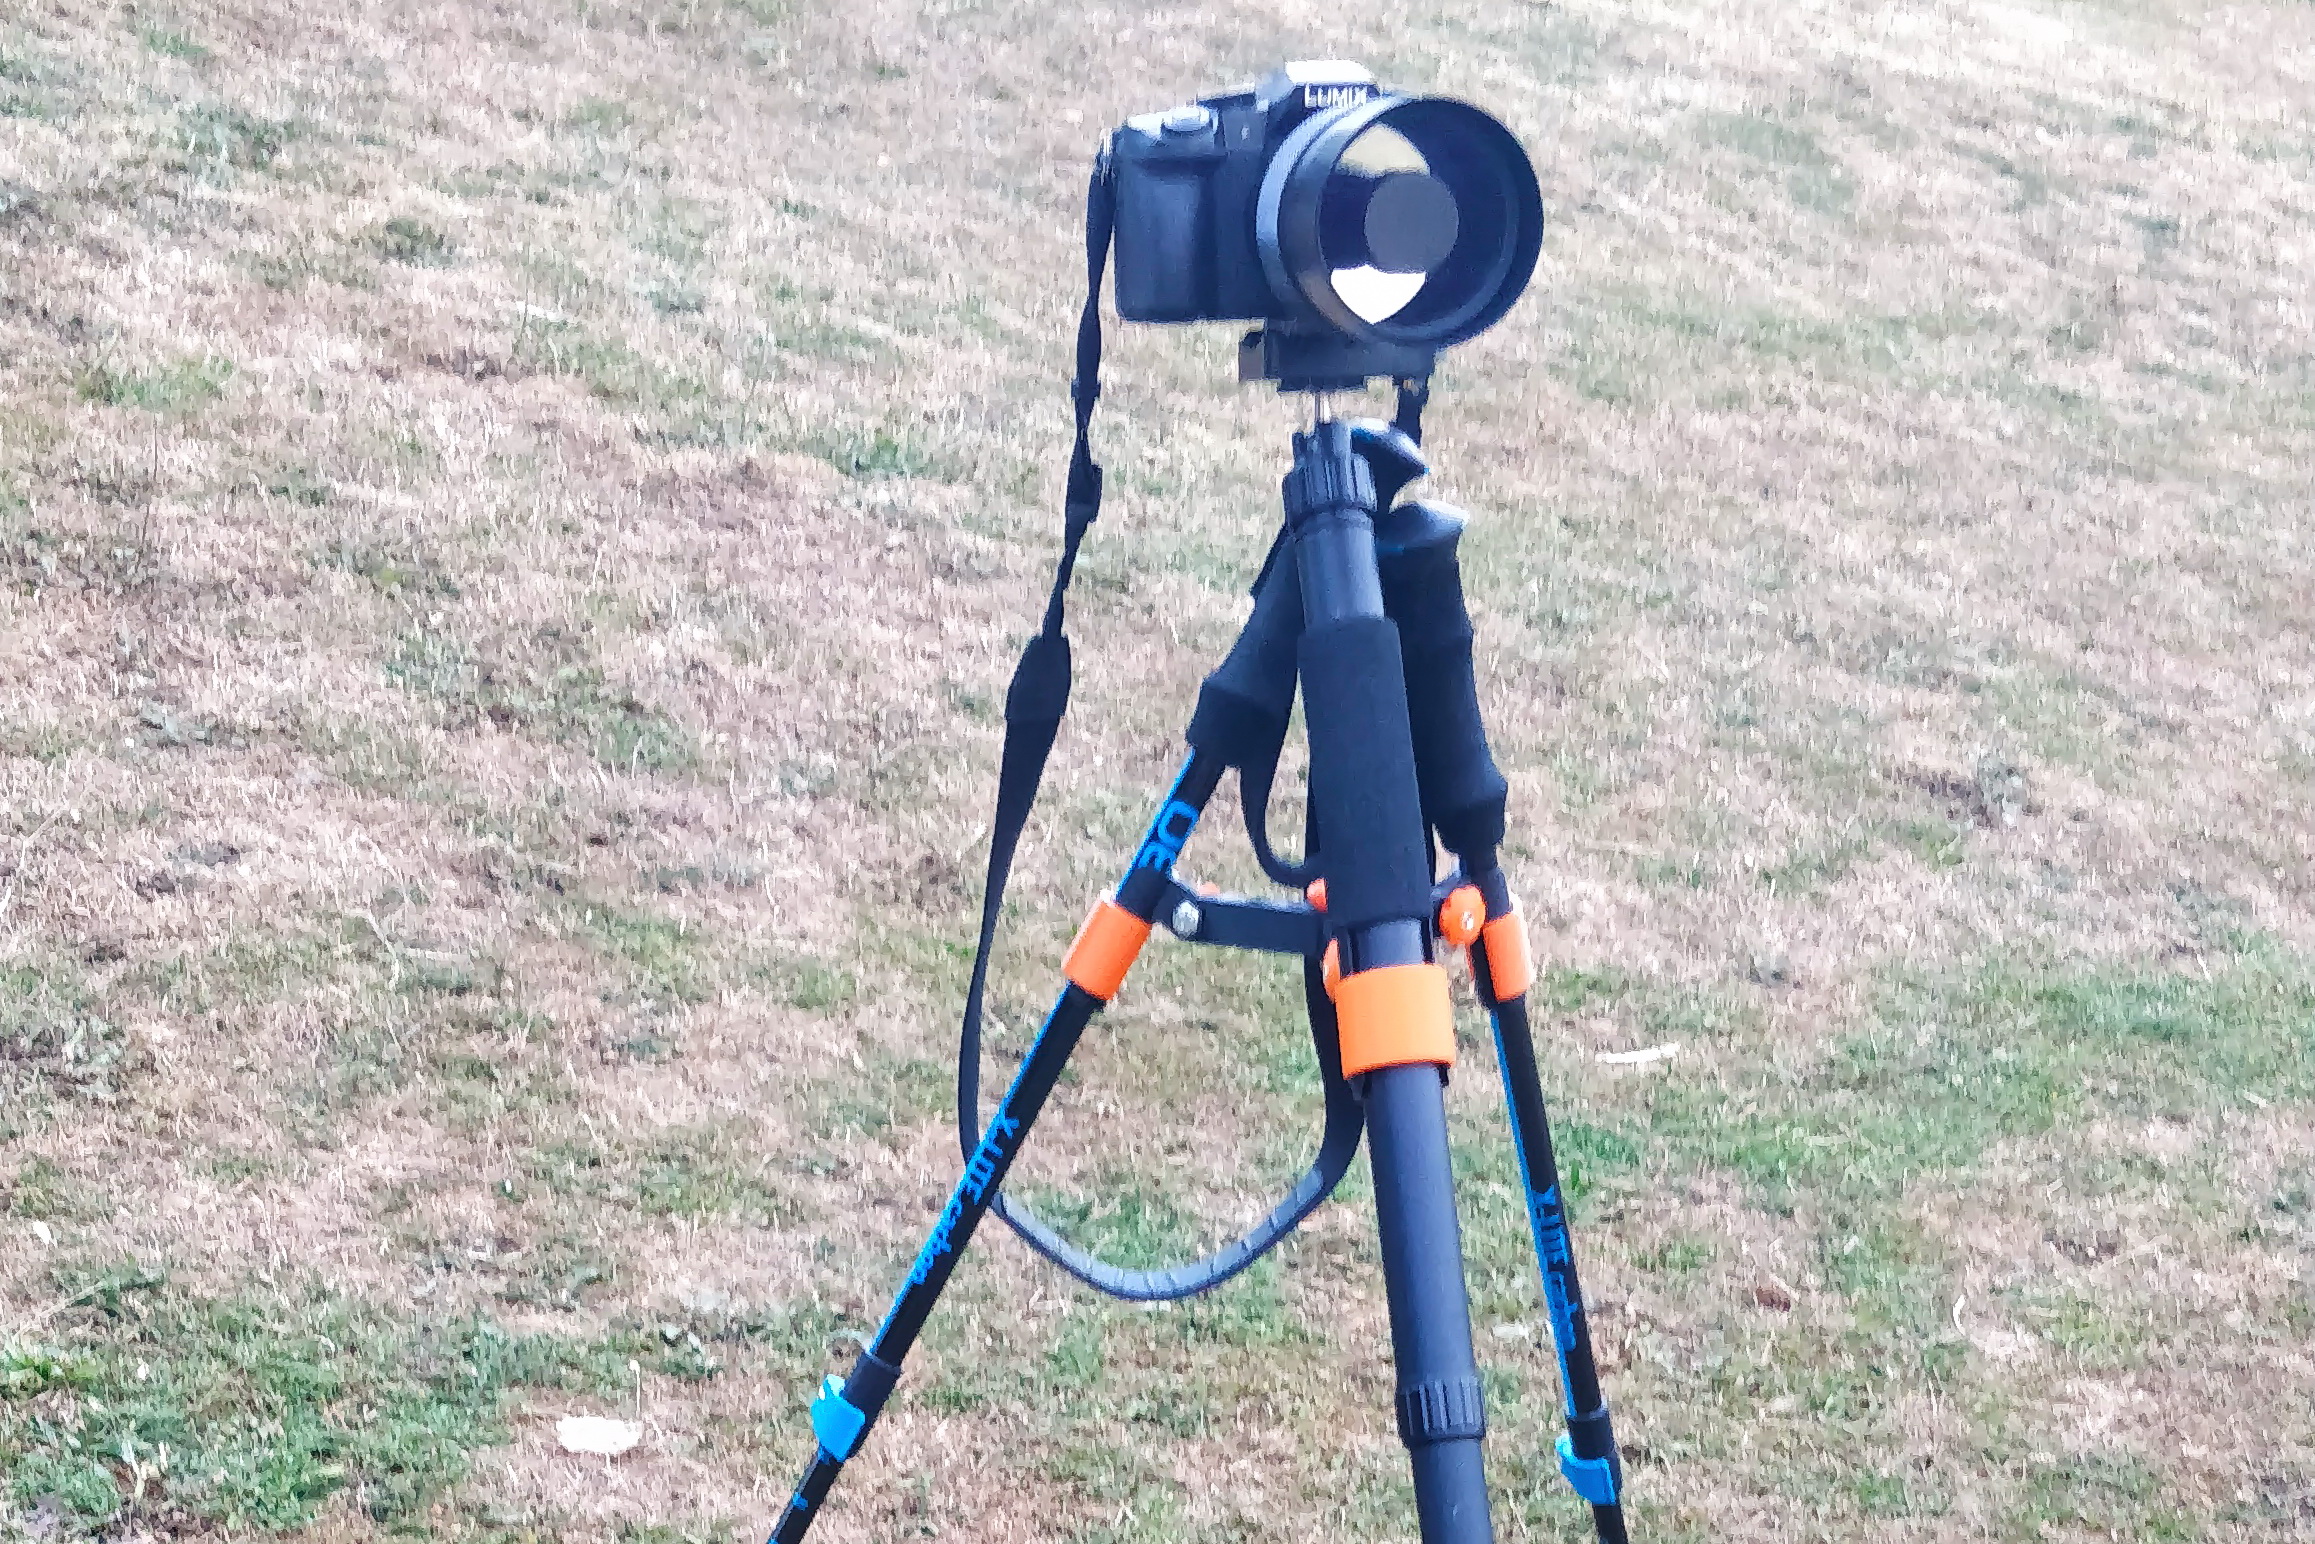
<p><strong>Enjoy landscape photography but don’t want to carry a heavy tripod?</strong></p><p><i><strong>This compact clip system turns a pair of trekking poles and a monopod into a large tripod in seconds.</strong></i></p><p>Small and light enough to slip into your pack, it is secure enough to handle a small SLR/Mirrorless camera & telephoto lens. (I have tested it with my camera and 500mm mirror lens with a combined weight of 1kg, but no guarantees are made or implied and you use it at your own risk obviously).</p><p>Simply rotate the three clips out from their stowed position, snap in your poles and monopod, and secure them by twisting round the locks and tightening the thumb nuts.</p><p>Without clipping in poles, <strong>the system also serves as a stable low tripod platform</strong> for a camera, that will save it from falling over on an uneven surface or in the wind – especially useful for a 360 degree camera.</p><p> </p><p><strong>Parts to print</strong></p><p>1x triple grip</p><p>2x trekking pole clips – 16mm</p><p>2x twist locks for the trekking pole clips</p><p>1x monopod clip – 31mm and 28mm files are supplied</p><p>1x twist lock for the monopod clip</p><p>4x ¼” UNC nut caps – these push onto the hex nuts to turn them into thumb nuts</p><p>All to be printed in PETG, 0.3mm draft setting. No supports are required. I printed the nuts and locks in a bright colour to highlight their function and make them easy to find if they were to fall off. </p><p>I have uploaded a 3mf file containing all the parts in the correct orientation on the build plate, however you should delete whichever monopod clip you dont need, and rearrange the positioning of the parts on the plate as you see fit (but do not rotate any about X or Y).</p><p> </p><p><strong>Additional parts you need</strong></p><p>4 off ¼” UNC 20 x 1” long hex bolts – stainless steel or BZP finish</p><p>4 off ¼” UNC 20 hex nuts – stainless steel or BZP finish</p><p>1 pair of trekking poles with the widest tube having a diameter of 16mm (such as many Leki & OEX models)</p><p>1 monopod with a ball head, and the widest tube having a diameter of either 31mm (like my old one) or 28mm (like various new ones by brands such as Manfrotto & Neewer). A quick-release plate mounted on the ball head is also recommended.</p><p>If your poles or monopod have a different diameter then copy my design and make clips & locks to suit your own gear, using the STLs and the two PDF drawings for reference.</p><p> </p><p><strong>Assembly</strong></p><p>1. Insert a nut into the hex socket on the top side of the triple grip. Screw a bolt up into this nut from the opposite side. The bolt will stick out past the nut when tightened. This is what you can screw a camera directly onto when using the system as a low platform – see photo of my Ricoh Theta fitted here.</p><p>2. Squeeze a nut into each of the nut caps. It is a tight fit – yo will need to push down hard onto a hard surface such as a workbench which does not matter if it gets marked, or use a squeezing tool suck as pliers or a G-clamp.</p><p>3. Fit one of the thumb nuts to the end of the bolt fitted in step one. It is simply a safety cover to stop the bolt from scratching or ripping anything when in your bag, and is removed when you fit a camera to the bolt.</p><p>4. Insert the fins of the clips in-between the fins of the triple grip, aligning the holes.</p><p>Insert the remaining bolts through the holes, with their hex heads docking into the hex sockets on the sides of the triple grip. Again, the fit is tight, so fit the thumb nuts to the bolts and tighten them to pull the bolt home into the hex sockets.</p><p>5. Put the mouths of the clips into the mouths of the twist locks and rotate the twist locks round the clips so the mouths of both are aligned open.</p><p> </p><p><strong>Using the system</strong></p><p>Loosen the thumb nuts and swing the clips out into position.</p><p>Snap in the poles & monopod and twist the locks round to cover the mouths of the clips and secure them in place.</p><p>Adjust the angle of the legs of your tripod, tighten the thumb nuts.</p><p>Adjust the extension of the legs of the tripod as necessary.</p><p>Fit your camera to the ball head of the tripod. A quick-release system is recommended.</p><p> </p><p><strong>Attribution</strong></p><p>If you share or remix the files please attribute the original design to Thomas Ashley and link back to here.</p>
With this file you will be able to print Trekking Tripod with your 3D printer. Click on the button and save the file on your computer to work, edit or customize your design. You can also find more 3D designs for printers on Trekking Tripod.