Tronxy P802M Vertical X-Brace
thingiverse
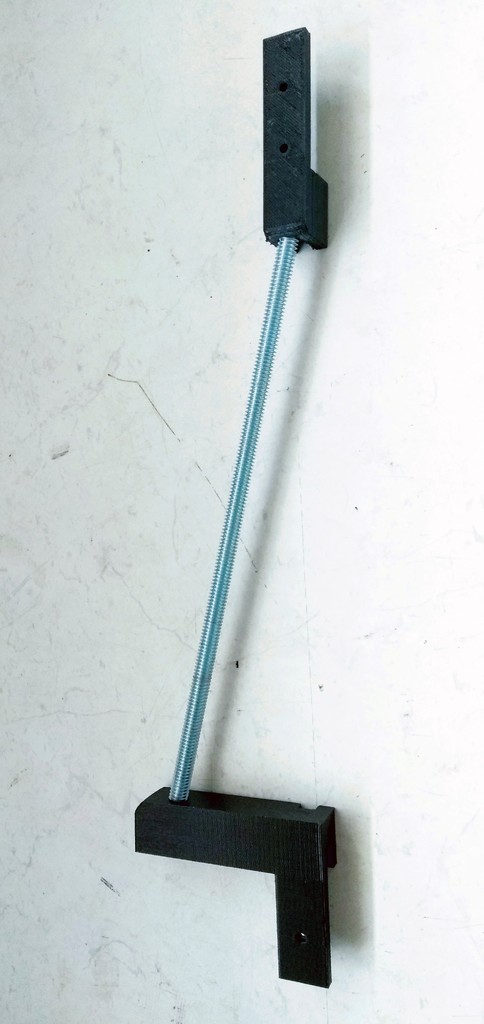
Although the bracing on the Tronxy P802M is quite good, this makes it even better. Simple but effective design using 4 M3 10mm screws and 8mm screw rod. Go to your local hardware store and buy some 8mm rod (cost me $2.50 for a 60cm rod). Cut each rod to 26.5cm and screw all the way into the bottom section (best to do this when plastic is still warm). Hold bottom rod in place with M3 screw. Screw in top section but not all the way. Mount bottom section using one of the already used M3 20mm screws. Rotate top brace until it fits just under the horizontal part of the top part of the frame (where the display is located). Mount the top section with the two already used M3 20mm screws. Do the other side and you're done. Please let me know when you make one and post a photo.
With this file you will be able to print Tronxy P802M Vertical X-Brace with your 3D printer. Click on the button and save the file on your computer to work, edit or customize your design. You can also find more 3D designs for printers on Tronxy P802M Vertical X-Brace.