Truss Bridge Kit
thingiverse
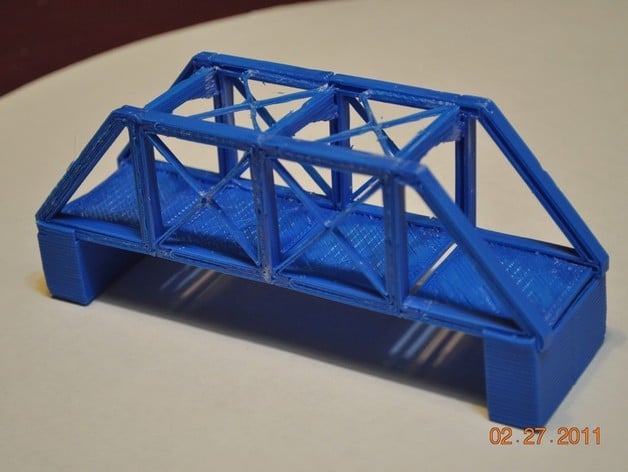
3.2.2011 UPDATE. Added thin top truss parts for easier assembly. This is a modular kit of parts to create a truss bridge. The sample shown has two center sections. The bridge can be made longer by adding more center sections and more piers if needed. The parts list is shown for a two center section bridge. file: assembly_110227h.skp shows the assembled orientation of the bridge. file: bridge_4_110302.skp presents the parts in the printed orientation. Instructions See the attached assembly picture. Use acetone (professional nail polish remover) to glue the joints. Make two side truss assemblies: Glue together one left end truss, two side trusses and one right end truss. Put some glue on the center of the side trusses. Glue in the four road bed pieces to one side truss assembly. Glue in two top trusses and one top end truss. Start at the left end. Glue the second side assembly to the first, starting with the road bed. Add the piers.
With this file you will be able to print Truss Bridge Kit with your 3D printer. Click on the button and save the file on your computer to work, edit or customize your design. You can also find more 3D designs for printers on Truss Bridge Kit.