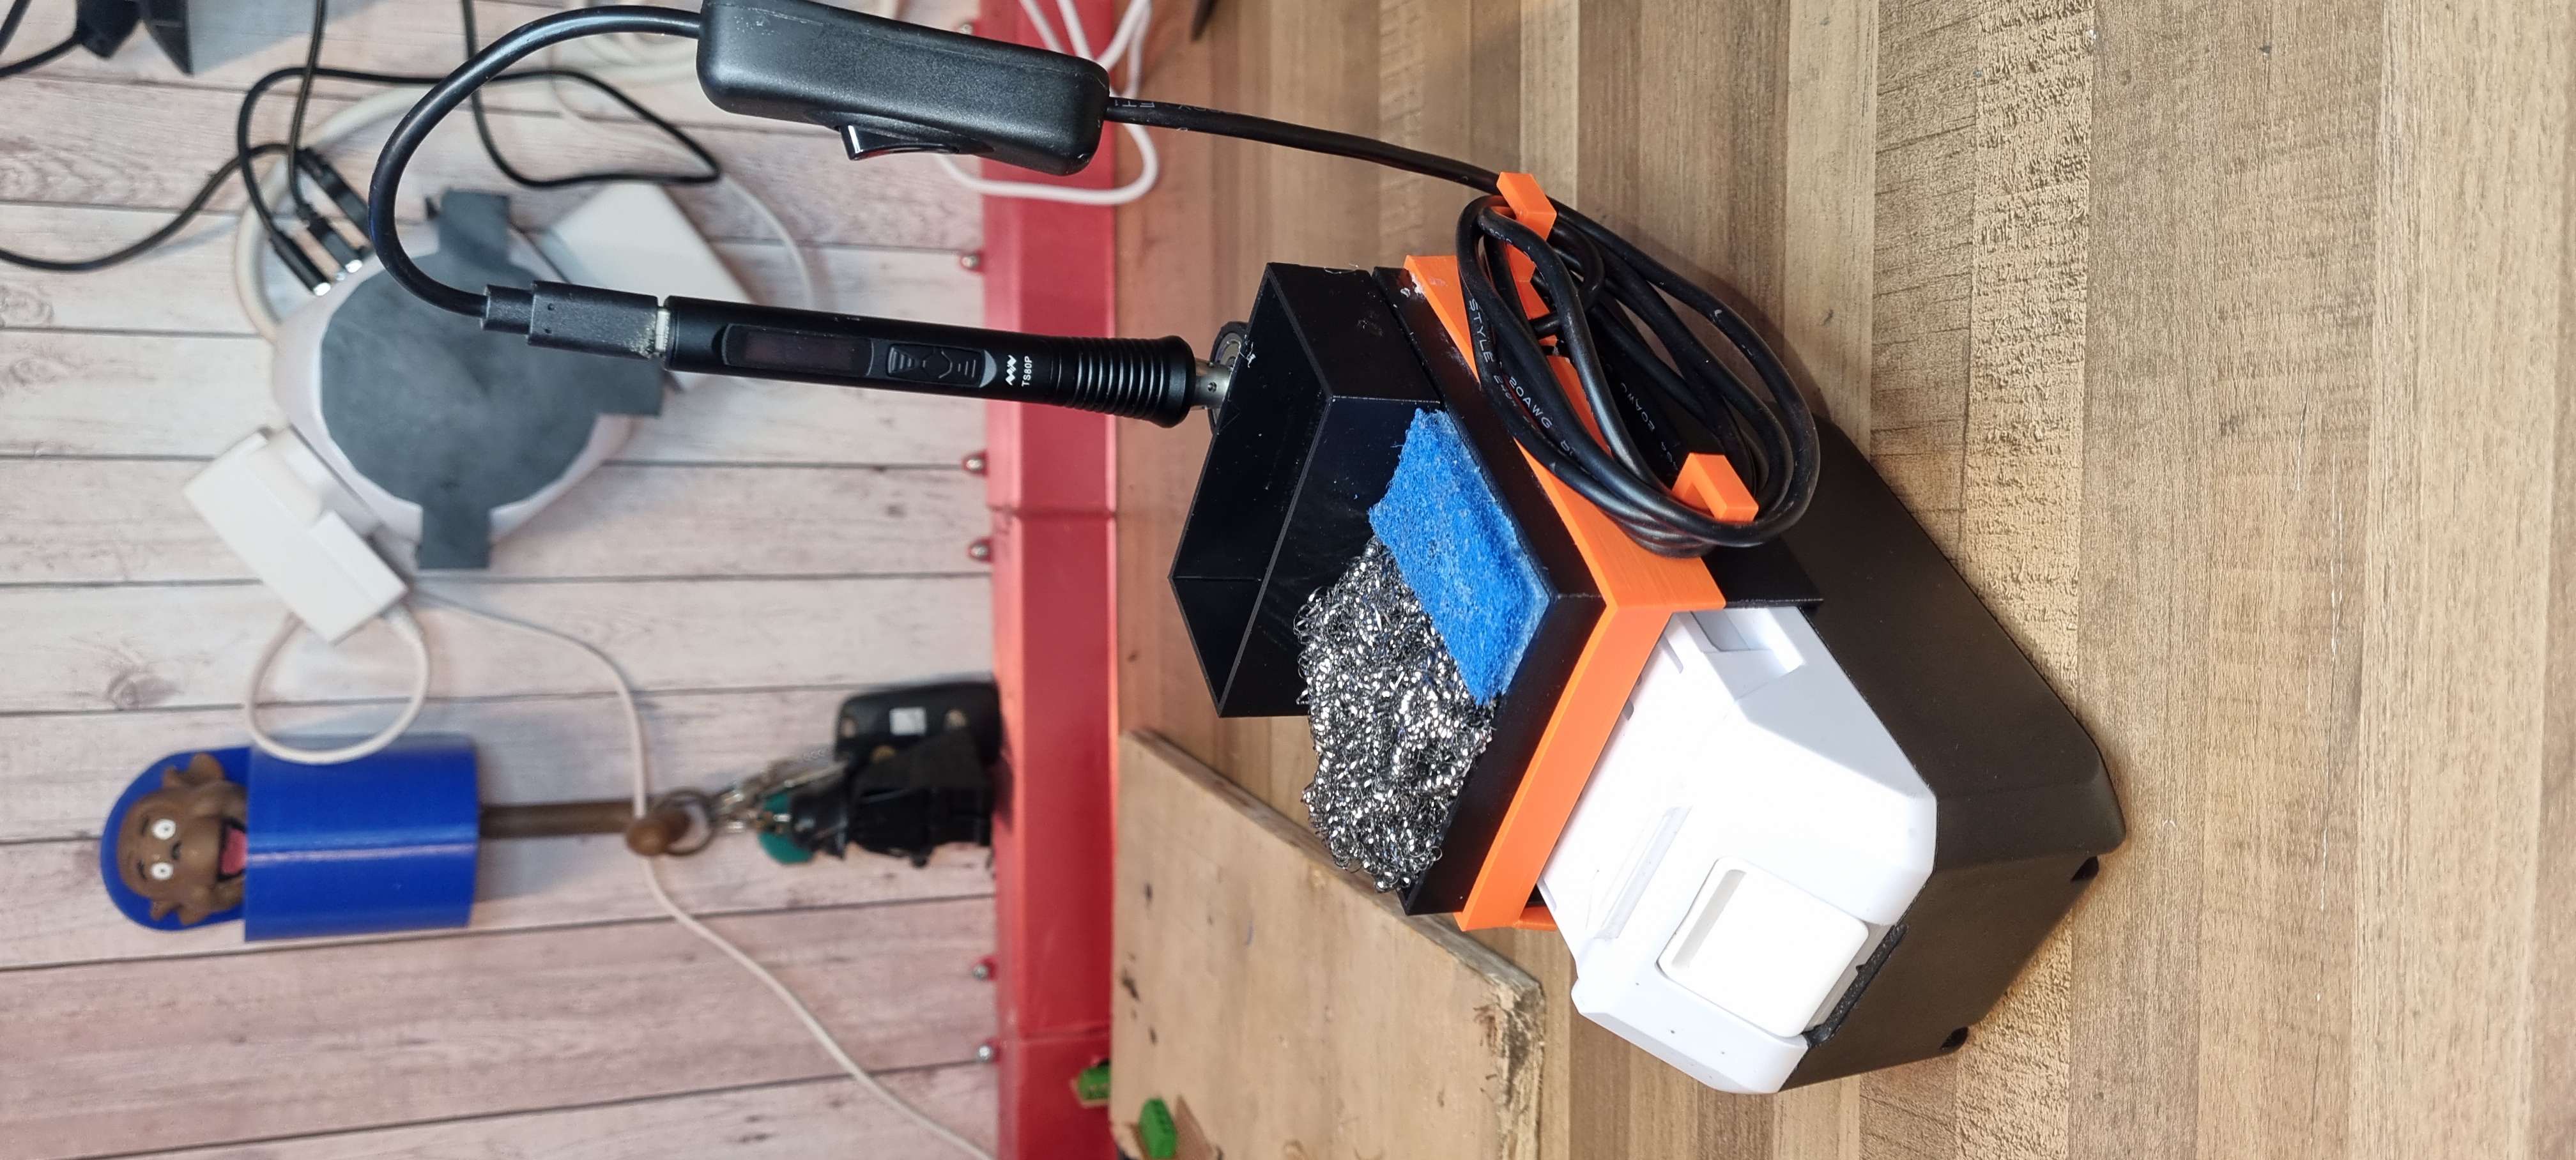
TS80P Makita Battery soldering station
prusaprinters
<p>Parts required - </p><ul><li>608z metal bearings x 2</li><li>10mm x 40mm strip of breadboard/copper clad board x 2</li><li>12V to 9V 3A DC/DC duck converter (should be actually rated for an input between 11 and 22 volts, I used this one - <a href="https://www.amazon.co.uk/gp/product/B087CKCFSP/ref=ppx_yo_dt_b_asin_title_o00_s01?ie=UTF8&psc=1)">https://www.amazon.co.uk/gp/product/B087CKCFSP/ref=ppx_yo_dt_b_asin_title_o00_s01?ie=UTF8&psc=1)</a></li><li>sponge x 1</li><li>steel scrubber x 1</li><li>small nuts and bolts x 2</li><li>drill for the nuts and bolts (about 4mm) x 1</li><li>USB C cable that you can cut or a USB C socket (I had a one sided USB C cable that I cut off a damaged charger)</li></ul><p>Print in PLA, doesnt matter which layer height (I used .2mm)</p><p>Assemble the parts with Glue and the bolts. </p><p>Solder the IN side of the buck converter to the copper clad plates, solder the OUT side to your USB-C socket or cable.</p><p><strong>MAKE SURE YOU PUT THE COPPER CLAD PLATES IN THE CORRECT POSITION, I.E. THE POSITIVE TERMINAL OF THE BATTERY GETS CONNECTED TO THE POSITIVE CLAD BOARD WHEN YOU CONNECT THE POWER STATION TO THE BATTERY</strong></p><p> </p><p><strong>UPDATE</strong></p><p>I have updated the design with some trim to hide ugly glue marks.<br>I have also added some storage on the left for my electric screw driver and on the right for a solder sucker or whatever you want.<br><br>Feel free to alter this for your own batteries and equipment. Enjoy!</p><p> </p>
With this file you will be able to print TS80P Makita Battery soldering station with your 3D printer. Click on the button and save the file on your computer to work, edit or customize your design. You can also find more 3D designs for printers on TS80P Makita Battery soldering station.