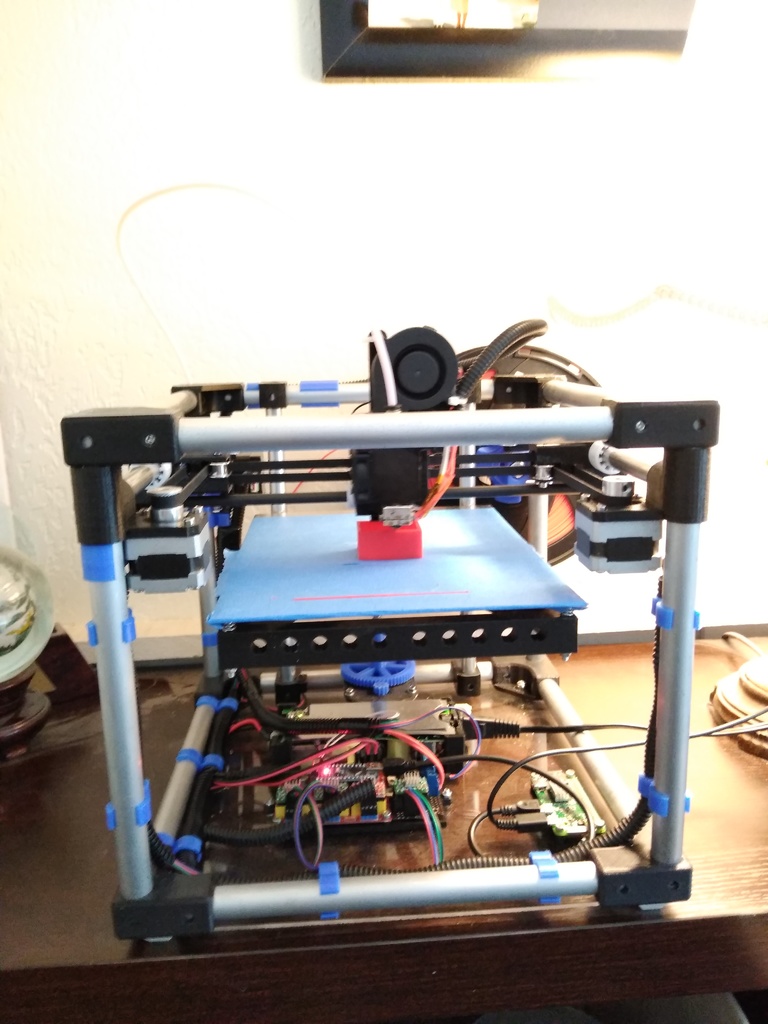
Tube Cube: Portable CoreXY printer with NEMA14, Bluetooth, etc
thingiverse
This appears to be a printer configuration and setup guide for an OctoPrint installation on a Raspberry Pi (RPI) Zero W. The guide covers various aspects of setting up the printer, including firmware, Bluetooth PAN configuration, and Klipper printer configuration. Here's a breakdown of the key points: 1. **Printing Notes**: The guide provides instructions on how to print supports for X Carriages and Y Carriages. 2. **Firmware**: The user started with Teacup but moved to RPI Zero W with Octopi and Klipper due to issues. The RPI is overclocked, and two stepper driver heat sinks are attached. 3. **Adding Bluetooth PAN**: The guide provides step-by-step instructions on how to set up a Bluetooth Personal Area Network (PAN) using the RPI. This involves installing Bluez tools, creating configuration files, and enabling services. 4. **Klipper Printer Config**: The guide provides a printer configuration file for Klipper, which includes settings for stepper motors, extruder, fan, MCU, and printer kinematics. The Klipper printer config file is quite detailed and requires careful reading and updating to avoid incorrect configuration parameters that may cause damage. To summarize, this guide covers the following topics: 1. Printing notes 2. Firmware setup (Teacup to Octopi and Klipper) 3. Bluetooth PAN configuration on RPI Zero W 4. Klipper printer configuration If you're setting up a 3D printer with OctoPrint and Klipper, this guide may be helpful in getting your printer configured and connected over Bluetooth PAN.
With this file you will be able to print Tube Cube: Portable CoreXY printer with NEMA14, Bluetooth, etc with your 3D printer. Click on the button and save the file on your computer to work, edit or customize your design. You can also find more 3D designs for printers on Tube Cube: Portable CoreXY printer with NEMA14, Bluetooth, etc.