Tulip flower chandelier
thingiverse
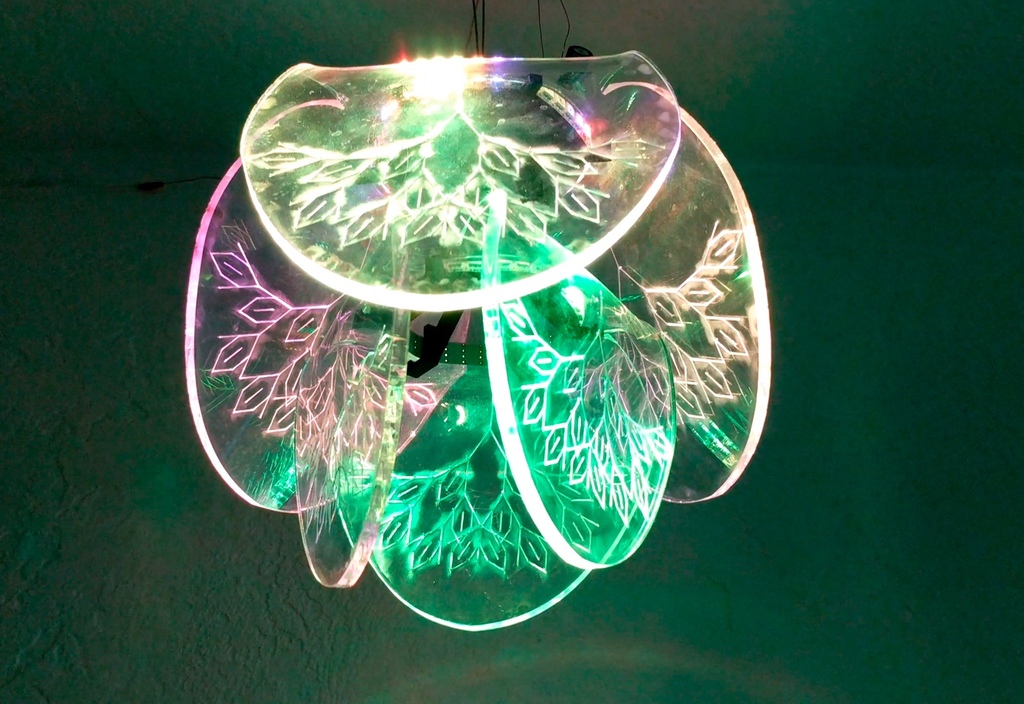
## Instructions 1. Laser cut the tulip pattern. You can scale it as necessary for different sizes or insets. I set the tree fractal to a weak cut setting that wouldn't go more than 1-2mm. 2. Optionally cut 2 wood discs a bit larger to make a vise while heat-bending the petals. You can use a bolt to keep them together. 3. Heat and bend the petals as desired. Depending on the size of inserts, the angle might need to be adjusted. 4. Measure the holes, and use the tulip mount.scad to 3D model mounts for each petal layer. It can make tops, middles and bottoms which thread together. 5. Cut and wire up some LED strips to fit, the printed mount should keep the LEDs snug against the edge. 6. First counter-wind so that the LED wiring doesn't get wrapped up, then thread each segment together. You can check out my [assembled chandelier here](https://www.bhencke.com/blog/2017/7/13/laser-cut-led-flower-chandelier)
With this file you will be able to print Tulip flower chandelier with your 3D printer. Click on the button and save the file on your computer to work, edit or customize your design. You can also find more 3D designs for printers on Tulip flower chandelier.