Turnigy 9X antenna mod
thingiverse
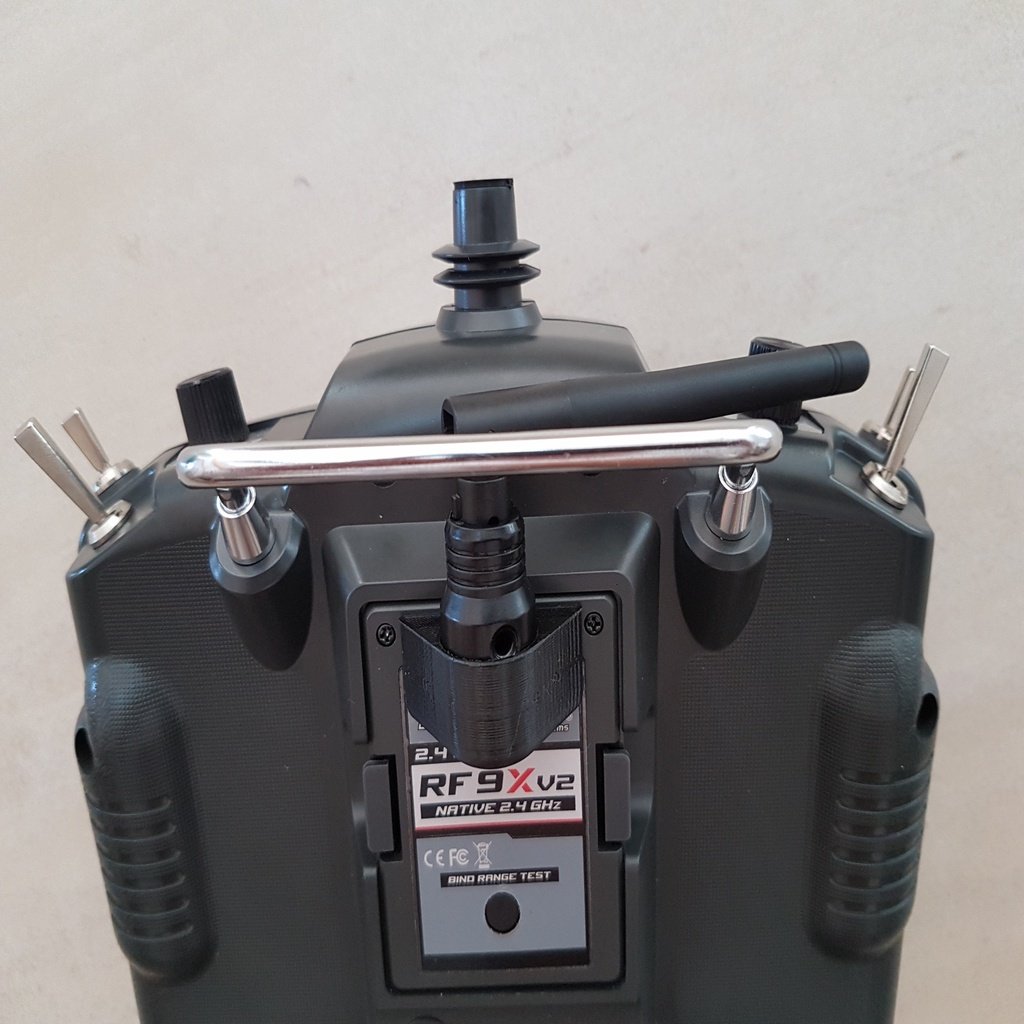
When you want to change the Tx module of the Turginy 9X radio, you just discover that tha antenna is hard wired into the radio which makes it impossible to remove the Tx. Just open the Tx, unsolder the antenna wire (take a picture before as you'll have to solder back the wire). Unscrew the antenna support and pull the wire. Open the radio and unscrew the antenna axis. Screw back the radio Print the two pieces (support and cap) Drill a 3mm hole on the Tx cover and saw the cover from the front edge to the hole (usefull to insert the wire) Solder back the antenna to the PCB. Perform a radio test to check everything is working! The support is printed with two holes for screws, but eventually I decided to only CA glue it in position. The antenna support is then inserted in its hole. Fill the hole left at the initial antenna location with the small printed cap. As you can see: - the antenna goes under the metal support but there is room enough to unplug the Tx - the antenna is well protected once parked close to the switches - when laying flat, the radio remains on its feet (no contact to the Tx) - orientation of the antenna is still possible from nearly vertical to full horizontal Et voilà !
With this file you will be able to print Turnigy 9X antenna mod with your 3D printer. Click on the button and save the file on your computer to work, edit or customize your design. You can also find more 3D designs for printers on Turnigy 9X antenna mod.