Turntable for Filming
prusaprinters
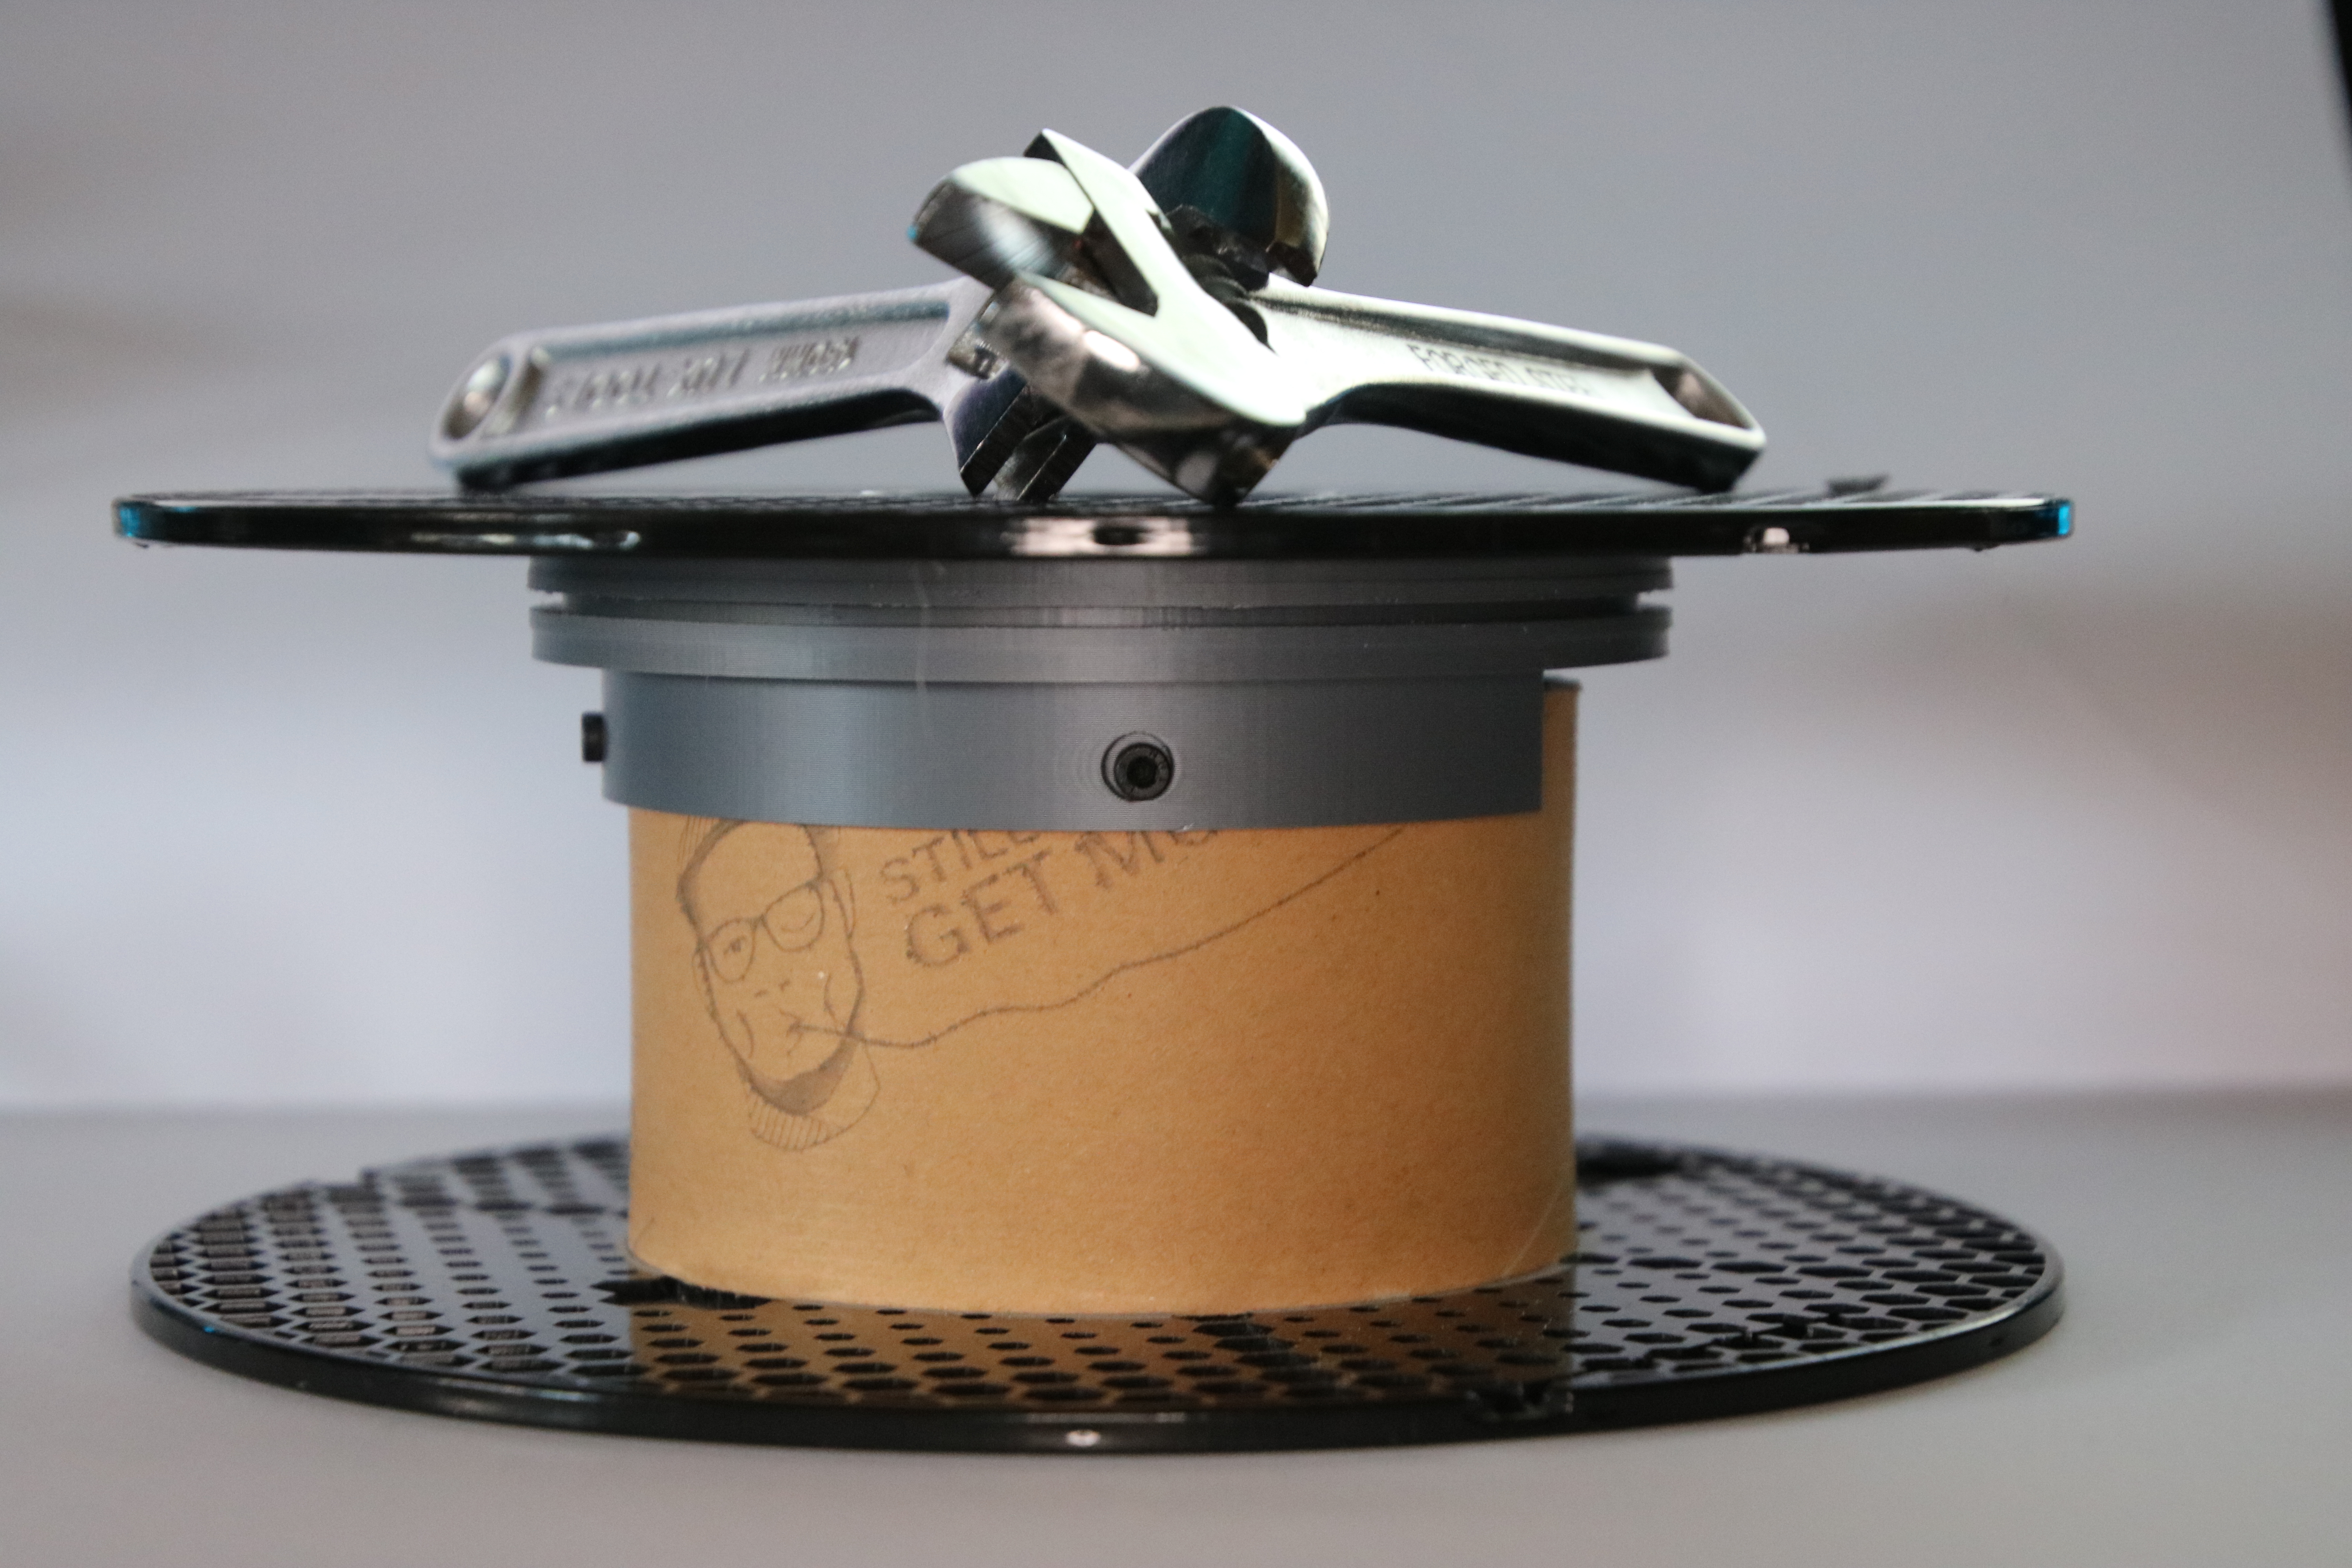
<p>This is a manual turntable reusing an empty Prusament spool. It also relies on the ironing feature of Prusa Slicer to get the surfaces nice and smooth.</p><p> </p><h4>Parts</h4><ul><li>16x bearing balls (6mm diameter)</li><li>8x M3x7mm socket head screws (you can use M3x8mm screws and file them down a bit)</li><li>3x M3x8mm socket head screws</li><li>3x M3x12mm socket head screws</li><li>11x M3 nut</li><li>1x M8x45mm square-neck carriage bolt</li><li>2x M8 nut</li><li>M8 washers</li><li>1x empty Prusament spool</li></ul><p> </p><h4>Assembly instructions</h4><p>I printed all parts in Prusament PLA with standard Prusa Slicer settings and 3-4 perimeters. <strong>It is very important to enable ironing on all top surfaces in the slicer for every part except the MountingBracket.</strong></p><p>Pull of one of the plastic spool parts from the center piece. You must cut of the lip, which was pressed into the center piece, flush to the rest of the spool surface.</p><figure class="image image-style-align-center"><img src="https://media.printables.com/media/prints/228395/rich_content/a7e082f6-fdf7-4544-96ed-ff4dc6d2fb73/img_9826.jpg#%7B%22uuid%22%3A%2269bb6fa7-d701-4682-aaae-ea89f9af001e%22%2C%22w%22%3A6000%2C%22h%22%3A4000%7D"></figure><p>Now press four of the M3 nuts into four of the slots in the BigBearing_Top part as shown in the picture.</p><figure class="image"><img src="https://media.printables.com/media/prints/228395/rich_content/7d2f06ae-7876-405f-a49d-d99b7ca26245/img_9834.jpg#%7B%22uuid%22%3A%228e7712f4-5d2b-404f-8325-2c4a3fcd174e%22%2C%22w%22%3A6000%2C%22h%22%3A4000%7D"></figure><p>Using M3x7mm screws, secure that part to the prepaired plastic spool part and insert the square-neck bolt into the center hole.</p><figure class="image"><img src="https://media.printables.com/media/prints/228395/rich_content/c083ec58-9dc0-4917-b31f-0f4dd1b6d361/img_9836.jpg#%7B%22uuid%22%3A%2208c4e2fb-7739-4aac-890b-3a90f411a160%22%2C%22w%22%3A6000%2C%22h%22%3A4000%7D"></figure><p>Now insert the BearingCage_Big into the groove and fill every hole with a bearing ball.</p><figure class="image"><img src="https://media.printables.com/media/prints/228395/rich_content/481d643f-150a-46ae-9e93-6b0759c01c21/img_9844.jpg#%7B%22uuid%22%3A%222d6e2bb1-ec56-4b1c-92ba-cf7293dff668%22%2C%22w%22%3A6000%2C%22h%22%3A4000%7D"></figure><p>Press the remaining seven M3 nuts into the BigBearing_Bottom part and using M3x8mm screws, secure the SmallBearing_Top part to it. Furthermore, you have to screw the MountingBracket to the BigBearing_Bottom part using four M3x7mm screws.</p><figure class="image"><img src="https://media.printables.com/media/prints/228395/rich_content/354ac36f-c2be-48f8-b2bd-9a61c38bf02c/img_9850.jpg#%7B%22uuid%22%3A%22131887c9-e217-41e6-9a02-a05fd819442e%22%2C%22w%22%3A6000%2C%22h%22%3A4000%7D"></figure><p>Place this assembly on the Top part with the cage and bearing balls inserted. Now put the small cage into the SmallBearing_Top part and fill it with bearing balls.</p><figure class="image"><img src="https://media.printables.com/media/prints/228395/rich_content/0b99aa8a-797e-466f-8e4e-e29325e8f61e/img_9855.jpg#%7B%22uuid%22%3A%2245b0cbca-a9b5-4004-b222-2d7cf7464888%22%2C%22w%22%3A6000%2C%22h%22%3A4000%7D"></figure><p>Put the bottom part ontop of it and screw everything together with a washer and two M8 nuts. Tighten the first nut so that there is no play in the system, but it also doesn't create extra friction. Lock the first nut in place with the second one by tightening them against each other.</p><figure class="image"><img src="https://media.printables.com/media/prints/228395/rich_content/2f2a3975-1e47-4f2e-baae-8a365012b8a8/img_9863.jpg#%7B%22uuid%22%3A%2279a06aba-c9c7-4e0b-b5e4-b5640662e1d0%22%2C%22w%22%3A6000%2C%22h%22%3A4000%7D"></figure><p>Put the whole assembly on the center piece of the spool and mark the holes on the side. Take the assembly of and drill or poke through the holes. Secure the assembly to the center piece using M3x12mm screws.</p><figure class="image"><img src="https://media.printables.com/media/prints/228395/rich_content/9bb5fc99-5f66-47c3-9edf-23ff7ed31e62/img_9867_reducedquality.jpg#%7B%22uuid%22%3A%224d696c53-78c4-4258-8f54-ec3e8a4bdc96%22%2C%22w%22%3A2508%2C%22h%22%3A1672%7D"></figure><p>The turntable is now ready to be used!</p><p> </p><p>Tip: You can glue a sheet of black paper to the top surface to make it look better.</p>
With this file you will be able to print Turntable for Filming with your 3D printer. Click on the button and save the file on your computer to work, edit or customize your design. You can also find more 3D designs for printers on Turntable for Filming.