TutorialPart6
grabcad
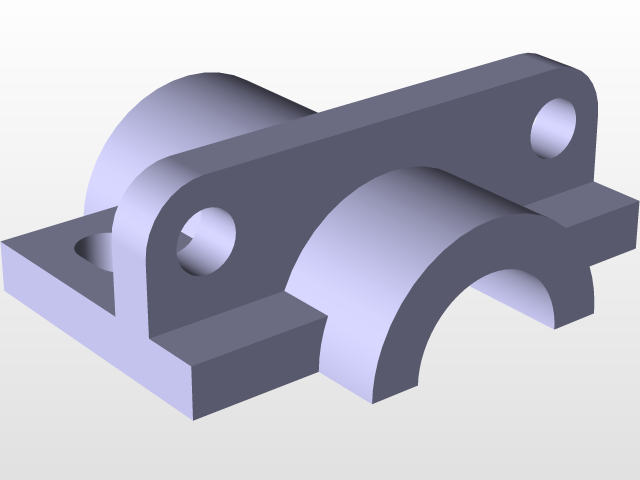
Here is a rewritten version of the original text: A Simple Multipad Example of Catia In this tutorial, we will create a basic multipad model using catia. The goal is to demonstrate the fundamental principles of creating a 3D model in catia. Step 1: Creating a New Document To begin, open catia and select "File" > "New" from the menu bar. In the "Create a new document" dialog box, choose "Multipad" as the template type. Click "OK" to create a new multipad model. Step 2: Defining the Multipad Parameters In the "Multipad Properties" dialog box, define the dimensions and properties of your multipad model. Set the length, width, and height values according to your requirements. You can also customize the material and color of the multipad if needed. Step 3: Adding Features to the Multipad Once you have defined the multipad parameters, click on the "Features" tab in the "Multipad Properties" dialog box. Select the type of feature you want to add, such as a hole or a slot. Use the mouse to specify the location and size of the feature. Step 4: Editing the Multipad After adding features to your multipad model, you can edit its shape and properties. Click on the "Edit" tab in the "Multipad Properties" dialog box to access various editing options. You can use these tools to refine the design of your multipad model. Conclusion: In this tutorial, we have created a basic multipad example using catia. We have demonstrated how to define the multipad parameters and add features to create a 3D model. With practice and experience, you can master the skills required to create complex multipad models in catia.
With this file you will be able to print TutorialPart6 with your 3D printer. Click on the button and save the file on your computer to work, edit or customize your design. You can also find more 3D designs for printers on TutorialPart6.