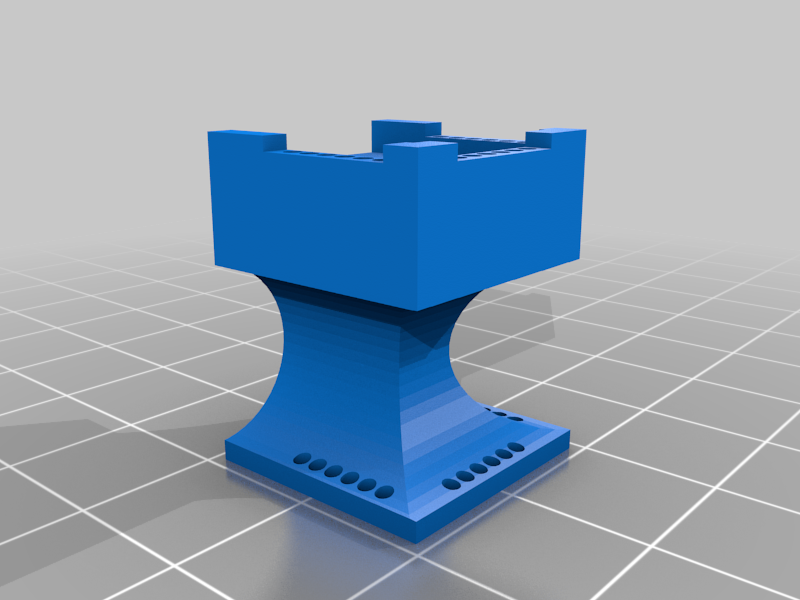
Tuya Chip Flashing Jig
prusaprinters
<p><a href="https://www.thingiverse.com/thing:4441076">https://www.thingiverse.com/thing:4441076</a> presented a thumb screw to replace the wing nut on the front-left corner of the BIBO bed. It is too wide for the other two positions.</p> <p>I have created a smaller version to fit the right-front corner and the back-center.</p> <p>A M3-.50 nut is required.</p> <h3>Print Settings</h3> <p><strong>Printer Brand:</strong></p> <p>Creality</p> <p class="detail-setting printer"><strong>Printer: </strong> <div><p>Ender 3 Pro</p></div> <p><strong>Rafts:</strong></p> <p>No</p> <p class="detail-setting supports"><strong>Supports: </strong> <div><p>No</p></div> <p><strong>Resolution:</strong></p> <p>100</p> <p class="detail-setting infill"><strong>Infill: </strong> <div><p>20</p></div> <p><strong>Filament:</strong> Hatchbox PLA Black</p> <p><br/> <p class="detail-setting notes"><strong>Notes: </strong></p> </p><div><p>This is a copy of the original jig <a href="/thing:4547369" rel="nofollow">https://www.thingiverse.com/thing:4547369</a> that is adopted for the Tuya chip found in the images. This chip is installed in the new light switches (https://www.amazon.com/gp/product/B07LFFXZ3S)</p> I'm still fiddling with the printer settings to get a better print (as evident on one of the images). If I'll come up with decent settings, I'll update this posting. <p>This jig also has small cutouts where pogo pins are coming out to ensure proper pin alignment.</p> </div></p></p></p> Category: Other
With this file you will be able to print Tuya Chip Flashing Jig with your 3D printer. Click on the button and save the file on your computer to work, edit or customize your design. You can also find more 3D designs for printers on Tuya Chip Flashing Jig.
