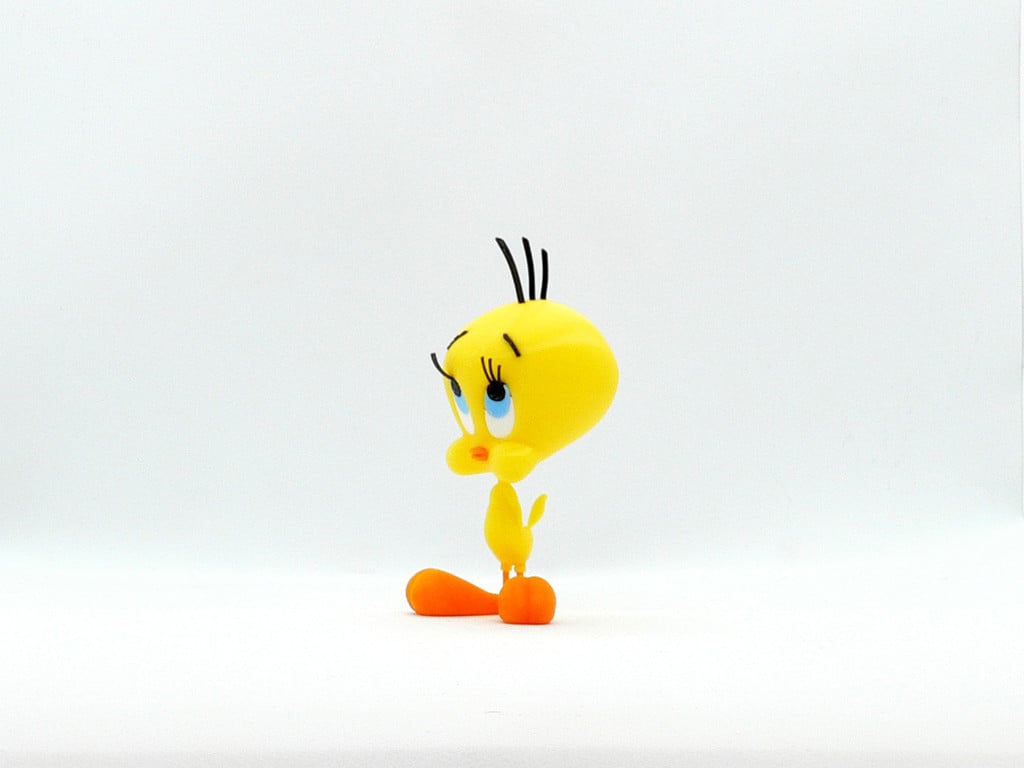
Tweety Bird
thingiverse
Tweety, also known as Tweety Pie and Tweety Bird, is a yellow canary in the Warner Bros. Looney Tunes and Merrie Melodies series of animated cartoons. The name "Tweety" is a play on words, as it originally meant "sweetie", along with "tweet" being an English onomatopoeia for the sounds of birds. His characteristics are based on Red Skelton's famous "Junior the Mean Widdle Kid." Tweety appeared in 46 cartoons during the golden age, made between 1942 and 1962. His signature lines are "I tawt I taw a puddy tat!" and "I did! I did taw a puddy tat!" No supports are required. One piece, head, is presented as two pieces without supports and also as one piece if you want to use your slicer supports. If you have the proper filament colors, no painting is needed. The assembled model is 105mm tall and is in proportion to my Sylvester model. Enjoy! ........................................................................................................... **Print Instructions:** Supports: No Resolution: .2mm Infill: 10% Notes:** Refer to the notes below for a few helpful printing and assembly instructions. ........................................................................................................... **Building the model** Colors Black: (Paramount3D PLA - Black) hair_front hair_middle hair_back eyebrow_left eyebrow_right eyelash_1_left eyelash_1_right eyelash_2_left eyelash_2_right eyelash_3_left eyelash_3_right eye_black_left eye_black_right .. Yellow: (Paramount3D PLA - Simpson Yellow) body head_front head_back head_onepiece (optional piece to print the head without a seam using slicer supports) .. Orange: (Paramount3D PLA - McLaren Orange) foot_left foot_right beak .. White: (Overture PLA - White) eye_white_left eye_white_right .. Light Blue: (Soulutech PLA - Aqua Blue) eye_blue_left eye_blue_right .. Any Color (hidden piece) head_pin ........................................................................................................... **Printing and assembly tips** Printing tips 1 - No supports are required. 2 - There are some pieces that may need brims or rafts, use your discretion. When setting up my prints I prefer to be conservative, especially since the base of many parts are hidden when inserted into another part. For the smaller parts, a good first layer is helpful. *I used brims on: body 3 - If you can print all the small black pieces without a brim they will look and fit better. Simple clean bed adhesion is all that is required. 4- The model stands by itself using the print parameters noted above. If a higher infill is used on the head, the model may become top heavy. Use your discretion for different printing parameters. I would suggest higher infills for all parts except for the head, which should be done at the lowest infill. 5 - The head is split into two parts to print cleanly without supports, but produces a seam in the completed model. A single head piece is also provided if you want to use slicer supports. 6 - A number of the left/right parts look quite similar, but are actually different. .. Assembly tips: 1 -Take your time gluing the model together and enjoy the process. The eyelashes may be tricky. 2 - I used E6000 sticky craft glue to put this model together. The sticky glue allows more time to position the parts than a fast drying superglue. I have 'fat fingers' and a shaky hand, so the sticky glue works out best for me, especially with small pieces. Just remember to leave enough time for the glue to set before combining too many parts. 3 - Refer closely to the diagram for the order of the eyelashes. The outermost eyelash, 3, has a more angled base than the others. All the eyelash bottoms should fit flat to the inner top surface of the slot at the top of the eye hole. All the slight bottom extensions of each eyelash points away from the middle. 4 - ** important **, the eyes and eyelashes are essential to the models character. However, the eyelashes can be tricky to align properly. I specifically used my tacky glue for the eye area. There is a notch at the top of the eye hole for the lashes. I put the tacky glue there first and placed each eyelash with a toothpick for positioning. They should stay in place while the glue remains tacky (or wait until the glue is fully set). The eye_whites can be inserted and then the eye blues. The eye_blacks should then be firmly pressed into position while ensuring the lashes stay positioned. Personally I was able to do the left eye in one shot but I needed to redo the right eye a few times before the lashes were sitting nicely. 5 - The foot insertion to the leg is round, therefore simply rotate each foot to point as you like. 6 - This is purposely a small model in order to be in proportion to Sylvester, so I apologize in advance for the small parts. 7 - Refer to the assembly diagrams in the pictures section as well as the uploaded pictures for putting the model together. The model is meant to be glued. Do not hesitate to ask questions, feedback is essential to making better models.
With this file you will be able to print Tweety Bird with your 3D printer. Click on the button and save the file on your computer to work, edit or customize your design. You can also find more 3D designs for printers on Tweety Bird.
