U.L.Folding Table
thingiverse
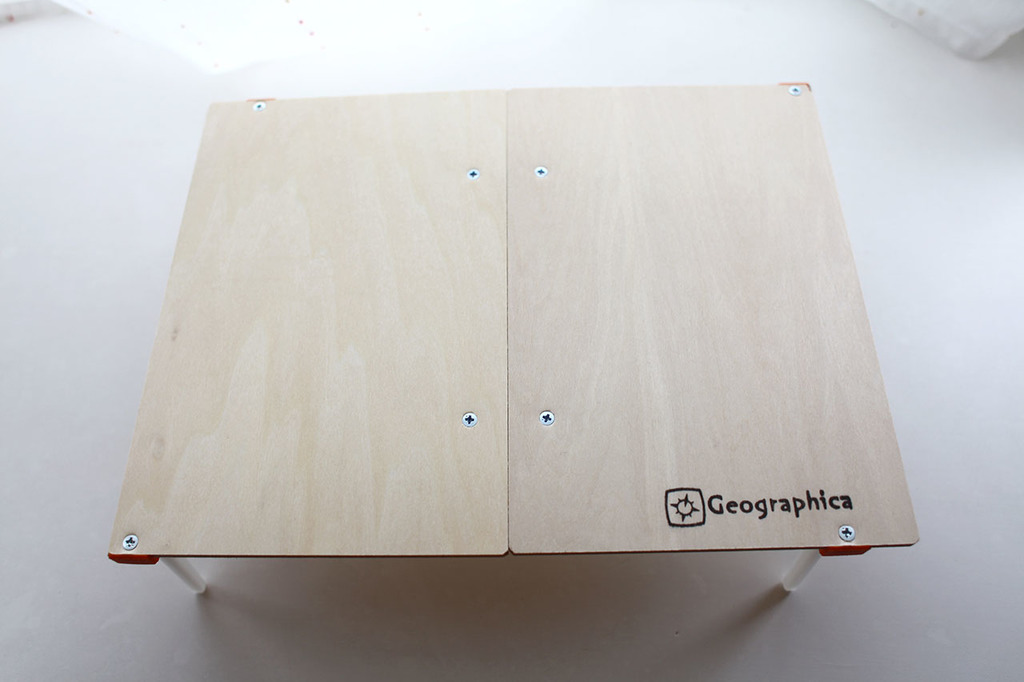
It is a folding table for camping. The following parts are required. table_M3_leg.stl x 4 table_M3_base.stl x 4 table_M3_hinge4A.stl x 2 table_M3_hinge4B.stl x 2 You will need M3 screws and nuts. Nut x 14 15mm long pan head screw x 4 for table_M3_base and table_M3_leg joints. 20mm long pan head screw x 2 for table_M3_hinge joints. 8mm long countersunk screw x4 Fix the hinge to the board Length 10 mm countersunk screws x 4 Fix your feet to the board. Two 4mm thick plywood boards. The size is about 150mm x 210mm Make a hole in the board using the following jig. table_M3_hinge_jig.stl Make holes in 4 places where you want to attach the hinges. table_M3_leg_jig.stl Make holes in 4 places to attach hinges. Shift the holes so that legs do not interfere when folded. There are two holes for that. Please make a hole referring to the photo. You can lock the legs of a table using table_M3_stopper_base.stl and table_M3_stopper.stl. ---------------- キャンプ用の折りたたみテーブルです。 4本足の場合で、以下のパーツが必要です。 table_M3_leg.stl x 4 table_M3_base.stl x 4 table_M3_hinge4A.stl x 2 table_M3_hinge4B.stl x 2 M3のネジやナットが必要です。 ナット x 14 長さ15mm なべネジ x 4 table_M3_baseとtable_M3_legの関節用。 長さ20mm なべネジ x 2 table_M3_hingeの関節用。 長さ8mm 皿ネジ x4 ヒンジを板に固定する 長さ10mm 皿ネジ x4 足を板に固定する。 厚さ4mmのベニヤ板を2枚。 サイズは150mm x 210mm 程度 以下の治具を使って板に穴を開けます。 table_M3_hinge_jig.stl ヒンジを付ける位置、4箇所に穴を開けます。 table_M3_leg_jig.stl 足を付ける位置4箇所に穴を開けます。折りたたんだ時に足が干渉しないように穴の位置をずらします。そのために穴が2個あいています。写真を参考にして穴を開けてください。 6本足で作りたい場合はパーツと穴が増えます。中央の足はヒンジを干渉しない位置に穴を開けて取り付けてください。 STLファイルの名前にM3って入ってるのはM3のネジを使うもので、M4って入ってるのはM4のネジを使います。M3だと板の厚さは4mm、大きさはA5が2枚。M4は板の厚さ5.5mmで大きさはB5が2枚でいい感じになります。 table_M3_stopper_base.stlとtable_M3_stopper.stlを使用すると、テーブルの足をロック出来ます。
With this file you will be able to print U.L.Folding Table with your 3D printer. Click on the button and save the file on your computer to work, edit or customize your design. You can also find more 3D designs for printers on U.L.Folding Table.