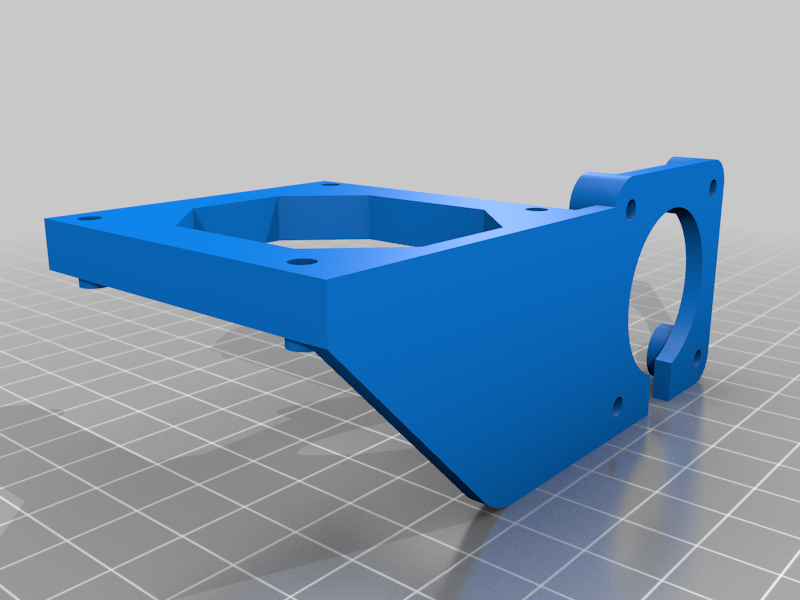
U Stepper Robot Arm Rev4 - Open Loop Control Mod
thingiverse
## Credits This Design is based on the awesome Robot Arm Rev 4 from the guys at uStepper. You may find the original work, as well as extensive documentation including the kinematics here: https://github.com/uStepper/Robot-Arm-Rev-4/tree/master ## Background As uStepper is focussed on closed loop servo controllers their design does not require any endstops. This makes the phyisical design and programming much easier while not requiring a homing procedure during startup. As a bonus you may detect motor slip and other fault conditions with closed loop controllers like the ones from uStepper. On the other hand this type of controller drives the component costs and adds some complexity to the electronics. In order to compare a closed loop control with an open loop control based on a practical example I re-designed the uStepper Rev 4 arm to integrate optical end stops and a bracket to hold an interface board for hooking the arm up to a CNC controller. On the board you may find the resistors and wiring for the optical end stops. The design is built upon the RepRap Gen7 Endstop: https://reprap.org/wiki/Gen7_Endstop_1.3.1 Again, the components for this endstop are widely available for a few cents, cutting costs and sourcing effort. Furthermore it is well documented and compatible with most CNC / 3D-printer controller boards out there. In my case I am running this with a GRBL control board. If you want to use my electronics board, use Fritzing (see: https://fritzing.org/ ) to open the file uStepperV4_OpenLoop_Interface_V1.fzz. The board allows for a tidy installation on the arm and a clean interface via Molex MiniFit JR (aka "ATX Connector") to a 3-Axis (+Servo) controller of your choice ## How to build this? - Print the parts you may find here. - Have a look into the uStepper Git Repo and print the remaining parts - They are all numbered and I stuck to the original numbering from uStepper, the Parts beginning with an "X" are new parts, not included in the original design - Decide wether you want to put the electronics on the arm, or route everything to a central controller - Build the electronics and test them with your actuators, sensor board and sensors - Solder leads to the sensors (Photointerrupter TCST1103) - Hot-glue the sensors into the parts 3 (Structure Left Side), 4 (Structure Right Side) and X3 (Rotation Endstop Bracket) - Hot-glue the wire into the beads of the parts 3 and 4. - Assemble the robot arm according to the uStepper documentation - guide the cables as desired - Instead of the blinds included in my design I decided to take some washers as blinds - I took an M6 washer, cut it into 3 parts and melted it into the main and secondary gear. - this allows for a better "calibration", according to your individual build and is a tad more robust - If you want to replace the blinds, I uploaded the .step file of the base for easy editing - If you want to use my electronics board there is a picture attached showing which trace / pin on the Molex MiniFit JR links to which pin of the sensors / actuators. ## Parts required: - All parts from the uStepper documentation - **MINUS** the uStepper controllers - Parts to build the Optical Endstops, see the RepRap Documentation for it - When using my electronics board design: - Molex MiniFit JR 2x10 pin Header [for connecting the cable to you main controller] - 3 x Molex KK 1x4 pin header [connecting the stepper motors] - 3 x Molex KK 1x3 pin header [connecting the sensors] - 3 x Molex KK 1x3 pin connector [connecting the sensors] - 1 x Molex KK 1x6 pin header [connecting the gripper] - 1 x Molex KK 1x6 pin connector [connecting the gripper - 4 x Resistor 180 Ohms - 4 x Resistor 1k Ohms - 4 x Resistor 2.2k Ohms - 4 x 3mm LED e.g Red [indicating the sensors] - 3 x Photointerrupter TCST1103 - Some wires, hotshrink, ... - The electronics board, which may be ordered through Fritzing and their EMS-partners I hope you enjoy the build and learn as much as I did!
With this file you will be able to print U Stepper Robot Arm Rev4 - Open Loop Control Mod with your 3D printer. Click on the button and save the file on your computer to work, edit or customize your design. You can also find more 3D designs for printers on U Stepper Robot Arm Rev4 - Open Loop Control Mod.
