UFS-045 Hero Me Dual 5015 & Single 4010 Fan Mount Fixed Gen3
thingiverse
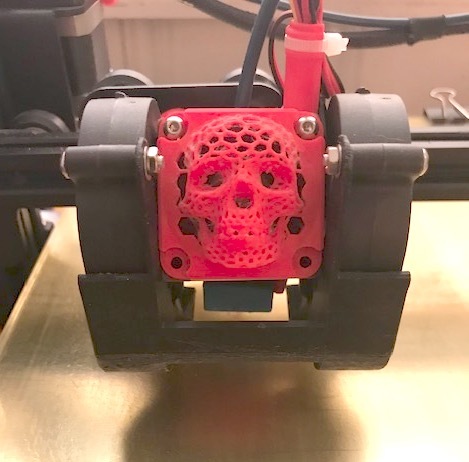
I resisted making this improvement because it doesn't improve the part cooling much. Having tested the Petsfang Bullseye duct using the stock fans and watching this video, I didn't see much value in changing the ducts. The simple ducts from Creality work fine. Then I approached the problem from a different angle, noise. Since I have an older CR-10S version 1, my printer has some fan noise that could be improved. I decided to try a Noctua hot-end cooling fan. Then while I was making changes I decided to switch to dual-fan part cooling. The two fans were not to improve part cooling. Instead, the intent was to add another fan so they could both run slower. This has the potential to reduce fan noise while still providing the needed air flow. At the same time, I purchased "low noise” 5015 blower fans. The fan changes do slightly decrease the overall noise. That is better than a change just for change sake. Another minor improvement with the design is it opens up the area around the nozzle. This gives better visibility of how the print is going. This time we switched from the Petsfang to the Hero Me design. I thought the Hero Me looked more compact and it rated slightly better in the video. https://youtu.be/qW2EEqCh0NI The problem with the Hero Me is an almost complete lack of documentation. Even the Youtube videos left a lot of information out. What is the best orientation for the parts? What size screws to use? What print resolution? The Petsfang was much better with instructions. The worse than the lack of instuctions, there is a problem with hole sizes. Biggest issue was the mix up between the hole size (2.3mm) on the base and the mounting slots (2.7mm) for part fans. Slots imply that the bolt can slide and adjust up and down. For that to work the slots need to be bigger than the bolt diameter. The problem is the holes for the bolts are larger than the slots. Either the holes need to be smaller, and then we can use smaller bolts (something like a 2mm bolt). Or the slots need to be wider, and then we can use a larger bolt (here the hole size is 2.7mm so a 3mm bolt will self-tap). Since I happen to have 3mm bolts, I went with enlarging the slot size. I found this guy, who found the same issue. He went with using 2mm bolts and reducing the hole size. So if you don't like my fix, go and download his files. https://www.thingiverse.com/thing:3895470. One final issue, the biggest problem with most of these fan duct designs is the narrow opening. I don't know much about HVAC design, but the basic principle is that restrictions cause back-pressure that reduces the flow. The best design would calculate the area of the supply, (most of the 5015 blower fans have a squarish opening). Then the outlet would be stretched out into a rectangle to concentrate the flow, but have the same or more area. Shrinking the opening into a tiny hole, may increase the air speed but at the loss of total air volume. 90 degree bends in the direction of flow are also bad. The more there are the more back-pressure created. That is why the original duct from Creality was just as good as most of these fancy but pointless designs. Side note, if you liked the skull fan cover I used, you can find my version here: https://www.thingiverse.com/thing:4176255
With this file you will be able to print UFS-045 Hero Me Dual 5015 & Single 4010 Fan Mount Fixed Gen3 with your 3D printer. Click on the button and save the file on your computer to work, edit or customize your design. You can also find more 3D designs for printers on UFS-045 Hero Me Dual 5015 & Single 4010 Fan Mount Fixed Gen3.