Ukiyo-e Woodblock Printing - The Kimono (10 colours) Part 2/2
pinshape
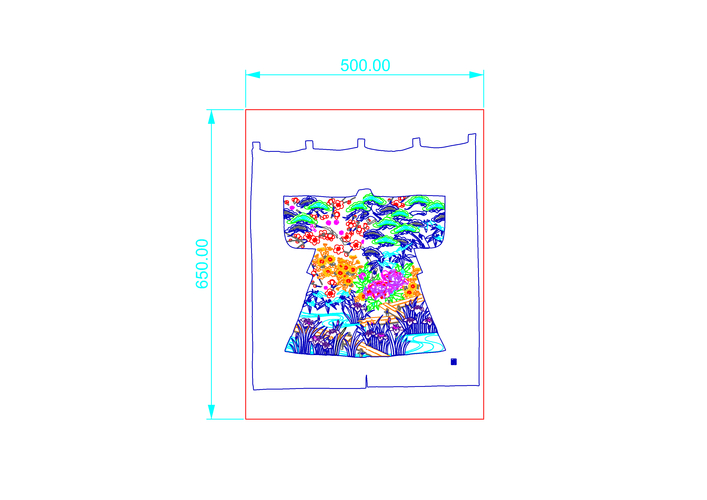
This is the second part of the The Kimono set of woodblock prints. Part 2 is free but Part 1 is for sale. With this 3D printed woodblock Ukiyo-e technique, you can print as many pictures as you like. Printing is very relaxing and a great way to spend the day. You just need to know someone with a 3D printer and have some basic art supplies. These 3D files were created by a manually tracing lines and colour separating instead of using automatic software, this method produces warmer reproductions of the original artwork. Like listening to a vinyl record rather than digital. The result is a beautiful and true-er version of famous Japanese works. You can now print your own pictures using with acrylic, watercolour or even inks, on paper or cloth. The Kimono design is a portrait print for a paper 500mm x 650mm, it consists of 5 plates A to E, made up of 4 x 3D printed panels each, you must tape the 4 panels together using gaffer tape (at the backside) to create the complete plate - see pic. The artwork has 10 colours, i.e. two colours per plate, you could circle the features on the 'woodblocks' with a marker-pen to remind you to print these features a different colour to get all 10 colours. I have shown the separations of features by colour in my pictures. Instructions on how to use print pictures with acrylic paint is in the video and the downloadable PDF called 'The Kit'. 3D Print settings: I personally use 0.6mm nozzle and a 0.3mm layer for speed, but the regular 0.4mm nozzle with a 0.2mm layer will give you even better detail but take a bit longer. The prints are 300mm x 300mm, if your 3D printer is smaller then just scale the plates down. But only scale in the X and Y directions, not the Z, you must maintain the same thickness. This is important for the printing technique to work properly. Use printer settings that create 100% solids rather than honeycomb inside, the results will be better. Note: Don't just set it to 100% infill setting to achieve a solid print. Avoid long stretches of print head zigzagging while it tries to do a very fine honeycomb structure, this causes lots of vibrations and noise. Instead, by specifying a number top/bottom infill layers that are higher than the number of layers, the printer is forced to do a more efficient back and forth movement pattern for every single layer, resulting in a better version of 100% infill. After printing each plate, use a sanding block and 120 grit sandpaper to make the top surface really flat so it holds paint evenly. This does not take long if you have used PLA plastic. The solid strip of plastic at the top does not need sanding, it is there for you to attach your paper, using masking tape, when you are ready to print onto paper. More info at https://bramtan.weebly.com/developing-3d-printed-ukiyo-e.html More designs to come soon. Enjoy!
With this file you will be able to print Ukiyo-e Woodblock Printing - The Kimono (10 colours) Part 2/2 with your 3D printer. Click on the button and save the file on your computer to work, edit or customize your design. You can also find more 3D designs for printers on Ukiyo-e Woodblock Printing - The Kimono (10 colours) Part 2/2.