Ultimachine Split-Spool Hack
thingiverse
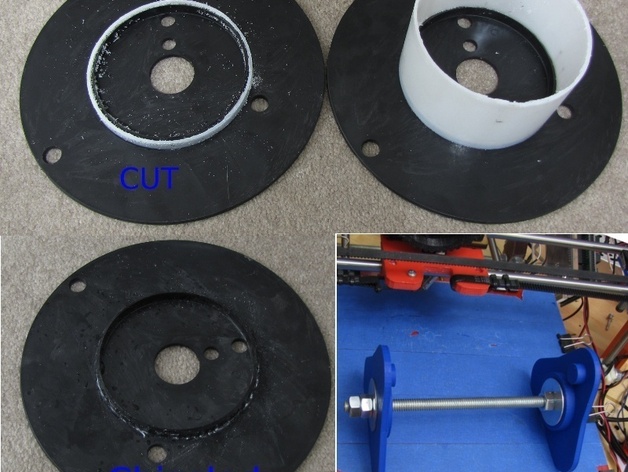
A top mounted spool design on bearings, such as Prusa-Top Spool Mount (http://www.thingiverse.com/thing:16046), adapted from MendelMax Spool Mount (http://www.thingiverse.com/thing:13329), was something I really appreciated. However, after finishing my first spool, a dilemma arose; either keep buying new spools for every fresh filament batch or re-wind empty ones. The former option seemed wasteful and costly, so the latter was chosen. Nonetheless, manual rewinding proved to be frustrating and messy. Hence, being neither chump nor jerk, I devised a third option: a removable-face spool allowing easy filament loading and reassembly using printed parts, nuts, threaded rod, and a little bit of filing or sanding for parallel faces. Parametric python scripts are included for FreeCAD users, and an updated symmetric 3 "spoke" design is provided to avoid pinching issues.
With this file you will be able to print Ultimachine Split-Spool Hack with your 3D printer. Click on the button and save the file on your computer to work, edit or customize your design. You can also find more 3D designs for printers on Ultimachine Split-Spool Hack.