Ultimaker 2 Top Enclosure - Remixed - reoriented and split
thingiverse
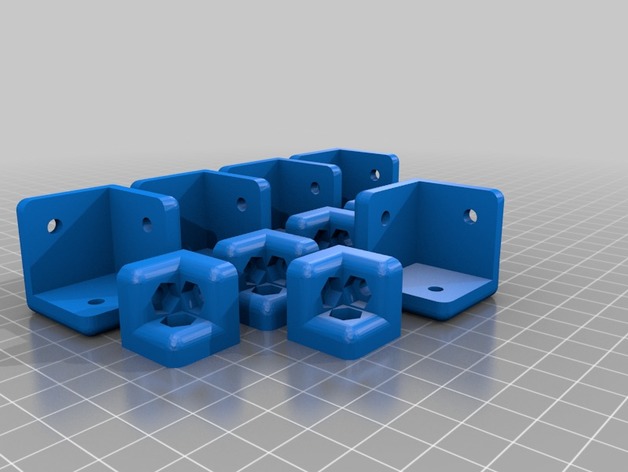
This is a 1:1 remix of Ultimaker 2 Top Enclosure, which means I haven't altered any components. So what have I done to make it a remix? Changes: Reoriented all components so you won't need to experiment with the best orientation. Split the part Corner3Side5X into two separate parts - Corner3Side5X-large_part and Corner3Side5X-small_part - and oriented them for easier printing. Print Settings Printer: My Crossbot design Rafts: No Supports: Yes Resolution: 0.2-0.25 Infill: 10 Notes: The only part requiring support is D_CornerBackRight. It might appear a bit odd, but it's intentionally placed upside down to avoid having supports in hard-to-remove places. If you print all components together, you can increase the support angle to 75% to minimize unnecessary support for other parts. Post-Printing You can drill 4mm holes in the printed components to make assembly easier if they are a bit small. Parts needed 30x M4*20mm screws 30x M4 nuts Acrylic plates or similar (5mm thick) 1x 316*200mm - Back side 1x 326*200mm - Front side 2x 440*200mm - Left and Right sides 1x 445*326mm - Top side 1x 210*97mm - Back down side Drilling holes and assembly Be cautious: remove the protection plastics from your acrylic plates after drilling all the holes to avoid scratches. Place the 3D components on the acrylic plates, drill the 4mm holes, and then start assembling. Be careful not to overtighten the screws as it can damage both the printed parts and the acrylic plates.
With this file you will be able to print Ultimaker 2 Top Enclosure - Remixed - reoriented and split with your 3D printer. Click on the button and save the file on your computer to work, edit or customize your design. You can also find more 3D designs for printers on Ultimaker 2 Top Enclosure - Remixed - reoriented and split.