Ultimaker Alu bed with 3-point bed leveling (package)
thingiverse
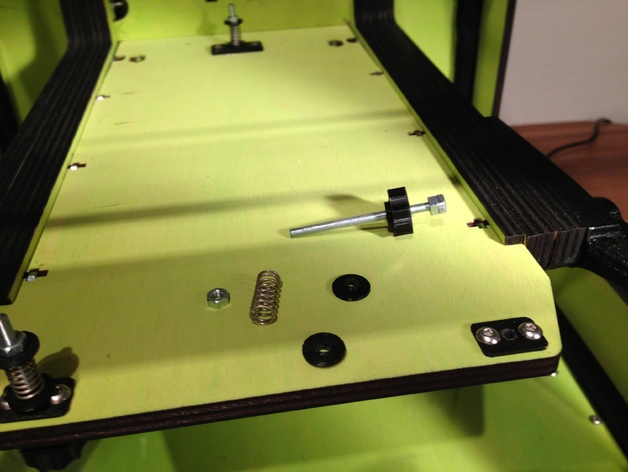
To replace your acrylic print bed, gather these parts: alu sheet with M3 thread positions, replacement front mounts, rear mount (drill 3 holes), bed washers, and M3 screw knobs. You'll also need original springs, M3x40 mm screws or rods, M3x10mm screws, M3 nuts, a 242x242 mm glass plate, bulldog clamps, and a 3 mm drill. Assemble the parts by attaching the front and rear mounts, securing the assembly with spring washers and nuts, and ensuring smooth operation. Finally, test your new print bed and consider adding a silicone heater pad for a heated bed.
With this file you will be able to print Ultimaker Alu bed with 3-point bed leveling (package) with your 3D printer. Click on the button and save the file on your computer to work, edit or customize your design. You can also find more 3D designs for printers on Ultimaker Alu bed with 3-point bed leveling (package).