Ultimaker Heated Aluminum Bed
thingiverse
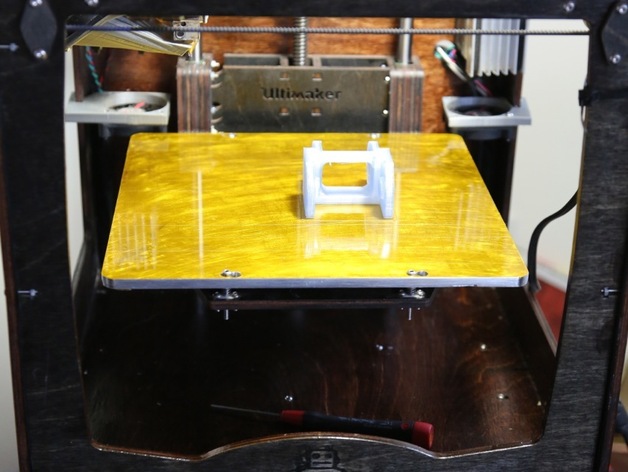
I used my CNC machine to mill an aluminum plate to fit using the stock Ultimaker bed bolts and springs. This is the file I used to create the G-Code for milling. And some brief instructions how to get it working. I selected 0.25" mill finished stock from 80/20 surplus on ebay. I got enough material to make 2 beds so I can swap them in and out. Instructions Parts needed: Order a PCB (or mill your own). I chose to order from Ultamachine as they had the resistor and LEDs pre-soldered on the board. $50 with components: http://bit.ly/OUy4qk Order a thermistor. Ultamachine sells one that is recognized by the Marlin firmware for $2.75: http://bit.ly/SvoHgA Order a power supply. I choose to replace the power supply included with the Ultimaker and got this 400W 24 volt PSU. $49: http://bit.ly/QhazrA Round up some wire heavy enough for the power. I used 12 gauge silicon insulated wire often used for RC cars. You will also need some thinner wire for wiring up the thermistor - I used 26 gauge. IMPORTANT: using too thin of wire for the heated bed or the new power supply can result in a FIRE. 12 gauge wire $12 from http://amzn.to/NyvBVu Obtain an aluminum plate. I chose quarter inch, but I am sure thinner would be adequate. I chose mill finish as it is flatter then the non-milled stock. Material for two plates $24.95 from http://bit.ly/PMcKGI Instructions: Download the PDF or Illustrator file. Generate G-Code for your machine. I used a 1/8" end mill. If you use anything larger the slots won't turn out. Since I didn't use any coolant I chose a federate for 18IPM and a depth of 0.01". Milled flawlessly with these settings on my machine. Mill out the aluminum plate. The new PSU connects exactly where the old PSU was connected. Solder the power leads to the PCB. Tape the PCB to the milled aluminum plate using Kapton tape. Tape the thermistor to the aluminum plate very securely. WARNING: if the thermistor comes lose it could cause runaway over heating potentially causing a FIRE. Drill a hole big enough for your wires at on the wood Z bed holder and in a safe location on the bottom of your Ultimaker. Obtain a 4.7kohm resistor and follow the wiring instructions at: http://bit.ly/OySmo4 Feed the wires though the holes and mount your milled plate using the stock screws and springs. Connect the PCB power leads to the 'HEATED3' terminals on the board. The Thermistor connects to the first and third pins of the 'TEMP3' terminals. I soldered them on mine. Adjust your z-limit switch for your new height. Create custom firmware using Daid's excellent web interface at: http://bit.ly/O9EXbT . Only change settings if you know what you are doing. The only option you need to change is "Heated bed temperature sensor". If you bought the Thermistor from Ultamachine (link above) then choose "EPCOS 100K". Click the "Build Marlin!" button, and when it appears click "Download: Windows Install zip" (even if you are on a Mac!). Upload the new firmware. If you use Cura, choose "Install custom firmware" from the "Expert" menu option. Cover your milled aluminum plate with Kapton tape and you now may ditch your blue tape! When you first turn on the bed (I recommend manually testing with Printrun first) look under the milled aluminum plate and you should see a beautiful little red LED light glowing! Start printing! You may need to adjust your "Bed temperature settings in your favorite slicer. I think that is everything, let me know if I missed anything!
With this file you will be able to print Ultimaker Heated Aluminum Bed with your 3D printer. Click on the button and save the file on your computer to work, edit or customize your design. You can also find more 3D designs for printers on Ultimaker Heated Aluminum Bed.